Top 3 Fixes for Windows Easy Transfer Not Working
 Jerry Cook
- Updated on 2019-07-25 to Windows Fix
With the release of Windows 10, Microsoft announced a host of new features for the users of this latest version of the Windows OS. While the company added new features to the OS, it also removed some of the old features and one of them was a really useful app called Windows Easy Transfer.
The app has gone from Windows 10 for good and it does not seem like it is ever returning. The app allowed users to migrate from an old Windows PC to a new one and it made the migration process much easier as it let you quickly copy stuff over to the new PC so you can begin using it as soon as possible.
If you miss the Windows Easy Transfer app in Windows 10, then worry not as you have got some really nice alternatives to consider. While these may not be as powerful as the actual app, these will still help you copy stuff over to a new PC.
While using Windows Easy Transfer, a number of users have reported issues like “Windows Easy Transfer is unable to continue”, “Windows Easy Transfer application has stopped working”. The causes of the error vary by the users. If you are in such a situation and the Windows Easy Transfer tool is not working for you, you will probably be feeling frustrated not being able to copy stuff over to a new PC.
Fortunately, there are some fixes that you can try and see if they can resolve the issue for you. Once you have implemented these fixes, Windows Easy Transfer should begin to work normally and you should be able to use it to do the migration process.
Copying MIG Files to Another Location
One of the things you can do to resolve Windows Easy Transfer issues is you can copy the migration files to a new location on your computer. If there was an issue with the tool due to the location of the files, this should help resolve that.

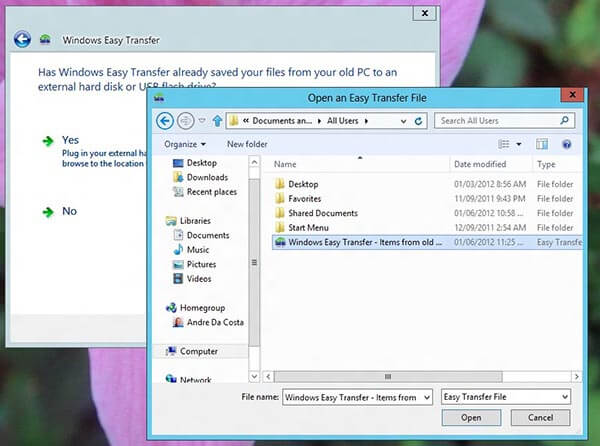
First of all, go to your desktop and create a new folder and name it Migration Temp. Then, search your PC for .mig files and copy all of those files over to this newly created folder on your desktop.
Once the files have been copied to the new folder available on your PC’s desktop, run the Windows Easy Transfer tool and follow the steps to start the migration process. You should now notice that it works flawlessly and lets you do the migration process.
Remove the App and then Re-install it
One of the things you can do is remove the app completely from your PC and then re-install it. If the issue was due to a file in the app, then this should resolve it for you.
Open the control panel on your PC and find and uninstall the Windows Easy Transfer app. The, head over to the Microsoft website and find and download the app on your computer.

Check the Network Cables
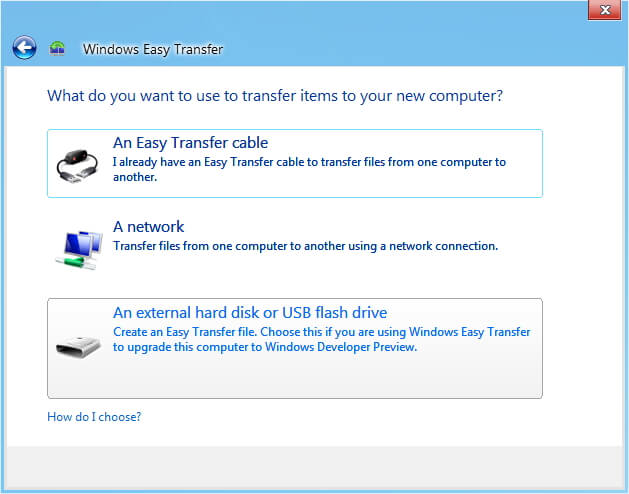
Windows Easy Transfer won't connect over network? Sometimes the network cables are not properly connected and they can cause the app not work over a network. In such a case, make sure every computer you are using the app on is properly connected to the network and also they have all been assigned an IP address.
To check that, open the control panel on your PC and go to network settings and ensure the network is connected.

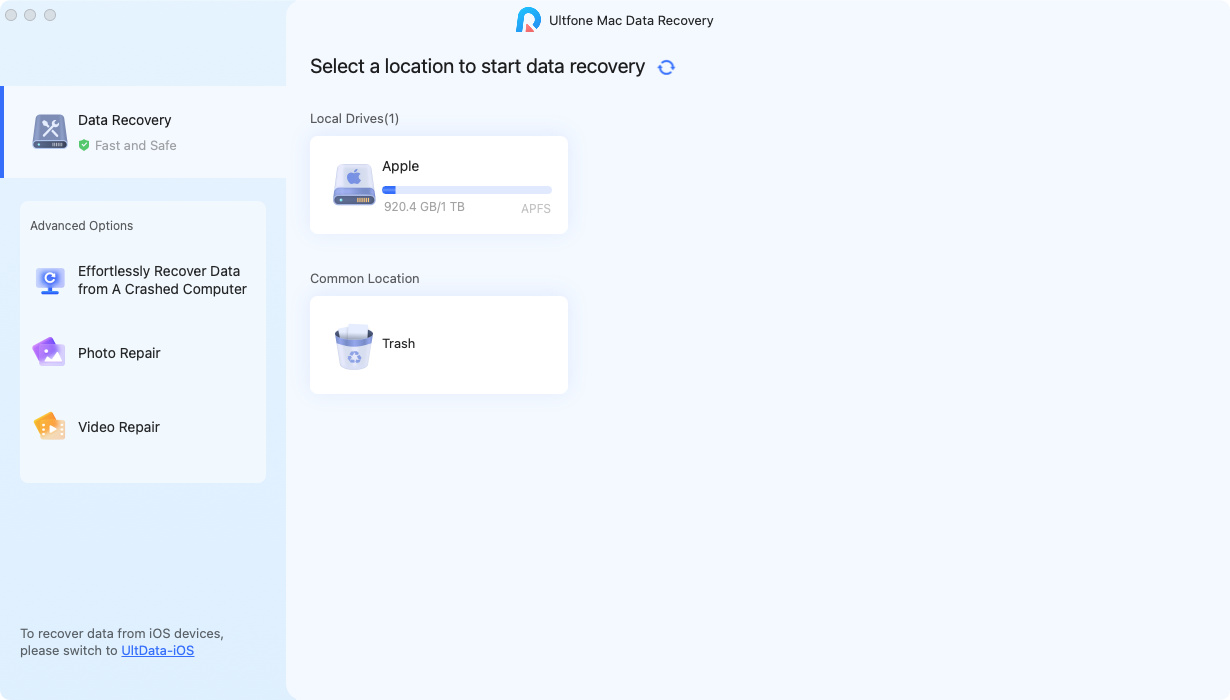
That’s all for how to fix Windows Easy Transfer not working. In case that you have any data lost during the transfer process, don’t worry, a program like Windows Data Recovery can easily get all your lost files back. Just have a try!

