How to Bypass Google Pixel FRP for Android 12/13/14 - 4 Ways
 Jerry Cook
- Updated on 2024-04-24 to Unlock Android
Ever forgotten your Google Pixel's login credentials and gotten locked out of your phone? This is FRP in action, a security feature that Google has implemented on its Pixel devices to prevent unauthorized access to the devices.
However, in some cases, users may need to bypass FRP, such as when a device is lost, stolen, or the original Google account is inaccessible. In this guide, we'll explore four ways to bypass FRP on Google Pixel phones running different Android versions, including 12, 13, and even 14. Of course, there is also a perfect tool UltFone Google FRP Bypass Tool that can bypass Google FRP on any Android phone.
- Part 1: How to Bypass FRP on Google Pixel via Google Keyboard
- Part 2: How to Bypass Google Pixel FRP via SIM Card
- Part 3: How to Enable Google Pixel FRP Bypass Tool Via FRP Bypass APK
- Part 4. How to Get Google Pixel FRP Bypass via TalkBack
- Part 5. How to Bypass Google FRP on Any Android Phone
- Part 6: FAQs of Google Pixel FRP Bypass
Part 1: How to Bypass FRP on Google Pixel via Google Keyboard
Google Keyboard is a keyboard app developed by Google for Android devices. It's designed to provide a fast and efficient typing experience, offering features like swipe typing, voice typing, and predictive text. The Google Keyboard is pre-installed on most Android devices, including Google Pixel phones.
Its predictive text feature can also help factory reset protection bypass by allowing users to input text without needing to remember their PIN. This method can be used on any Google Pixel device that has the Google Keyboard app installed. It's best suited for older Android versions (Lollipop and below).
Step 1. On the Google verification page, tap the cursor to activate the keyboard.
Step 2. Hold down the "@" symbol to access keyboard settings.
Step 3. Navigate to "Help & feedback" and select "Using Google Keyboard".
Step 4. Try accessing settings or search for "build number" to enable developer options (may not always work). Tap build number seven times to enable.
Step 5. Now go to the previous menu and enable OEM unlocking.
Step 6. Finally, restart your phone and connect it to Wifi or data. You’ll notice that the google pixel FRP bypass is successful. You can add a new Google account now.

Pros:
- No need for additional tools.
Cons:
- May not work on newer Android versions.
- Multi-step process with a low success rate.
Part 2: How to Bypass Google Pixel FRP via SIM Card
The SIM card method exploits a loophole in the Google account verification screen. It allows you to access the device settings through the SIM card PIN. The key is accessing the device settings to remove the associated Google account. This disables the FRP lock, enabling you to reset the device without the verification process.
This method may work on certain older Pixel models, like Google Pixel 3XL, 6, etc. but newer versions may have patched this vulnerability.
Step 1.Insert a SIM card with a known number.
Step 2.Call the number from another phone and answer on your locked Pixel.
Step 3.Access the call details and try to add a new contact.
Step 4.During the contact creation, you might be able to access settings or bypass FRP on Google Pixel (highly situational).
Step 5.Make a new Google account, restart your Google Pixel, and you’ll see that Google verification is bypassed.

Pros:
- Does not require any additional hardware.
- Can be done without any technical knowledge.
Cons:
- Require a SIM card from a different carrier.
- Not a permanent solution as the FRP will be reactivated after a factory reset.
Part 3: How to Enable Google Pixel FRP Bypass Tool Via FRP Bypass APK
An FRP Bypass APK is a third-party app designed to bypass the Factory Reset Protection security feature on Android devices, including Google Pixel phones. It offers a direct way to regain access to a device without the original Google account credentials. However, it's crucial to exercise caution when using an FRP Bypass APK and only download it from a trusted and reputable source.
Requirements:
- Android device running Lollipop (Android 5.0) or above.
- Working internet connection on your computer.
- Windows PC.
- OTG cable.
- USB drive.
Steps to Get Google Pixel Factory Reset Protection Bypass
Step 1. On your computer, find a reputable source for downloading an FRP Bypass APK.

Step 2.Once downloaded, copy the FRP Bypass APK file to your USB drive.
Step 3.Power on your Android device and connect the OTG cable.
Step 4.Plug the USB drive into the OTG cable, effectively connecting it to your phone.

Step 5.Your phone should automatically launch a file explorer app. If not, navigate to your device's file manager and locate the USB drive.
Step 6.Within the file explorer, browse to the folder containing the downloaded FRP Bypass APK.
Step 7.Tap on the APK file to begin the installation process.
Step 8.You might encounter a warning about installing from unknown sources. In your phone's settings, locate the option to allow installations from unknown sources and enable it.
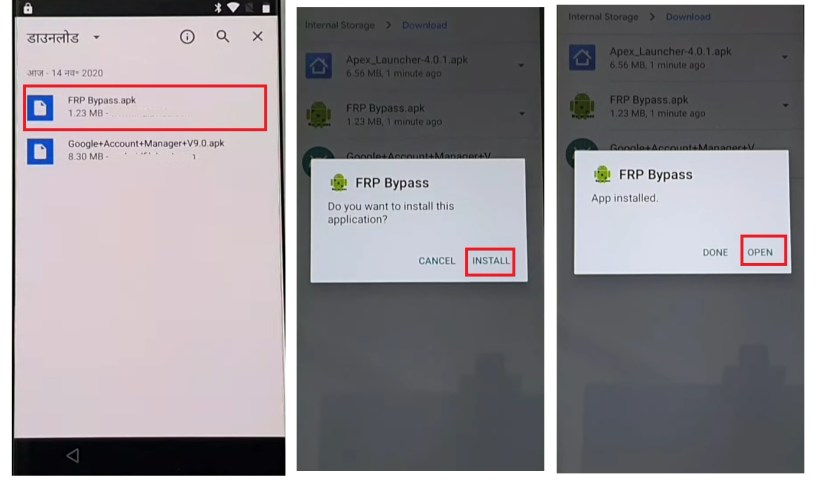
Step 9.Once the installation is complete, tap "Open" to launch the FRP Bypass app.
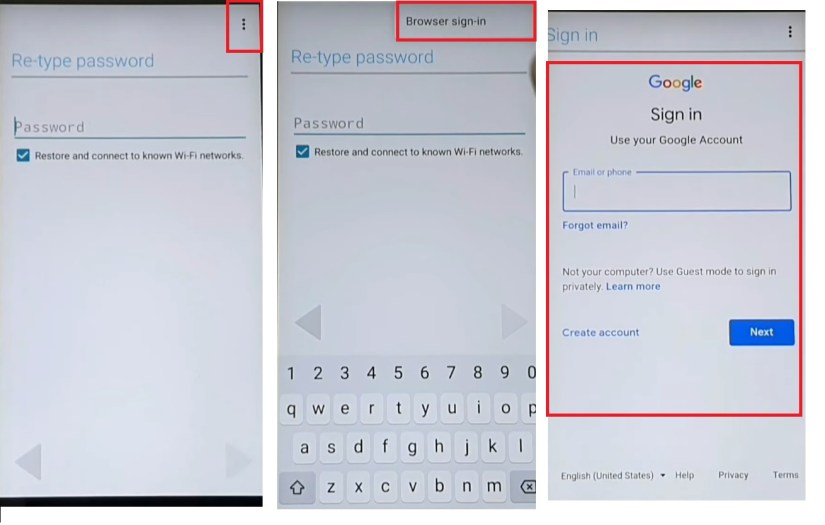
Step 10. If the Google account manager FRP APK works, you can access phone settings. Go to "Backup and reset" and do a factory reset to remove the old Google account.
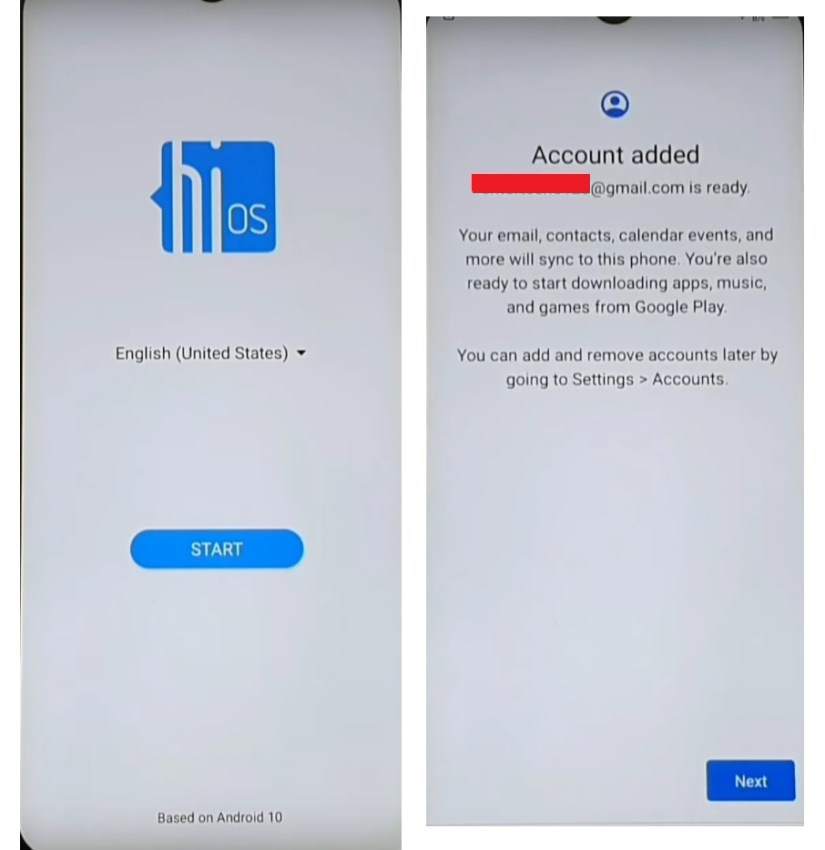
Step 11.Restart your phone. You should no longer be prompted for the old Google account during setup.
Pros:
- Potentially free with a reputable APK source.
- Work on many Google Pixel models.
Cons:
- Low success rate.
- Security risks from untrusted APK sources.
- Complex and time-consuming process.
Part 4. How to Get Google Pixel FRP Bypass via TalkBack
TalkBack is an accessibility feature in Android that provides spoken feedback and navigation assistance for users with visual impairments. It can be used to bypass the FRP lock on Google Pixel devices by exploiting a vulnerability in how the FRP lock interacts with TalkBack.
The TalkBack method works because it allows you to navigate the device's settings and access certain actions, such as opening the YouTube app or browser, without having to authenticate with the Google account
1. Activate TalkBack:
Step 1. Power on your Google Pixel phone and access the lock screen.
Step 2. Swipe up or down (depending on your device) to reveal several options at the bottom.
Step 3. Double-tap "Accessibility" and then double-tap "Vision".
Step 4. In the Vision settings, find "TalkBack" and double-tap to activate it.
Step 5. On the next screen, draw an "L" shape with your finger on the screen. This should activate TalkBack.

2. Deactivate TalkBack (Attempt 1):
Step 1. With TalkBack active, hold down both the volume up and down buttons simultaneously for a few seconds. This might deactivate TalkBack.
3. Deactivate TalkBack (Attempt 2 - Braille Keyboard):
Step 1. If the first method didn't work, navigate using TalkBack gestures (consult your device's manual for specific gestures).
Step 2. Go to "Settings" and then "Braille Keyboard". Double-tap "Set up Braille keyboard" and then double-tap "Settings".
Step 3. Enable "TalkBack Braille keyboard". Go to "Wi-Fi settings" and try to connect to a new network.
Step 4. When the keyboard appears, choose "TalkBack Braille keyboard".
Step 5. A prompt might ask you to enable TalkBack Braille keyboard in accessibility settings. Double-tap "Turn on."
Step 6. Navigate to "Accessibility Menu" and then "Accessibility" followed by "Assistant".
Step 7. Use the keyboard to type "Google" and search for it.
Step 8. Once on the Google search page, tap the microphone icon and say "Open settings".
Step 9. In Settings, go to "Apps" and show all applications. Find "Android Setup" and force stop it.
Step 10. Search for "Google Play Services" and disable it.
Step 11. Go back to the setup screen and navigate to "Accessibility" and then "Assistant".
Step 12. You might be prompted to activate Google Play Services. Do so.
Pros:
- Restore all data including call history to iPhone.
- It's free to use this method to recover deleted call history from iPhone backup.
Cons:
- Low success rate on newer Pixel devices.
- No guarantee of bypassing FRP.
- Potential data loss with factory reset.
Part 5. How to Bypass Google FRP on Any Android Phone
While the methods discussed above are specific to Google Pixel devices, there are general methods to bypass FRP on any Android phone. One such method is using UltFone Google FRP Bypass Tool. This tool is designed to bypass FRP on a wide range of Android devices, including Samsung, Xiaomi, Redmi, Vivo, Huawei, OPPO, Realme and Oneplus.
Why Use UltFone Google FRP Unlock
- Remove Google FRP Lock: Remove a Google account without password.
- Wide Compatibility: Support a wide range of Android brands and versions.
- Unlock Android: Remove Android screen locks, like password, PIN, etc.
- Ease of Use: User-friendly, suitable for non-technical users.
- Fast and Efficient: Quickly bypasses FRP, saving time.
- Safe and Secure: Developed with security, protecting data and privacy.
- High Success Rate: Ensure reliable Google FRP bypass with minimal effort.
How to Bypass Google FRP on Any Android Phone
- Step 1Download And Install UltFone Android Unlock on Your Windows/Mac
- Step 2 Connect Android Device
- Step 3 Select Device OS Version
- Step 4 Bypass Factory Reset Protection (FRP)
- Step 5 Android FRP Bypassed Successfully
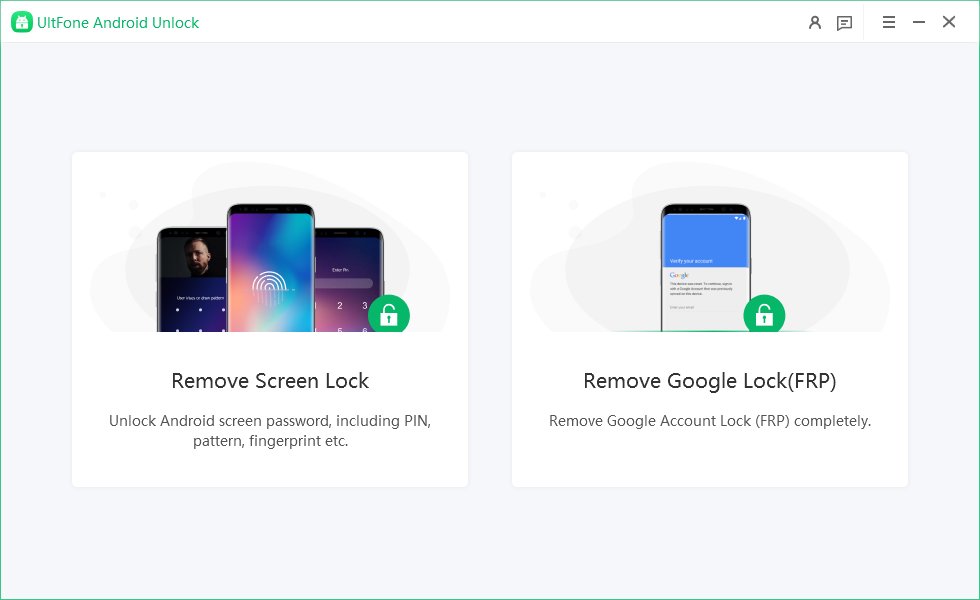
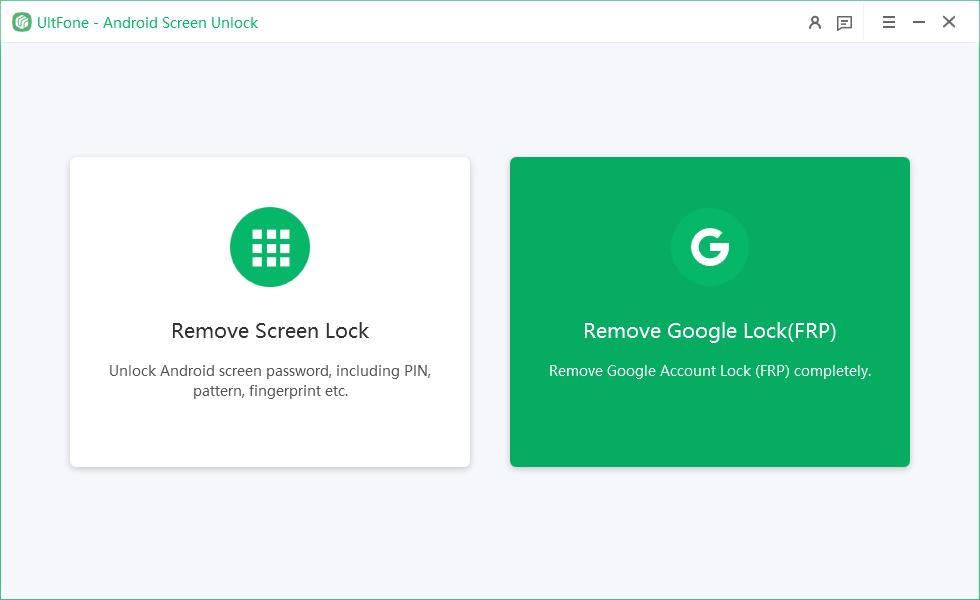
Connect any Android phone, then choose "Remove Google Lock(FRP)" feature.
NOTES: If you want to unlock Android, find detailed guide here.
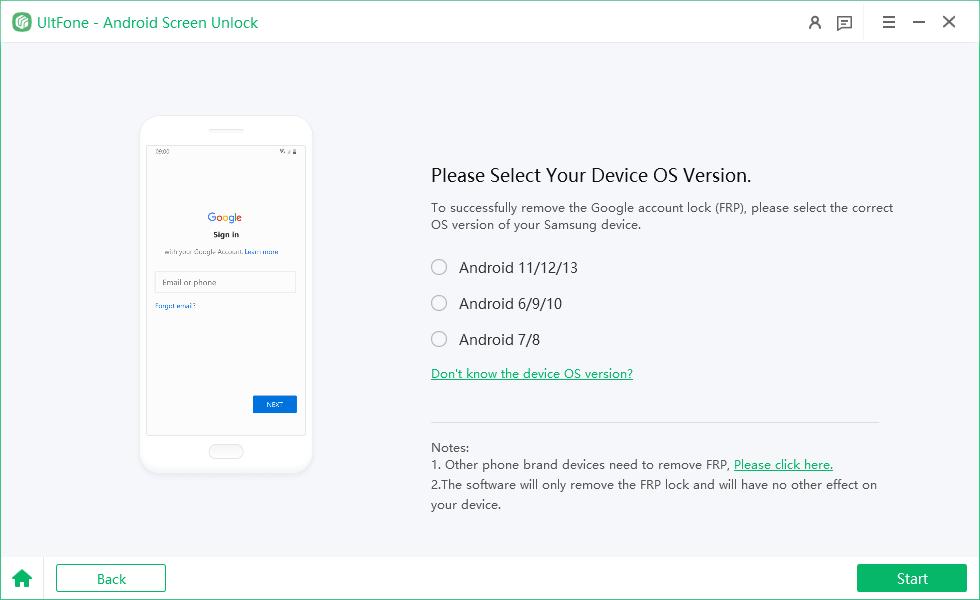
Now select the OS version of your Android phone and click "Start". If it's uncertain, click on the "Don't know the device OS version?" option to check.
Now check the on-screen notes, confirm and click on "Start". As there is a little difference in the next steps according to the device version selected, choose your Android version and continue.
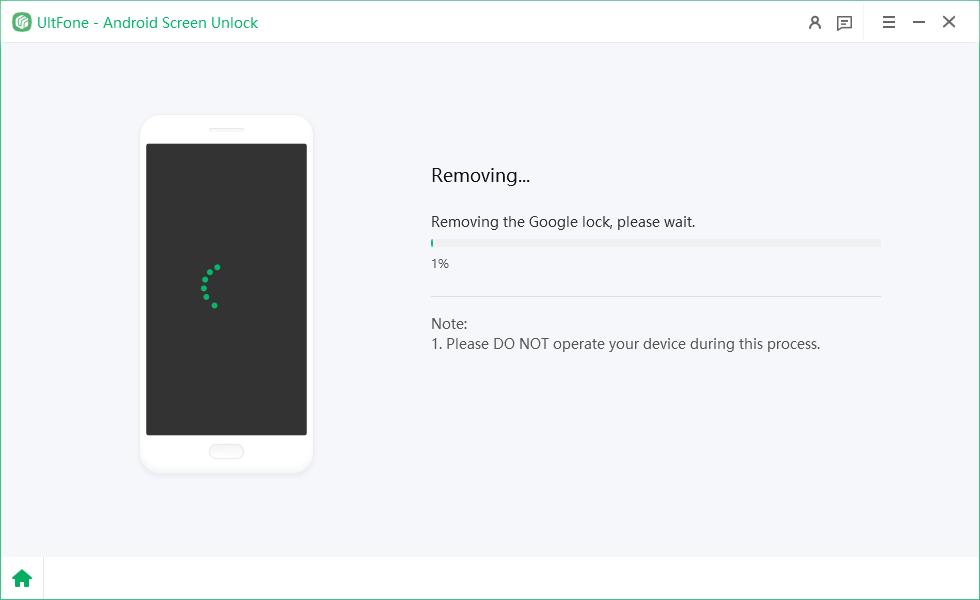
Now, you will find the Google FRP lock has been removed successfully.

Part 6: FAQs of Google Pixel FRP Bypass
Does Google Pixel Have FRP?
Yes, Google Pixel devices have FRP (Factory Reset Protection) enabled by default.
Is There a Free FRP Bypass Tool?
While there might be free FRP bypass tools available online, they are often unreliable and can even harm your device. UltFone Android Unlock offers a free trial, allowing you to test its functionality before committing.
How Do I Hard Reset My Google Pixel Phone?
To hard reset a Google Pixel: power off, then hold power + volume down until Android image appears. In Recovery Mode, select "Wipe data/factory reset" and confirm. Choose "reboot system now" to start the reset. This wipes all data and works on all Google Pixel models, like Google Pixel 6, Google Pixel 7 and the higher models as well.
Conclusion
That’s how to bypass FRP on Google Pixel 6, 7 and later models. The 4 methods we explored (using tools, keyboard, SIM, TalkBack) have limited success and can be complex - so choose wisely.
For other Android brands (Samsung, Xiaomi, OnePlus), solutions like UltFone Google FRP Bypass Tool might exist with higher success rates. Always check software compatibility before using. And choose the method that best suits your needs and circumstances.


