How to Transfer Photos from iPad to PC in 3 Ways
 Jerry Cook
- Updated on 2023-05-04 to Transfer
Taking pictures with iPad is great. However, with time, your iPad will be short of storage space due to too many photos. To free up your iPad and protect your precious photos from losing, it’s better to move photos from iPad to PC regularly. In this article, we share the top ways for you to easily and quickly transfer pics from iPad to PC/laptop without iTunes.
- Way 1: One-click to Transfer Photos from iPad to PC without iTunes
- Way 2: Download Pictures from iPad to PC/Laptop Using iCloud Photo Library
- Way 3: How to Copy Pictures from iPad to PC Using Windows Photos App
Way 1: One-click to Transfer Photos from iPad to PC without iTunes
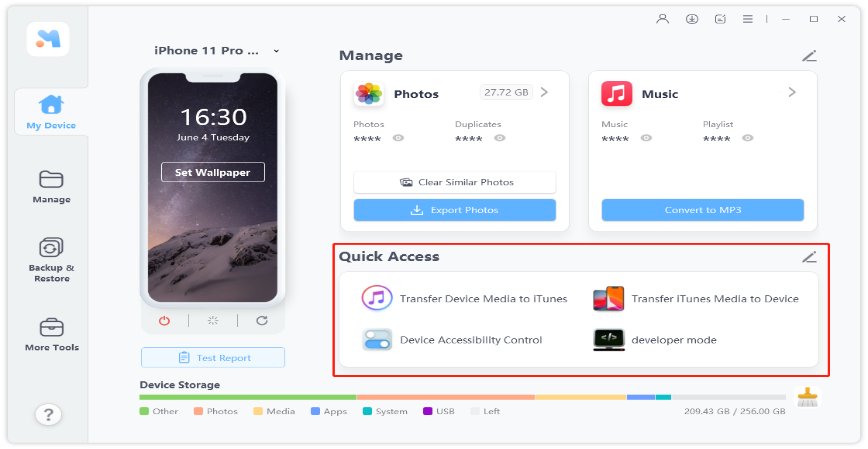
Apple does poor in photo management as they didn’t offer a straightforward process of transferring photos from iPad to PC/Mac. That’s why we need an iPad to PC transfer like UltFone iOS Data Manager which can easily export iPad photos to computer in one click.
The Outstanding Features of Using UltFone iOS Data Manager for iPad Photos Transfer
- 1-Click to export photos from iPhone/iPad/iPod touch to PC/Mac.
- Flexible iOS data management. You can export, import, delete and transfer files between iOS device and computer without iTunes.
- Backup iPhone/iPad data to computer without iTunes.
- Transfer data between iTunes and device withtout syncing.
- Support all iOS versions and ios Devices.
The Steps to Transfer iPad Photos to PC with iOS Data Manager
Download and install this iPad transfer software to a PC or Mac computer, and follow the steps below to move photos from iPad to computer.
-
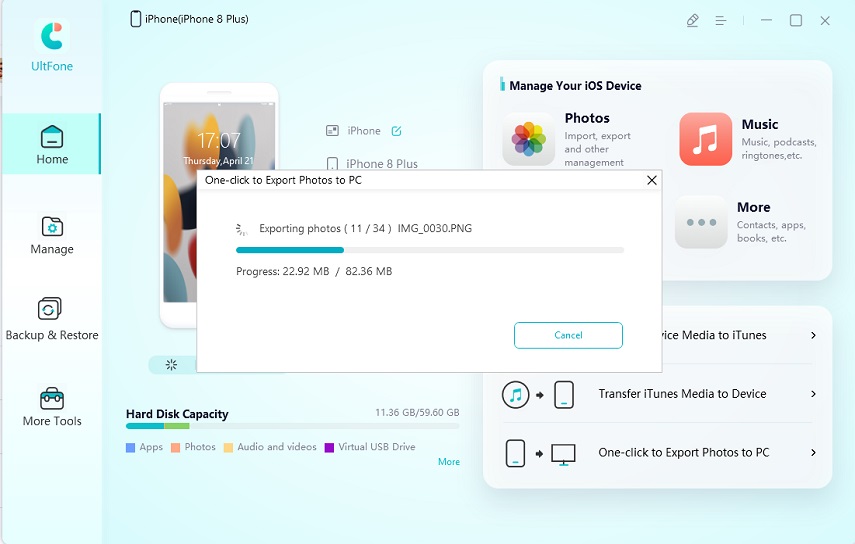
Step 1 Run UltFone iOS Data Manager and connect your iPad to the computer. On the main interface, select "One-Click to Export Photos to PC".

Step 2 This program will start transferring pictures from iPad to PC immediately. All photos will be exported to computer.

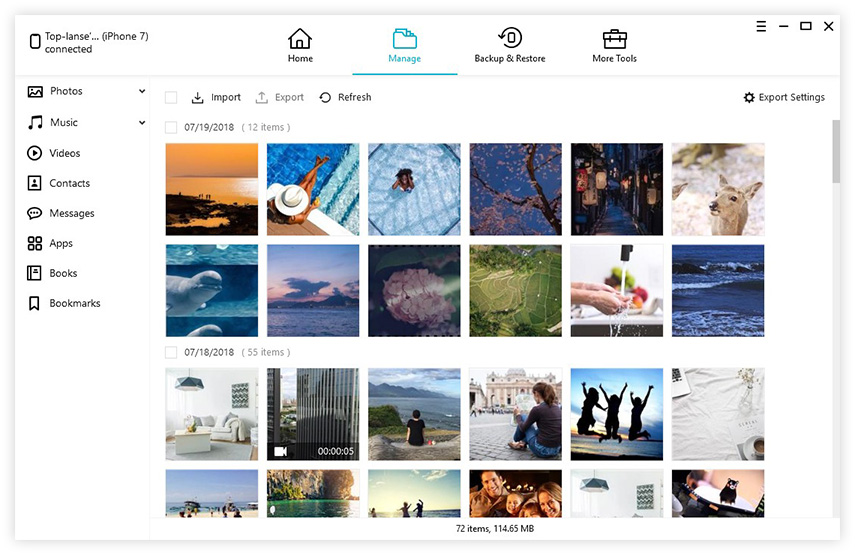
This is the one click method to copy all photos to PC/Mac. If you need to select photos for transferring, you can use the "Manage" feature in iOS Data Manager, which allows choosing photos to export from iPad to computer.
Way 2: Download Pictures from iPad to PC/Laptop Using iCloud Photo Library
iCloud Photo Library syncs your photos by automatically uploading new photos to iCloud after they are taken. You can then view and download the photos through iCloud on your PC. The defects is that iCloud only offers 5 GB space for free. There may be a problem if your photos are more than 5 GB.
-
Step 1. On your iPad, go to Settings > [your name] > iCloud > Photos, then turn on iCloud Photo Library. If you're using iOS 10.2 or earlier, go to Settings > iCloud > Photos

- Step 2. On your PC, download iCloud for Windows. Open it after installing and sign in to iCloud with your Apple ID.
- Step 3. Go to Photos, click Options. Select iCloud Photo Library.
-
Step 4. Click Done, then click Apply.

Way 3: How to Copy Pictures from iPad to PC Using Windows Photos App
You can move pictures from iPad to Windows 10/8/8.1 using Windows Photos app - a built-in app in Windows 8 and later. Make sure that you have the latest version of iTunes on your PC and follow steps below to transfer your photos.
- Connect your iPhone, iPad, or iPod touch to your PC with a USB cable.
- Open the Photos app on your PC using the Windows Start menu or search bar.
- Select Import in the top right corner and select the photos you’d like to transfer from your iPad and click Continue. The Photos app will begin the import process.
.jpg)
The Bottom Line
That’s all about how to get photos from iPad to computer. Just choose the way you preferred and start the photos transfer. UltFone iOS Data Manager is the top recommended as it offers a one click way to ransfer photos from iPad Pro/Air/Mini to PC/laptop.

