How to Transfer Music from iPod to Computer Windows 10
 Jerry Cook
- Updated on 2022-01-17 to Transfer File
Although there are many MP3 players available in the market, iPod is still certainly the preferred music player for most music lovers. Either you want to enjoy the same playlist or music library on your Windows PC, or due to the limited storage on your iPod, you may want to know how to transfer music from iPod to computer Windows 10.
In this post, we will walk you through different options which will make transferring of music from iPod to computer an easy task. So, let’s begin!
- Part 1. How to Transfer Music from iPod to Computer without iTunes
- Part 2. Transfer Songs from iPod to Computer Windows 10 with iTunes
- Part 3. How to Transfer Music from iPod Touch to Computer without Software
Part 1. How to Transfer Music from iPod to Computer without iTunes
Transferring music with the help of iTunes can become a complicated task for you. To get songs from iPod to computer without iTunes sync, you can rely on an iOS data manager software which will make the process effortless. UltFone iOS Data Manager works as a one-stop solution to manage, restore, backup, and transfer iOS data from the device to the computer and vice-versa. Now, let’s look at some top-notch features of UltFone iOS Data Manager:
- One-click to export photos from iOS device to the computer.
- Transfer media between iTunes library and device without syncing.
- Transfer music and other files between iOS device and computer without iTunes.
- Backup iOS data to computer for free.
- Extract data from backup file and supports selective restoring data from backup file.
How to Transfer Music from iPod to Computer without iTunes
Whether you are using iPod shuffle, iPod nano, iPod touch, iPod mini, or iPod shuffle, you can use the following step-by-step guide to transfer songs from iPod to computer. To begin with, you are required to download and install UltFone iOS Data Manager on your Windows 10 computer. Once done, just follow these instructions:
-
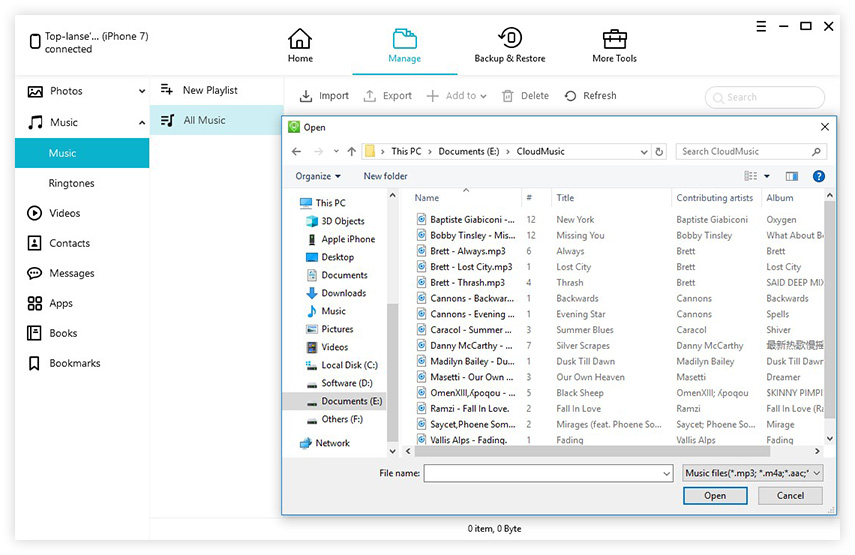
Step 1 Connect your iPod to the PC and choose the “Manage” option from the menu.

-
Step 2 This program will list the data in your device on the software screen. From the left sidebar, you can select Music. Choose the music file(s) that you want to export, and click Export button. The selected file(s) will be transferred to computer.

How to Transfer Music from iPod to iTunes
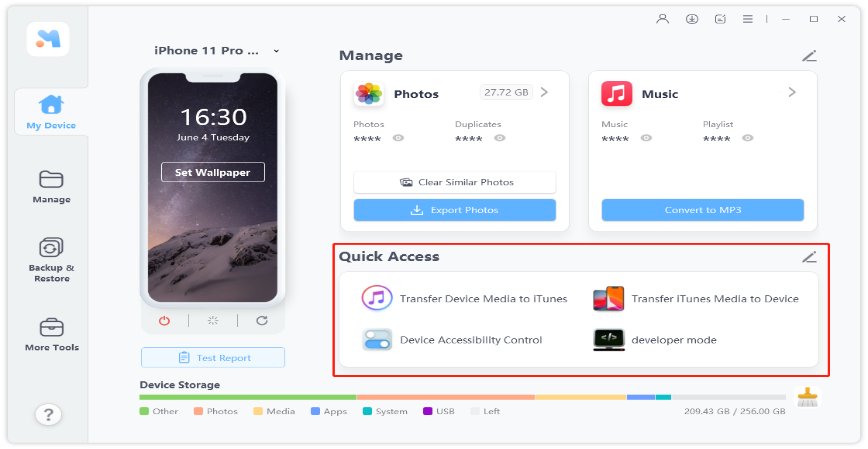
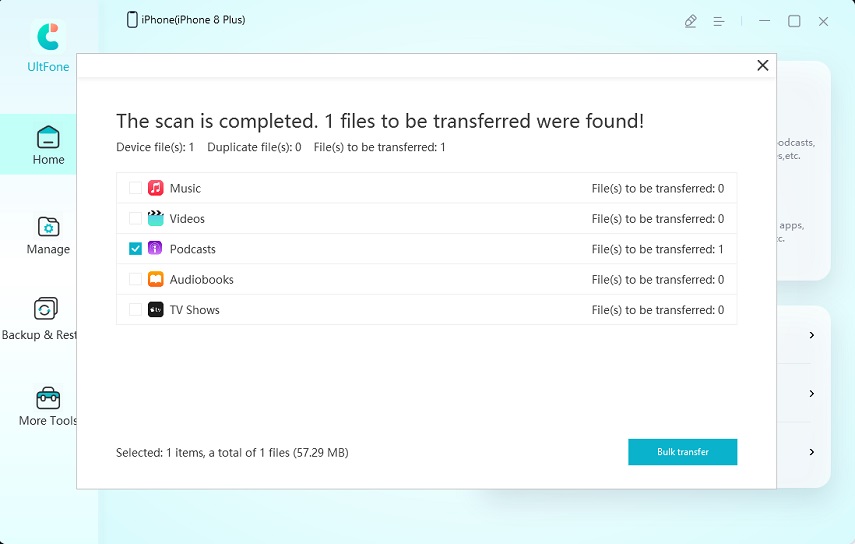
UltFone iOS Data Manager also supports to transfer music from iPod to iTunes without syncing. On the main interface, choose “Transfer Device Media to iTunes”. Then, select the file(s) you’d like to sync, and click Transfer button. The selected file(s) will be transferred to iTunes library.
Part 2. Transfer Songs from iPod to Computer Windows 10 with iTunes
For iOS users, iTunes is another choice for transferring song from iPod to computer. It is useful for moving the entire music library from iPod to Windows 10 computer. Here is how to transfer music from old iPod to computer with iTunes:
- Step 1. Install/update the latest iTunes version on your Windows 10 PC.
- Step 2. Connect your iPod to the Windows computer via USB cable or Wi-Fi connection.
- Step 3. In iTunes, click on the “iPod” button located on the top left corner of the iTunes window.
Step 4. Click on the File Sharing, choose an app in the list, and select the music file you want to transfer.

- Step 5. Click on the “Save” option and choose where you want to save the music file.
That’s how you can copy songs from iPod to computer with iTunes.
Part 3. How to Transfer Music from iPod Touch to Computer without Software
If you are not into using any third-party software and thus looking for a solution for how to transfer music from iPod touch to computer without software, you can still move music from iPod to computer without iTunes syncing. For this, you’ll have to begin with ensuring that you have disallowed iTunes on your Windows PC or laptop from syncing automatically with your iPod.
It is an essential step to perform as otherwise, iTunes might erase off the data on your iPod during the syncing process. Below are the instructions that will guide you in preventing iTunes from syncing automatically:
- Step 1. Open iTunes (without connecting your device) > Go to Edit > Select Preferences.
- Step 2. Tap on the “Devices” icon > Click on the “Prevent iPods, iPhones, and iPads from syncing automatically”.
Step 3. Click on the “OK” option and quit from iTunes.

Now, follow the steps listed below to complete the task of transferring a song from iPod to PC.
Step 1. Connect the iPod to your Windows PC or laptop. You’ll see iPod shown as a drive in File Explorer. Open it and tap on the “iPod_Control” option and go to the “Music” folder.

Step 2. If the iPod drive is empty, you’ll need to unhide the hidden files and folders on your PC.

- Step 3. In the “Music” folder, choose all the folders, then copy and paste them to the C, D, or E drive.
The Bottom Line
That’s all about how to transfer music from iPod to computer Windows 10. You can follow any of the above-stated methods to get songs from iPod to your PC or Mac. But, if you want a hassle-free and quickest option, then make sure you don’t miss out on trying the UltFone iOS Data Manager.

