How to Transfer Call from iPhone to Mac
 Jerry Cook
- Updated on 2023-05-04 to Transfer File
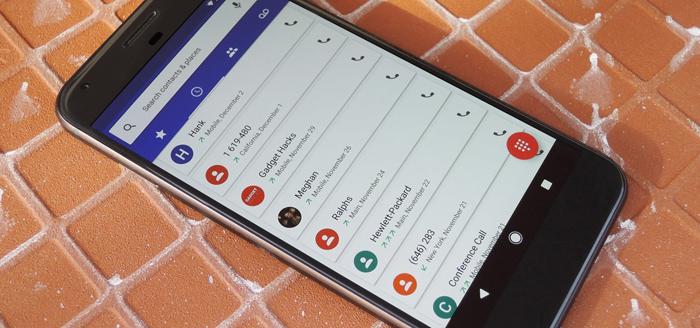
If you are an Apple user who owns multiple devices, then you would already know that Apple offers such an ecosystem that lets you enjoy some great features. Among these is the switch call from iPhone to mac and iPad.
It is an extremely convenient feature, especially when you are away from your iPhone or don’t want to switch devices in the middle of working. So, if you want to know how to receive iPhone calls on Mac or transfer call history from iPhone to Mac, then continue reading this post.
Part 1. How to Transfer Call from iPhone to Mac
I have Mac which I use for working on office projects. While working, I try to keep my iPhone somewhere else so that I can focus more. So, is there any way to transfer an audio call received on my iPhone to my Mac? I can’t seem to figure it out. Please let me know how to transfer call from iphone to mac. Thanks in advance.
If you also have the same concern like this above user has mentioned, then here is a piece of good news for you. With the launch of iOS 11.2, Apple has launched several new features including transferring a call from iPhone to another iDevice like a Mac. Thus, now you can simply transfer an incoming call as well as an outgoing call from iPhone to Mac.
It is a hidden feature that is added to iOS 11.2, but before we move forward to the steps of how to switch call from iPhone to mac, it becomes vital for you to know if there are system requirements. So, here is the list that will show you the pre-requisites to follow before you are able to transfer calls on iPhone:
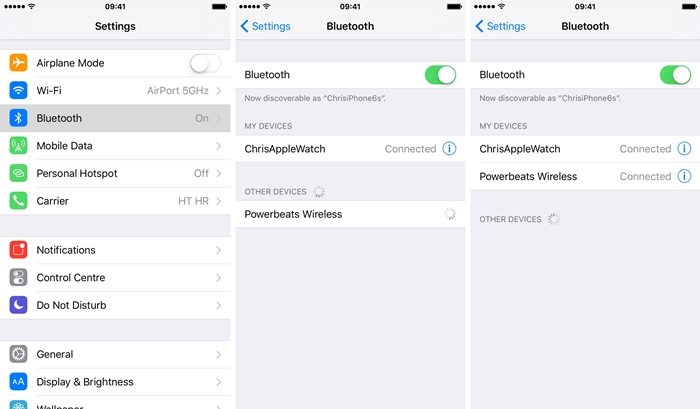
- Both devices, i.e., iPhone and Mac, must have their Wi-Fi turned on and should be connected with the same Wi-Fi network.
- iPhone must be operating on iOS 11.2 or higher.
- The devices should be kept close to each other.
- Both your devices, i.e., iPhone and Mac, must be signed in to the same iCloud ID.
- Both your devices must be logged in to FaceTime with the same Apple ID.
- The Wi-Fi connection should be strong.
Activate the Transferring of Calling Feature on the iPhone:
- Go to the “Settings” and tap on the “Phone” option.
- Tap on the “Calls on Others” option.
- Enable the “Allow Calls on Other Devices” feature and select the nearby iCloud devices from the list shown on your screen.
Enable Your Mac to Accept Transferred iPhone Calls:
- Launch the FaceTime app and open the menu by tapping on the column at the top. Click on the “Preferences” option.
- Active the “Calls from iPhone” feature by marking the box.
How to Receive a Call on Mac:
-
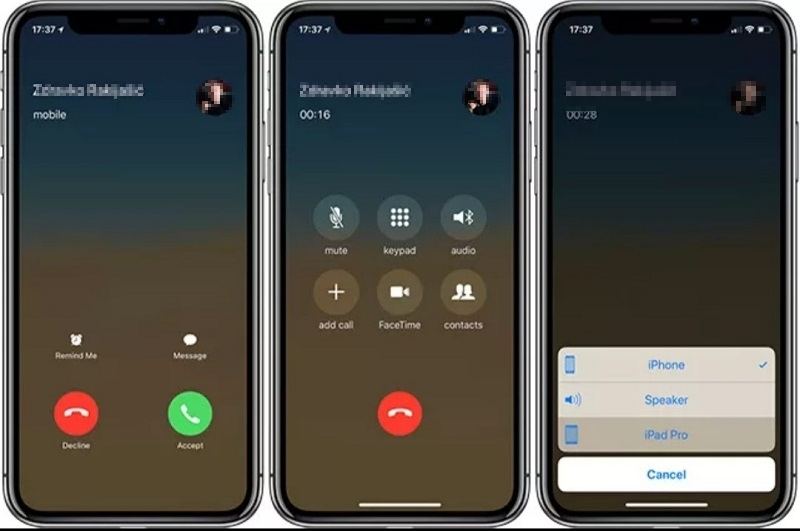
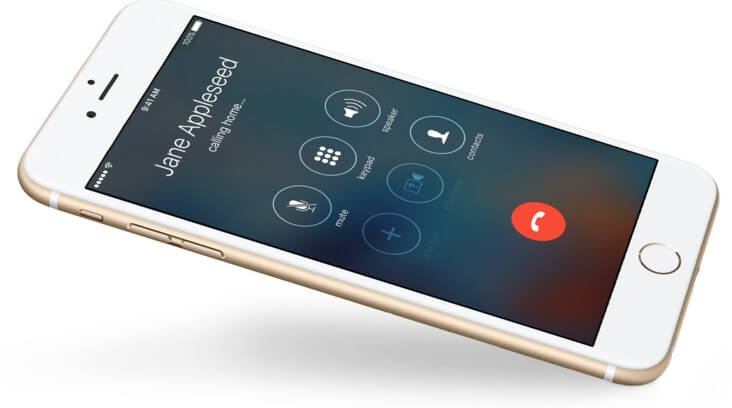
Step 1. Unlock your iPhone to make a call and tap on the “Audio” button from the calling screen.

-
Step 2. You will see the options where you can transfer the call. Here, select the target device (Mac, for example) to receive the call.

With this, your call will be immediately transferred. Thus, you can use your Mac to answer the call.
Things to Note:
- You cannot transfer a FaceTime video or audio calls between your iPhone and Mac.
- You cannot transfer any Wi-Fi call between both devices.
- You cannot transfer a cellular call from Mac to your iPhone.
Part 2. How to Export Call History on iPhone to Mac?
Now that you know how to transfer a call from iPhone to Mac, you might be curious to know whether or not is it possible to export call history from iPhone to Mac. If that’s true, then here’s the best solution for you. Whenever you need to export call history on iPhone, you can rely on UltFone iOS Data Manager as your preferred software.
It is a third-party tool that will assist you to export iPhone call log and other iOS data easily. UltFone iOS Data Manager is the most trusted tool by Apple users as it is a one-stop solution to transfer, manage, restore, and backup iOS data. To be able to use this software, you are not required to possess any technical skills, just install this program to a PC or Mac, and it will do the rest.
Here are a few of the top-notch features of UltFone iOS Data Manager:
- Backup and restore files from iPhone, iPad, iPad touch without iTunes. Support selective backup and restore.
- Export and import files from computer to iPhone or from iPhone to computer with great ease.
- One click to export photos from iOS device to computer.
- Transfer data between iPhone and computer without iTunes syncing.
- Compatible with iOS 15//14 and new series of iPhone 12.
How to Export Call History from iPhoen to Mac
You can follow the steps below to transfer call history from iPhone to Mac or PC.
-
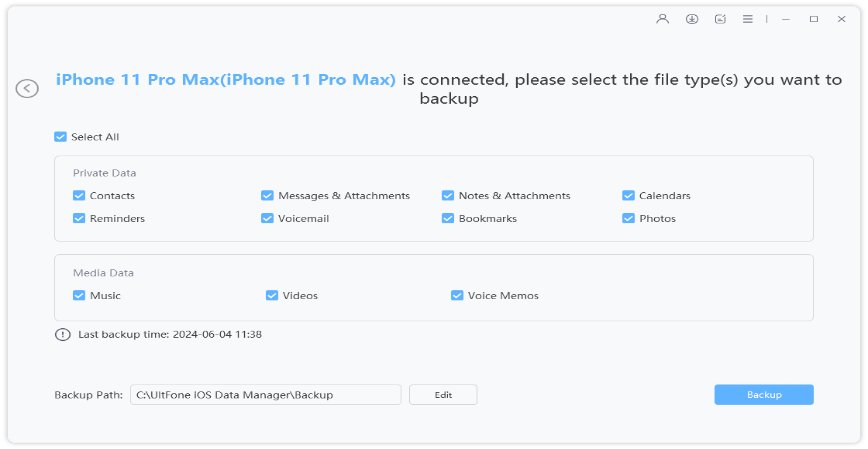
Step 1 Launch the tool and connect your iPhone to the PC. Click on the “Backup & Restore” option from the top menu.Here you can choose the file type(s) to back up.

-
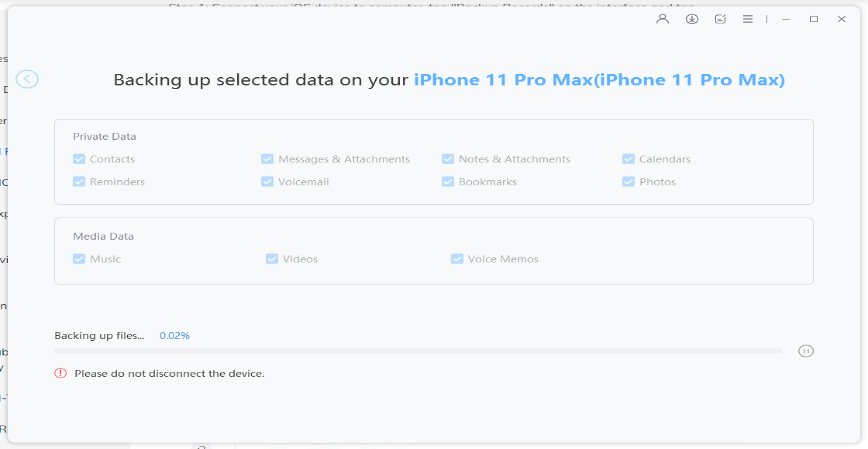
Step 2 Tap on the “Backup” option to start the process.

-
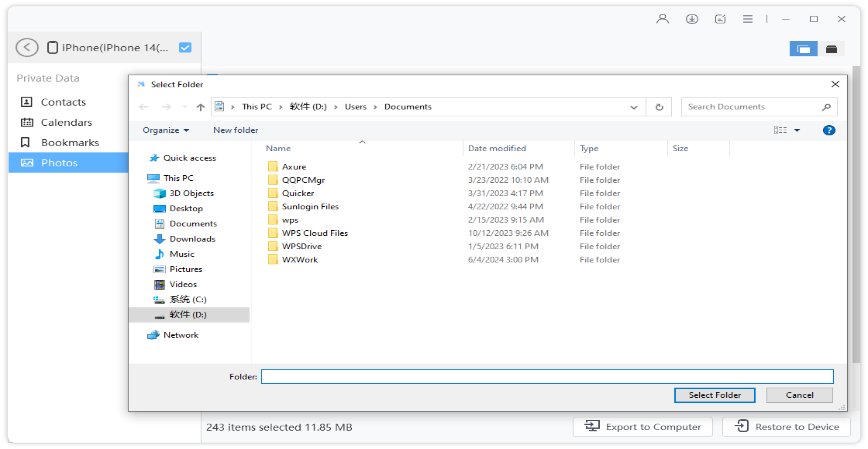
Step 3 Once the backup procedure is completed, you will be able to see the backed-up data. Click on the “View Backup Data” option to extract and display all the files for preview. Tap on the “Export to Computer” option to send the backup files to the PC. You can choose the location you desire and then click on the “Ok” option.

Conclusion
With this, exporting iPhone call log and transferring call from iPhone to Mac will become a hassle-free task for you. We recommend you to use UltFone iOS Data Manager to export and manage all the iOS data in one go.

