How to Downgrade from Catalina to Mojave
 Jerry Cook
- Updated on 2019-11-18 to Mac Tips
Mac OS Catalina is Apple’s new operating system for Mac. Whenever a new version is released, it is hardly ever perfect. Thus, if you’ve installed macOS Catalina on your Mac, then you might be facing problems or bug issues with the new version. Fortunately, Apple let you downgrade macOS Catalina to Mojave, a stable version. The thing is that rolling back to the previous version isn’t simple, but it is possible for sure. In this post, we’re going to help you with the downgrade process.
- Part 1: Before You Start to Downgrate from Catalina to Mojave
- Part 2: Step By Step Guide to Downgrade from Catalina Back to Mojave
Part 1: Before You Start to Downgrate from Catalina to Mojave
There are certain things you need to prepare for a successful downgrade process
Backup your Mac
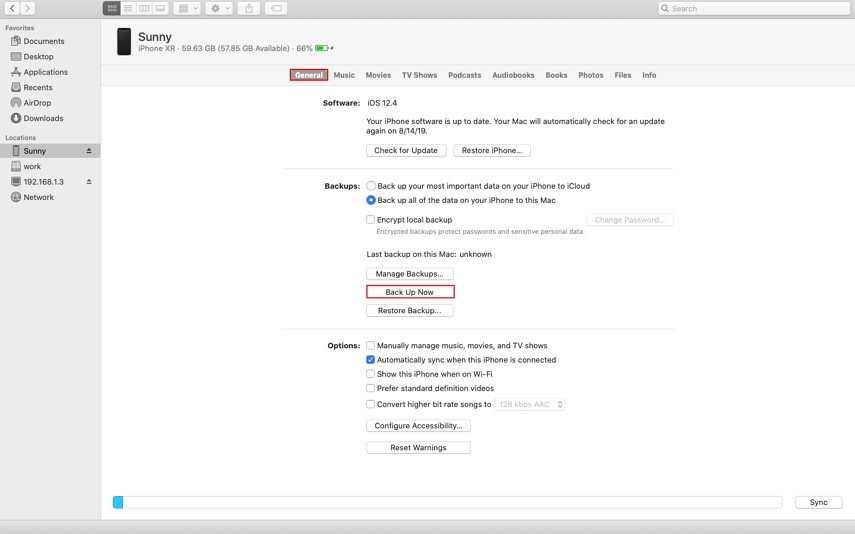
The downgrade process will entirely delete macOS Catalina from your hard drive. It means that any programs, documents, or files you’ve been using or working on while using Catalina will also be deleted if you don’t create a backup of them first. Therefore, back up those files to an external hard drive or you can use cloud-based storage applications like OneDrive, iCloud or Dropbox.
Just keep in mind that if you don’t create a backup of your important files somewhere off your system, then you will surely lose them forever. So, don’t think about downgrade Catalina without backup.
Allow booting from external media
If you’re using a 2018 or newer MacBook Pro/MacBook Air/Mac mini, you may have to ensure that you’ve enabled the booting from external media before trying to downgrade. Further, if you’ve allowed the Startup Security Utility, then you need to ensure that you can use a bootable external media.
Here’s how to do so:
- 1. Reboot your Mac and then, press Command + R right when the Apple logo appears to put your system into recovery mode
- 2. Next, click on “Utilities” in the menu bar and then, click on “Startup Security Utility”.
- 3. Now, you need to enter your administrator credentials. Then, tick the box next to the “Allow booting from external media”.

Part 2: Step By Step Guide to Downgrade from Catalina Back to Mojave
The process to downgrade Catalina to Mojave is quite lengthy. So, be patient and follow each and every step mentioned below carefully
Create a Bootable Drive of macOS Mojave
Before you wipe out macOS Catalina from your system, you should download Mac OS Mojave from the Mac App Store. To roll back from Mac OS Catalina, you’ll require a copy of Mac OS Mojave on an external hard drive.
Here’s how you can create a bootable installer drive for Mac OS Mojave
- 1. Get a USB stick with at least 16 GB capacity or SSD or external hard drive and connect it into your Mac.
- 2. Run Disk Utilities>Erase the Drive/USB stick, and format it as Mac OS Extended (Journaled) and select the GUID partition map if the choice is available.
- 3. If you want an easy way to make a bootable installer, then you can use DiskMaker X. However, you can also use Terminal to do the job:
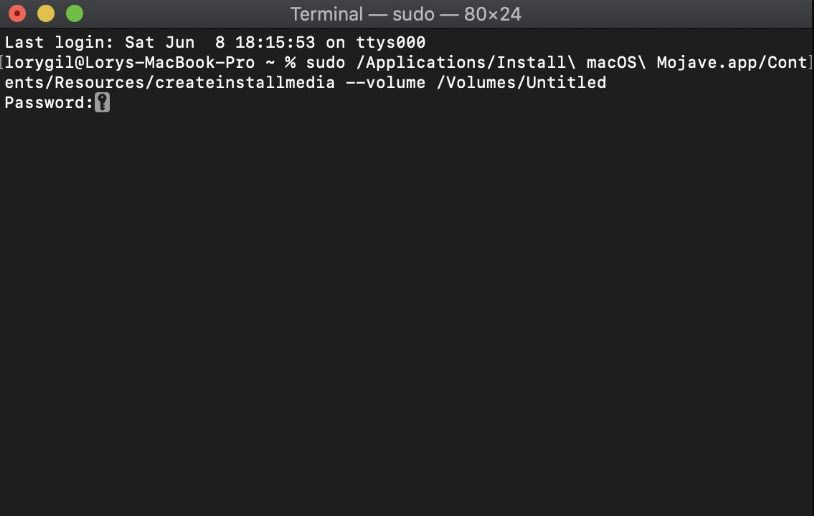
- Run Terminal from Applications>Utilities
- Type - sudo /Applications/Install\ macOS\ Mojave.app/Contents/Resources/createinstallmedia --volume /Volumes/Untitled, where Untitled is the name of your external hard drive or USB stick you used.
- Hit Return and wait until the process completes.
Delete macOS Catalina
The next step is to wipe out your hard drive before you re-install Mojave. So, let’s learn how to delete or uninstall macOS Catalina from the Mac
- 1. Connect your system to the Wi-Fi connection.
- 2. Click the Apple icon located at the upper left corner of your system’s screen.
- 3. Choose Restart from the menu.
- 4. Press Command + R and continue holding them until your system restarts to put your system into Recovery mode.
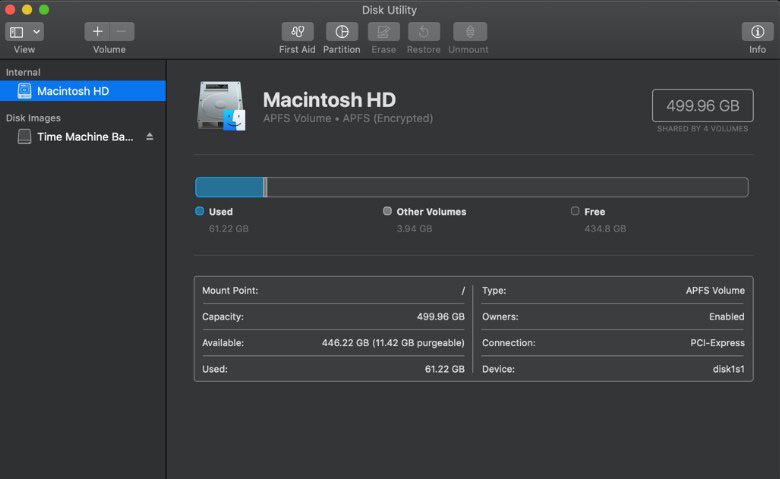
- 5. Click the Disk Utility option in the OS X Utilities and click Continue.
- 6. Choose your Startup Disk, click on the Erase and quit Disk Utility.
Re-install macOS Mojave using a Bootable Installer
After erasing macOS Catalina, you’ll need to reinstall Mojave. Keep in mind that if your Mac system came with macOS Mojave, you can reboot your system while pressing Shift + Option + Command + R to install the operating system that came with your system. Else, follow the below steps to install Mojave version back on your system
- 1. Connect the system to the internet connection.
- 2. Connect the bootable hard drive you created with Mojave on it into your system.
- 3. Click the Apple icon to select Restart.
- 4. Press Option while your system reboots to select a Startup Disk option.
- 5. Choose your bootable drive with macOS Mojave and the macOS Mojave will start installing on your system.
- 6. Click Continue in the installation window of the macOS Mojave.
On your Mac, macOS Mojave will be installed like a standard update. You need to agree to the terms of licensing before the software restarts on your Mac.
Restore your Settings
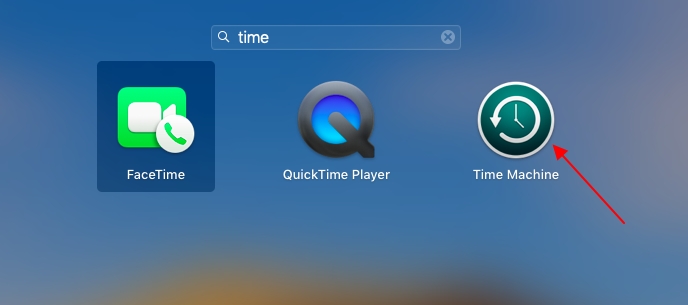
If you have a recent backup of your system saved through Time Machine, you can use it to restore the saved settings from macOS Mojave.
- 1. Connect the Mac to the internet connection.
- 2. Click the Apple icon to select the Restart option.
- 3. Press Command + R on hearing the startup chime and continue holding until your system restarts.
- 4. Choose Restore from Time Machine Backup option in the OS X Utilities window and Click Continue.
- 5. Choose the Backup Source where your Time Machine backup is saved and click Continue.
- 6. Select the recent macOS Mojave backup on your drive and click Continue.
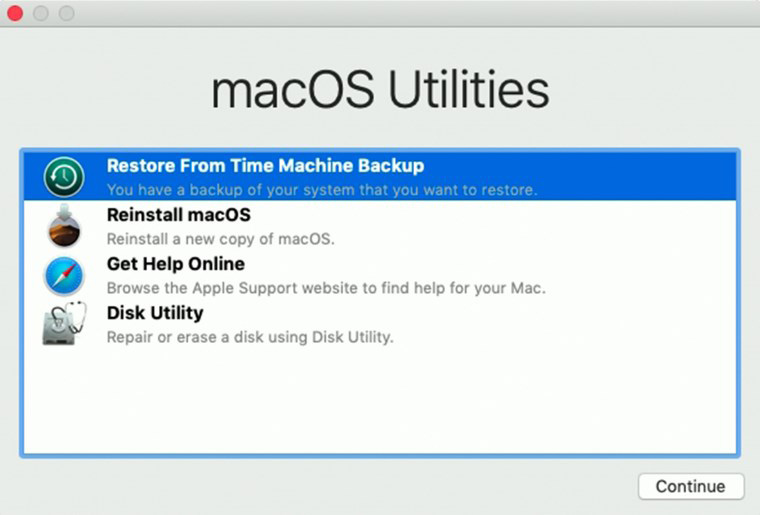
In a while, your system will start restoring the settings from the Time Machine backup. Once the process completes, reboot your system to use it again.
Wondering how to downgrade from Catalina to Mojave without Time Machine? Then, you can restore the settings from the backup you made before starting the process. You’ll have to copy files across from your backup after reinstalling applications you needed on your Mac.
Once restoring the settings and reinstalled all the applications you need, you are ready to use your Mac, running macOS Mojave instead of macOS Catalina.
Conclusion
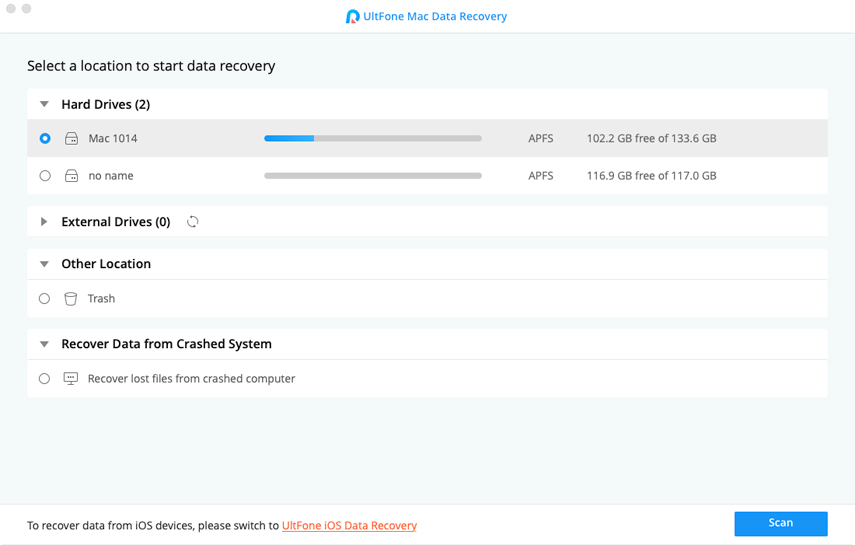
That’s all on how to downgrade from Catalina back to Mojave. Following the steps mentioned here will help you roll back to the stable version so to get rid of unnecessary bugs. In case if you end up losing your important files during or after the downgrade process, Windows Data Recovery (Mac)can help you rescue your data on Mac in no time.

