How to Recover Data from MacBook Air Hard Drive
 Jerry Cook
- Updated on 2019-07-25 to Mac Data Recovery
MacBook Air hard drive crashed or failed suddenly without any premonition? Have deleted important videos, photos, or other files on Mac accidentally when we intended to transfer and copy? Never mind. Here we will tell you how to restore specific files or restore MacBook Air hard drive from Time Machine backup, as well as what you can do to recover deleted files from MacBook Air hard disk without backup.
- How to Recover Data from MacBook Air Hard Drive without Backup
- How to Restore MacBook Air Hard Drive Data from Time Machine Backup
How to Recover Data from MacBook Air Hard Drive without Backup
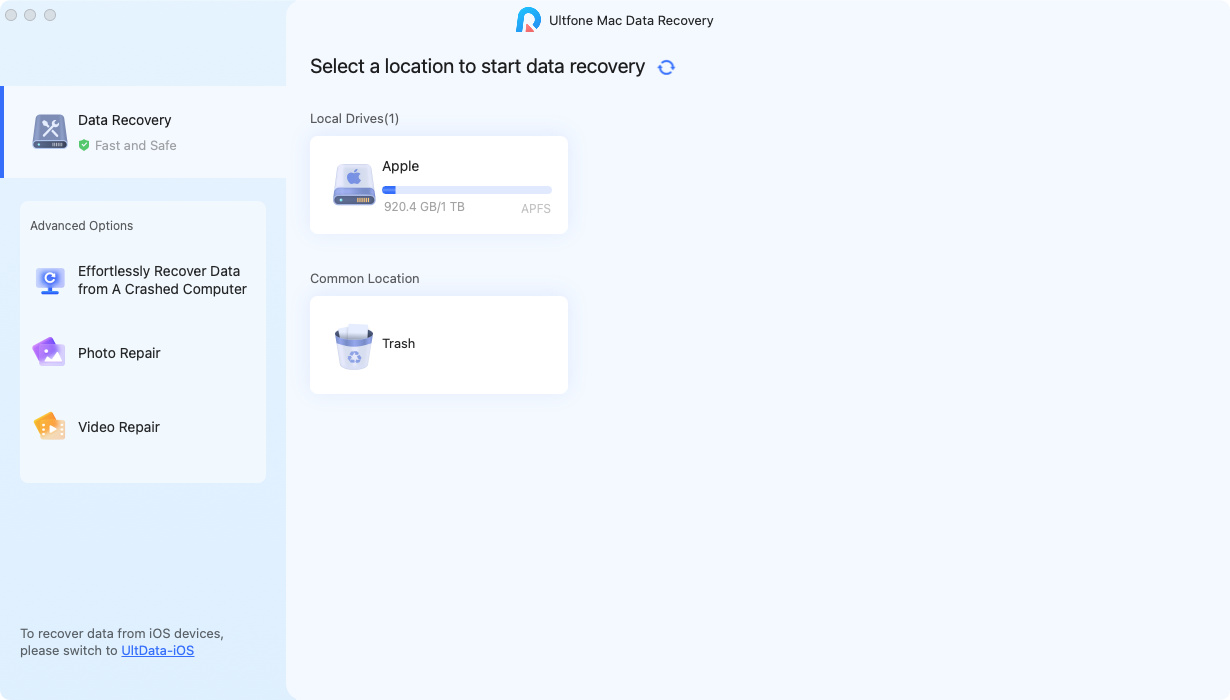
Suppose you never did a backup of your Mac hard drive, you need MacBook Air data recovery software for help. Mac Data Recovery is one of the top selling and powerful programs to help you recover deleted, formatted, or corrupted files on Mac, even when your Mac hard drive was crashed or dead. The latest version even supports to retrieve lost files from external hard drive, memory cards, mobile phones, digital cameras, etc. on Mac OS X 10.10, 10.9 and lower version.
Steps to Retrieve Lost Data with MacBook Air Hard Drive Data Recovery Software
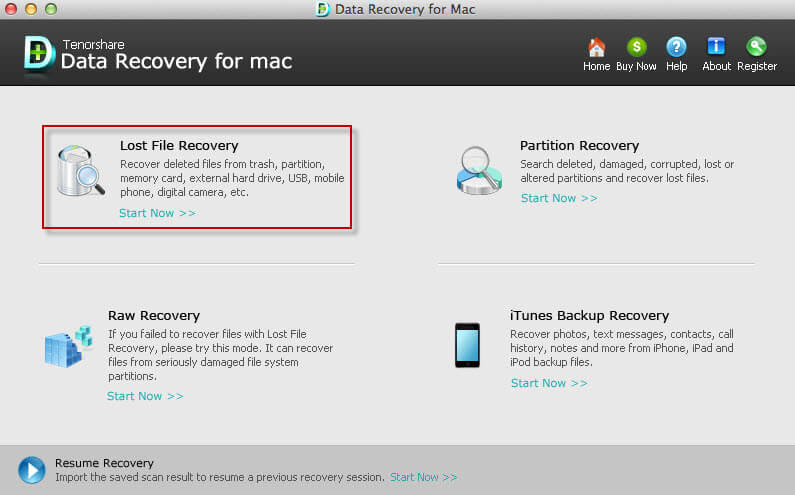
Step 1: Define File Types
You can select to scan all files or define certain file types for scanning.
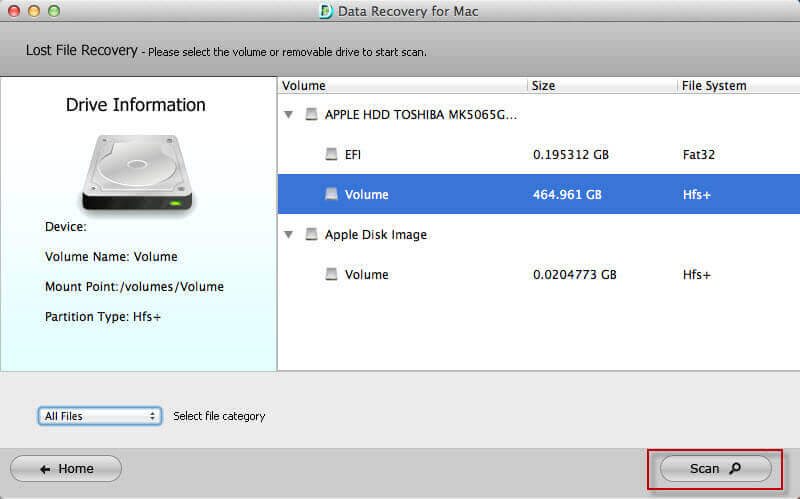
Step 2: Select the Target Hard Drive to Scan
This Mac Data Recovery list all local hard drives, or external devices, you need to select the target scan location.
Step 3: Preview Lost Data
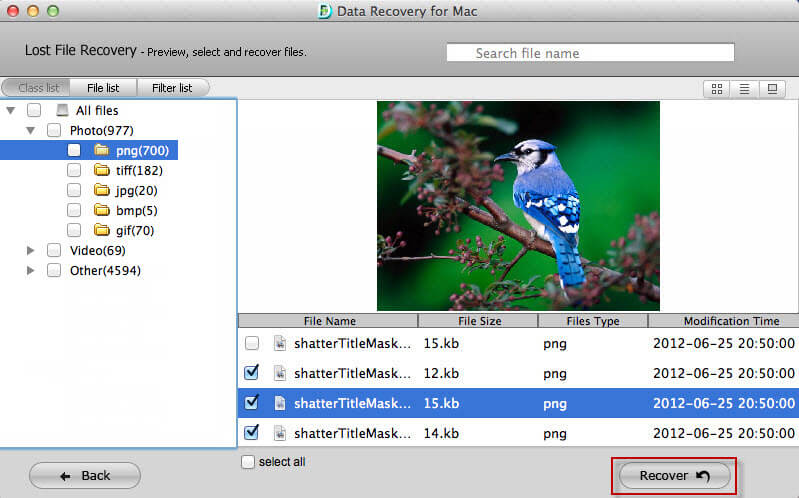
You can check all recoverable files after scanning is completed. Select specific files to preview or you can enter file name in the search box to search.
Step 4: Recover and Save Lost File
Check the files you need to recover and Click Recover button. You should not recover the files to the same folder where your lost data located.
How to Restore MacBook Air Hard Drive Data from Time Machine Backup
If you are upset for mistaken deletion or data loss on Mac OS 10.10 (10.9, or lower OS X), or you are running into a hard drive crash/dead/erase; fortunately, you set up Time Machine Backup for your Mac hard drive. Follow the steps to restore your files from Time Machine Backups.
Note that this method requires you set up Time Machine on your Mac OS X machine. Spotlight Time Machine on Mac.

1. Restore Specific File or Folder from MacBook Air SSD
Go to Finder, choose Enter Time Machine from the Time Machine menu to see earlier versions of your files and folders.
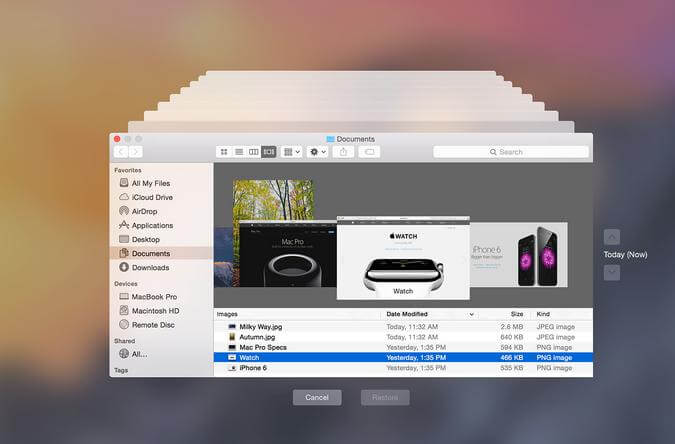
- The timeline on the right side of the window shows the times of all backups on your backup drive. You can scroll the timeline to select a certain backup time and preview files included.
- To preview whether the file is the right version you need, just highlight the file and press the Space Bar to take a closer look.
- Select the file or folder you need to recover, and then click Restore button. The file will be copied to the appropriate folder.
2. Restore the Entire Hard Drive from Time Machine Backup
When the MacBook Air had a hard drive crash/dead, or when your Mac OS X is misbehaving, restore the entire system from an Time Machine Backup should fix this problem.
- Make sure you connect and turn on the Time Machine Drive.
- Power up the Mac Air and hold down Command and R keys to enter OS X Utilites.
- Select Restore from Time Machine Backup, and click Continue button.
- Select the data and time of the backup that you want to restore, and then follow the onscreen instructions to continue and complete.

Data loss is common in today's computer world, we do not need to worry much when we delete important data mistakenly, a reliable data recovery can rescue our data back. If you are a MacBook Pro user, check how to restore lost files from Mac hard drive with professional MacBook Pro Data Recovery program.


