Printing Multiple Pictures on One Page on Mac
 Jerry Cook
- Updated on 2022-02-11 to Mac Data Recovery
There was the time when duplicating literary pieces meant rewriting them by hand as many times as the number of copies needed. The production of one book took a very long time and the price of a single book was exorbitant. Only the selected few scholars, royals, and religious leaders have access to them. That fact is also the reason why only the most important books were duplicated and book artists were among the elites of the society.
Everything changed when Gutenberg invented the printing machine. Books could be mass produced fast and cheaply. The general masses have access to literature and the new age began.
Looking at how easy everyday people today make a printed copy of any document, it is hard to believe that the dark age of literature even existed.
But convenience makes people take thing for granted. While everybody can press the Print button and have the document ready in few seconds or less, not many people know how to print multiple pictures on one page.
If you are a Mac user, here's how to print multiple photos on the same page.
With the Little Help of Preview
Not everybody needs the highest quality of prints. Sometimes one just needs a decent printed proof, another time the printer owner wants to save the ink for future print jobs. Whatever the reason, there are times when we need to cram multiple pictures into one page.
Mac comes with Preview app. This is a general file viewer that can help Mac users open a wide range of document types, from simple texts to images to PDFs. This app also capable of annotating documents, and of course, help you print multiple images on one page.
To do that, you need to open multiple image files using Preview. First, navigate to the image location and select the images that you want to print on Finder.
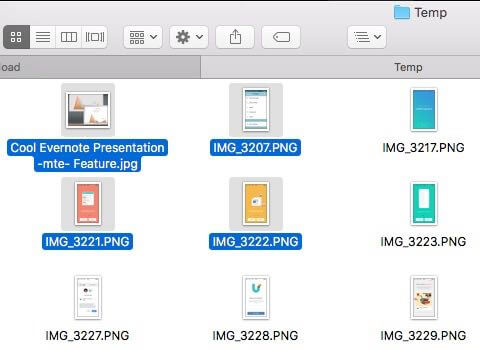
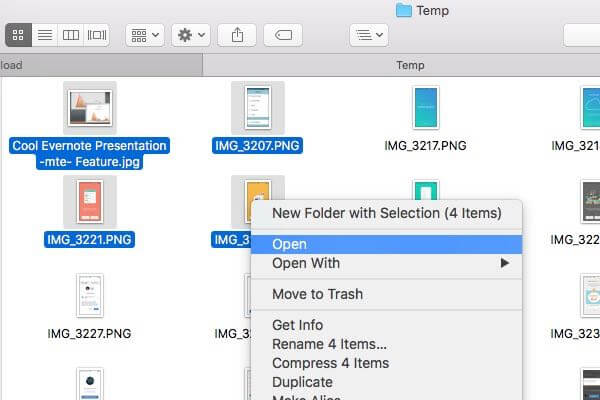
After that, right click on one of the images and choose Open from the pop-up menu. You could also use the key combination Command + O to open the image. By default, Mac will use Preview to open images.
You’ll see that your images are opened in the Preview window. If you activated the sidebar, you can see the thumbnails there.
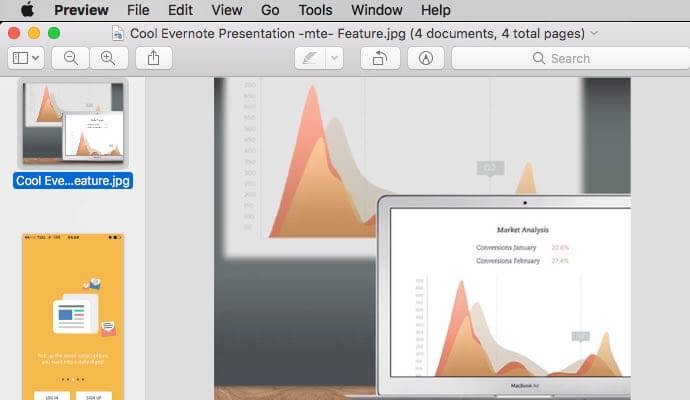
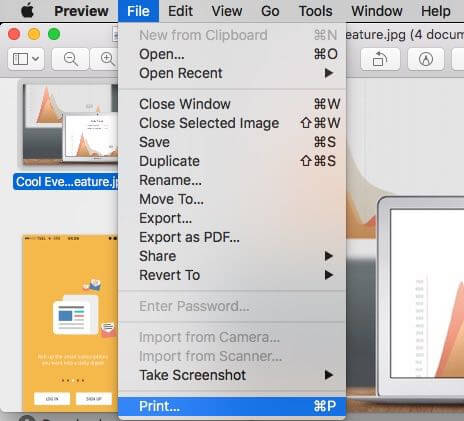
After making sure that all of the images that you want to print are there, click on the File > Print menu or use Command + P shortcut.
Now here is the important part. Choose Layout from the drop-down menu and continue with the number of pages that you want to be printed on one page. For example, the picture shows the settings to print four pages into one. Since one picture will originally occupy one page, the settings mean that you will get four images on one page.
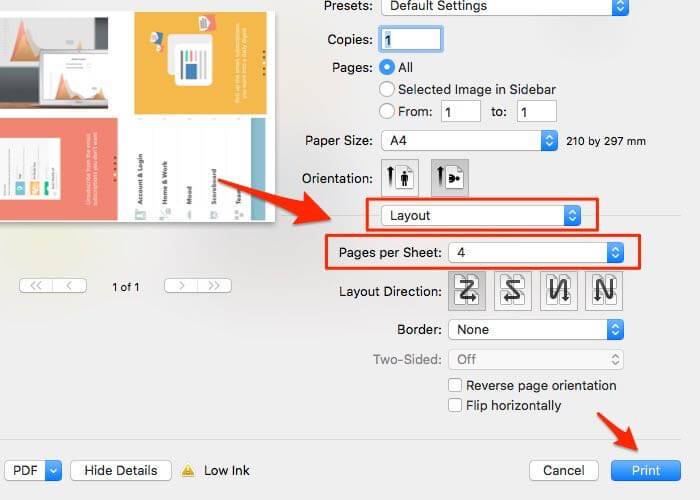
You can cram up to 16 pages into one. But please note that the more images you put on one page, the smaller the image size is.
There are other things that you can adjust in the print settings, such as the order or the images and whether you want to put borders around the images. You can play around and changes things according to your taste.
Protect and Recover Your Data on Mac
There are those who have the habit of deleting everything that they’ve printed. Since printing multiple images on one page usually just for quick documentation, you might still need the images for later. If you accidentally delete the images, you need help to recover them.
For this purpose, you can try Data Recovery for Mac. This app is a complete Mac data recovery solution to recover all types of files from Mac's hard drive and other portable devices like USB flash drive, external hard drive, SD card, iPhone, etc. on macOS Catalina, High Sierra, macOS Sierra, OS X 10.10 Yosemite, 10.9 Mavericks, and lower.
Download and install Mac data recovery free to your Mac from the link below.
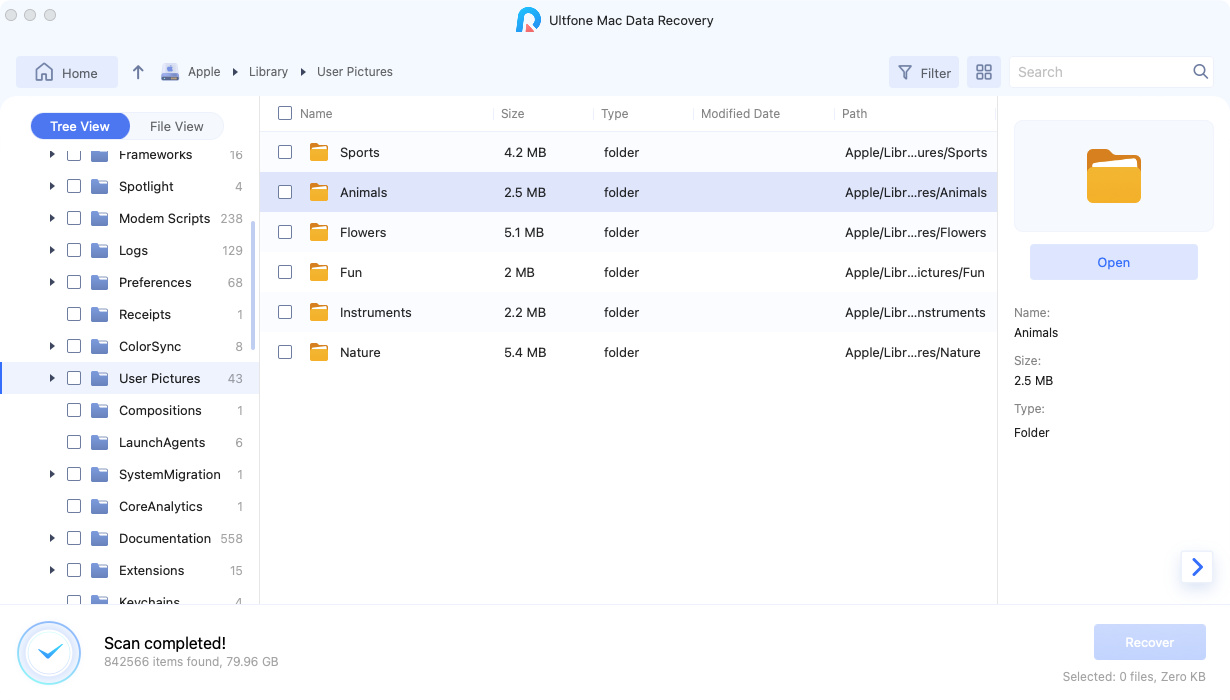
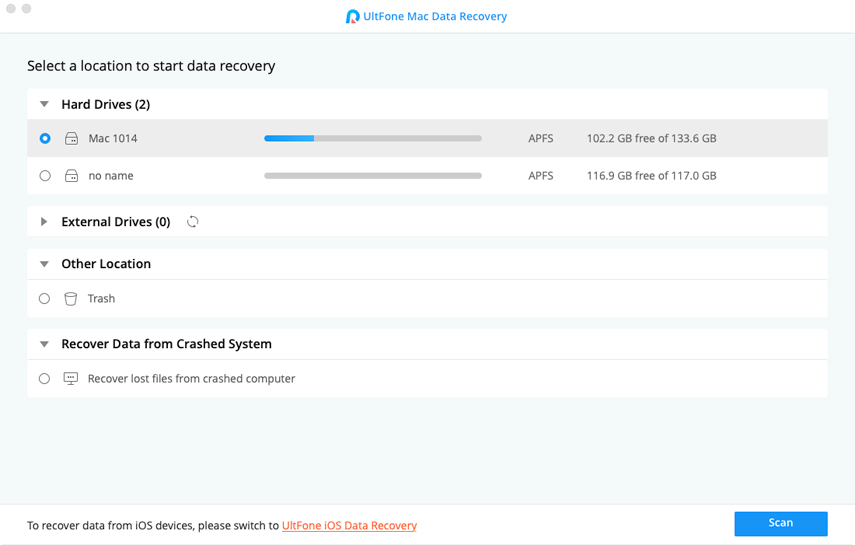
After launch the program, select the hard drive that you want to scan and click Scan button.
Before recovery, you can preview files.
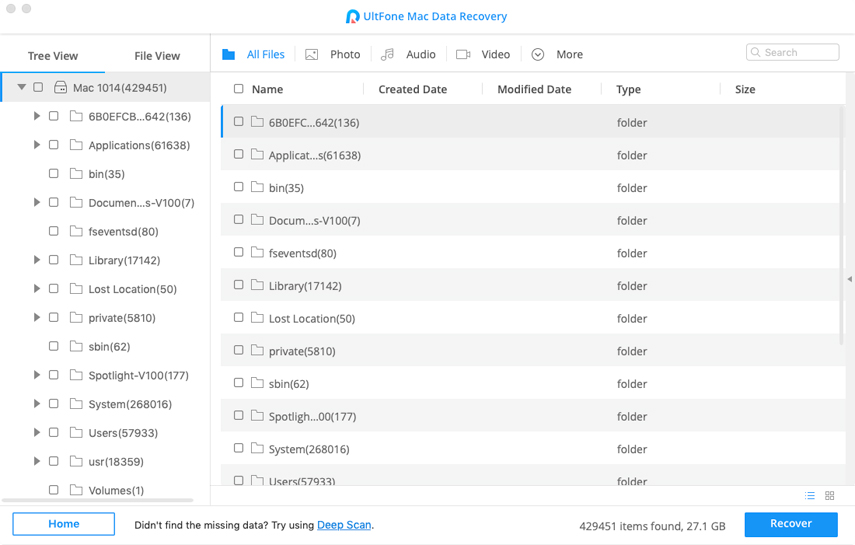
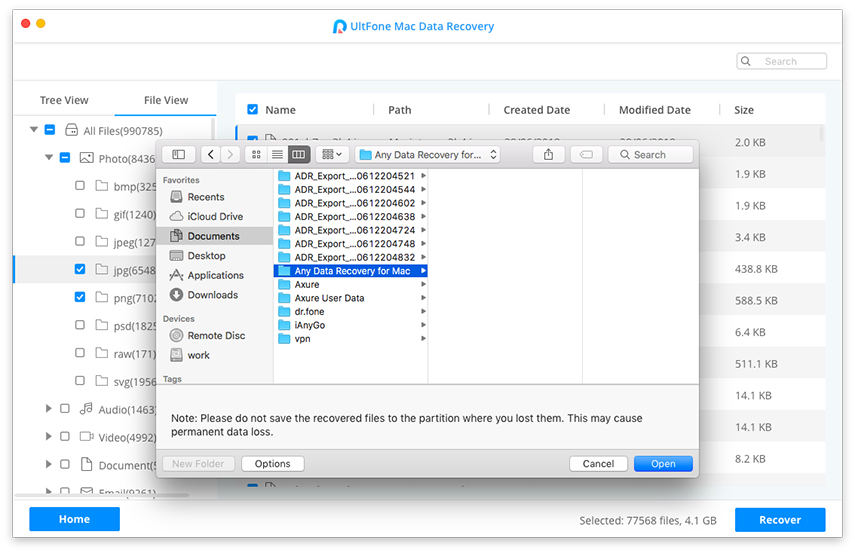
Choose files and click Recover button to recover them.
Last Words
Hope you already know how to print multiple pictures on one page on Mac. If you accidentally deleted photos on Mac, you can use Mac Data Recovery to recover lost photos on Mac.

