[Solved] How to Reset iPhone with itunes When Disabled
 Jerry Cook
- Updated on 2024-02-21 to iPhone
Not being able to access your iPhone for any reason can be quite frustrating. So, if you can’t access your iPhone due to incorrect passwords, there are some steps you can take to remedy the situation. Many people may wonder how to reser iPhone with itunes when disabled. This post will show you the solutions you can adopt to reset a locked iPhone.
- Part 1. How to Reset iPhone with iTunes When Disabled
- Part 2. How to Reset Disabled iPhone without iTunes
- Part 3. People Also Ask about How to Reset iPhone with iTunes When Disabled
Part 1. How to Reset iPhone with iTunes When Disabled
iTunes was initially known as media content software. However, in 2011, iTunes expanded its services by including a Restore feature to enable users to unlock their iPhones even when they have misplaced their passcodes.
In this section, you will quickly learn how to reset iPhone with iTunes when disabled. Before we get started, here are the requirements for using iTunes.
On Windows
Compatible with Windows 8 or higher. And you need the most recent version of iTunes for any Windows OS you are using.
On Mac
Make sure you have a USB.
Use macOS or any older version to open iTunes.
Open the Finder window should you have macOS Catalina or higher.
Steps for Using iTunes disabled iPhone on Windows
- Step 1. Connect locked iPhone to PC. Connect the disabled iPhone to your PC via USB cable. Launch iTunes on your PC.
- Step 2. Set iPhone in Recovery Mode. For iPhone 8 and above, press and release volume up button. Press and release volume down button. Hold power or side button until the recovery mode screen comes up. For iPhone 7 and 7+, press the side or top and volume down buttons together until recovery screen comes up. For iPhone SE, hold the power or side button together with the Home button till the recovery mode screen shows up.
- Step 3. Restore iPhone. The moment the Recovery Mode screen comes up; a dialog box will appear on iTunes requesting you to Update or Restore your iPhone. Click Restore.
- Step 4. iTunes will require you to confirm your option to Restore iPhone. This is necessary because restoring iPhone to factory setting means you will lose all your previous data in the phone. Click on Restore & Update to proceed.
- Step 5. Click Next when you see iPhone Software Update. Then, iTunes will commence the necessary download that will restore your device.
- Step 6. A progress bar showing the process will appear on your iPhone. The duration of the process is a function of the data size you have on the phone. After which, you can choose a new passcode.
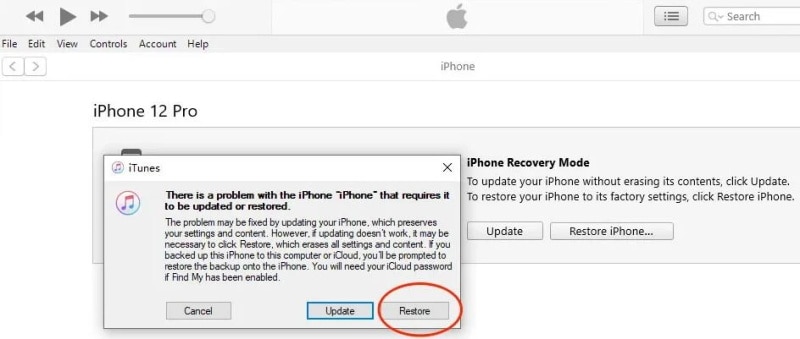
Using iTunes to reset disabled iPhone is far from perfect. That’s because iTunes is rarely updated, and the process is mostly interrupted by errors. It also takes too long a time to complete and cannot be done without erasing the data on the device.
Part 2. How to Reset Disabled iPhone without iTunes
Apart from using iTunes, which is not high success rate, there are another ways that help you know how to factory reset iphone when disabled.
2.1 Recommended Way to Reset Disabled iPhone
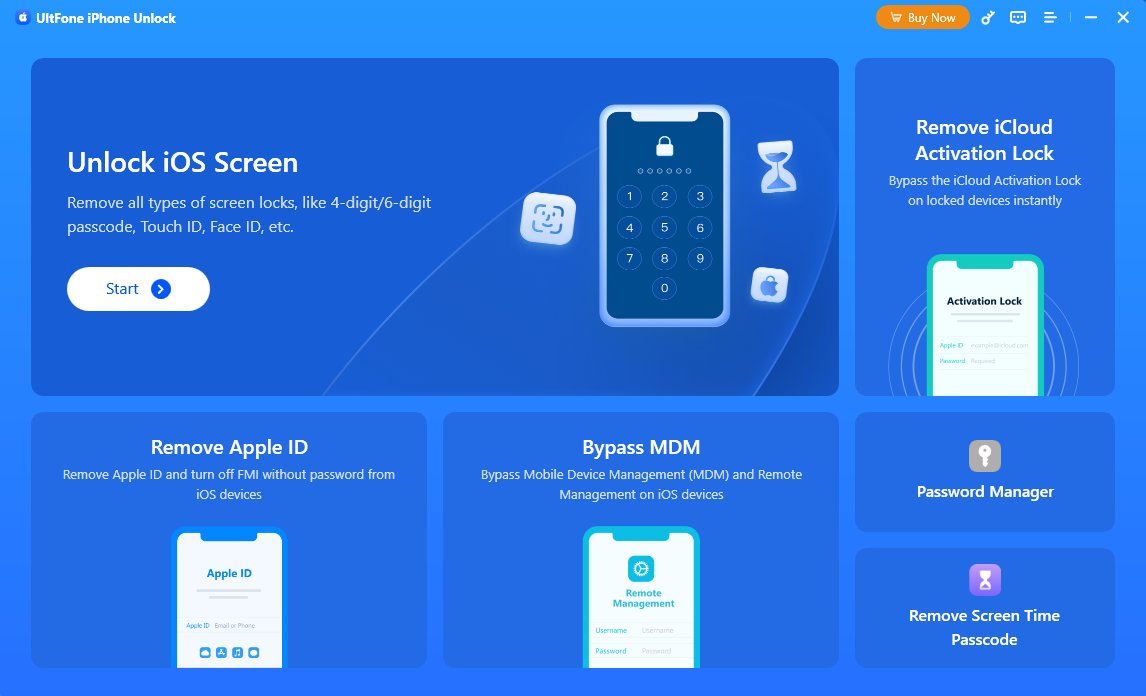
UltFone iPhone Unlock is an effective tool that lets you factory reset disabled iPhone without losing your data. Unlike iTunes, UltFone iPhone Unlock can resolve device access problems like Apple ID, Touch ID, and Face ID in seconds. UltFone iPhone Unlock is also super user-friendly.
Features of UltFone iPhone Unlock
- Resolves every screen lock issue on iPad/iPhone/iPod Touch in simple steps.
- Deactivates iOS screen password in seconds.
- Bypasses Screen Time Passcode with your data totally secured.
- Bypass MDM in seconds. No need for rooting.
- Compatible with all iPhones and iOS versions.
Steps to use UltFone iPhone Unlock
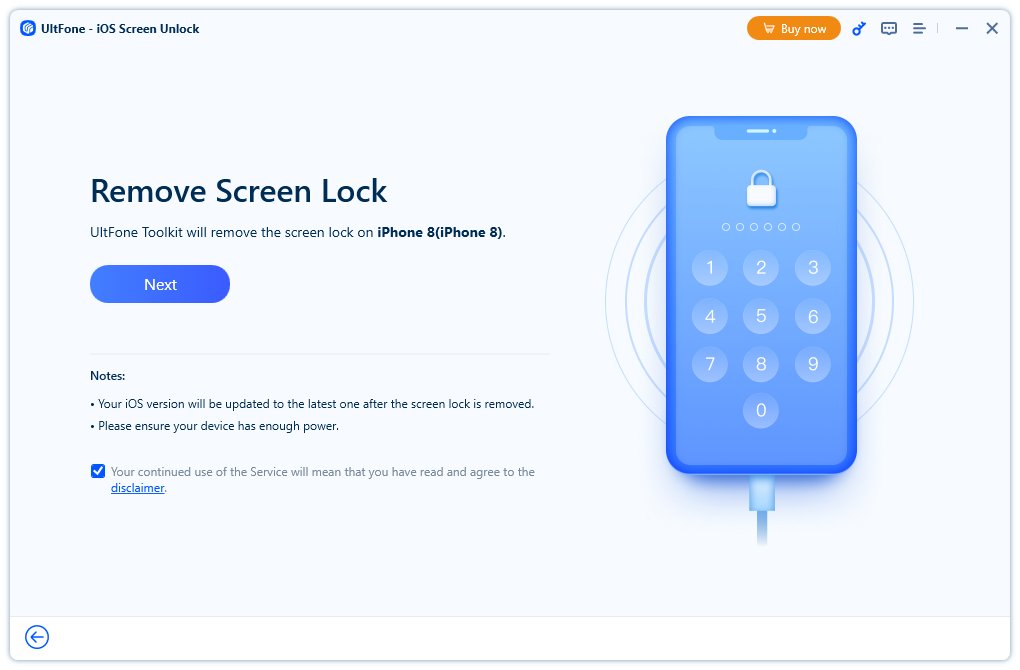
- Step 1 Download UltFone iPhone Unlock and have it installed onto your PC. Open the software and click on Start to commence screen unlocking.
- Step 2 Connect iPhone to PC. The device will automatically appear on the app’s interface. Then, proceed by clicking Next.
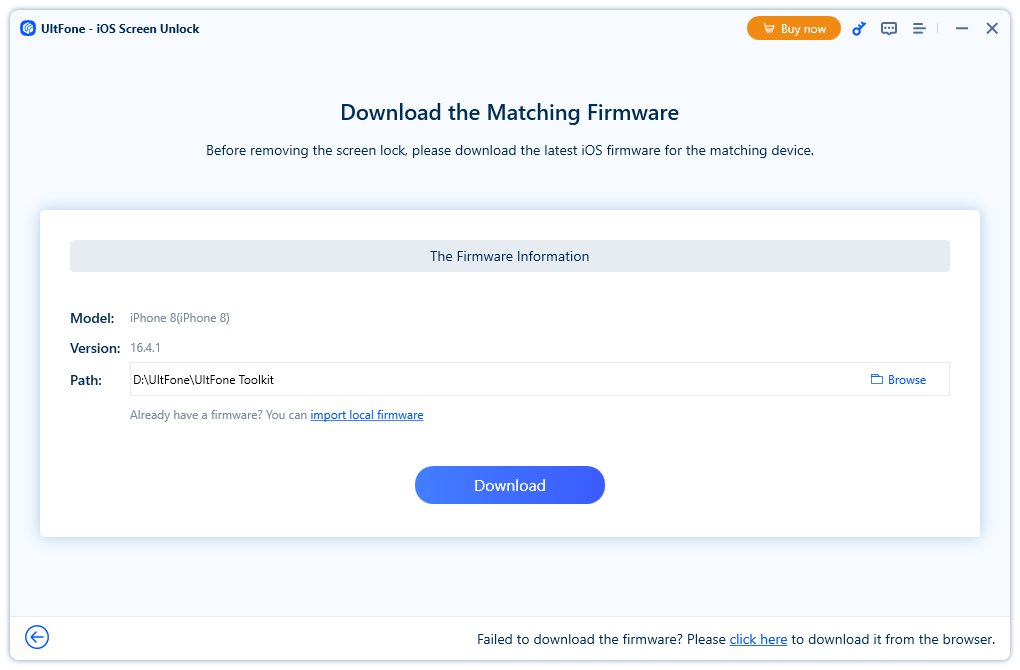
- Step 3 Download firmware package. You need a minimum of 7G of storage space for the firmware, so ensure you have that much space.
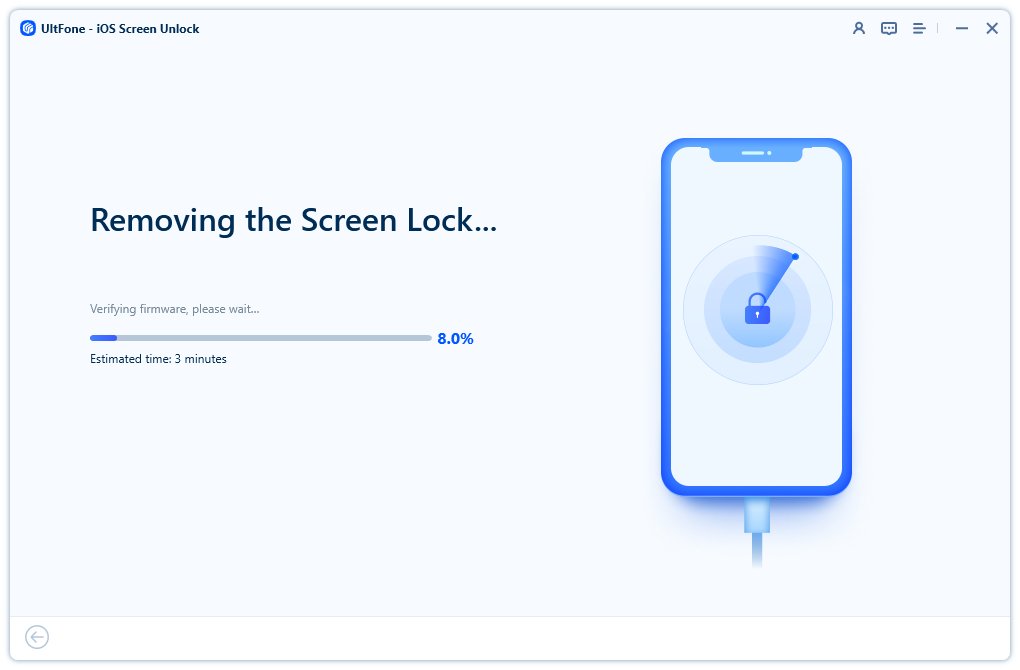
- Step 4 Activate Screen Unlocking by clicking Start Remove to get rid of the passcode. Ensure device is not disconnected in the process.
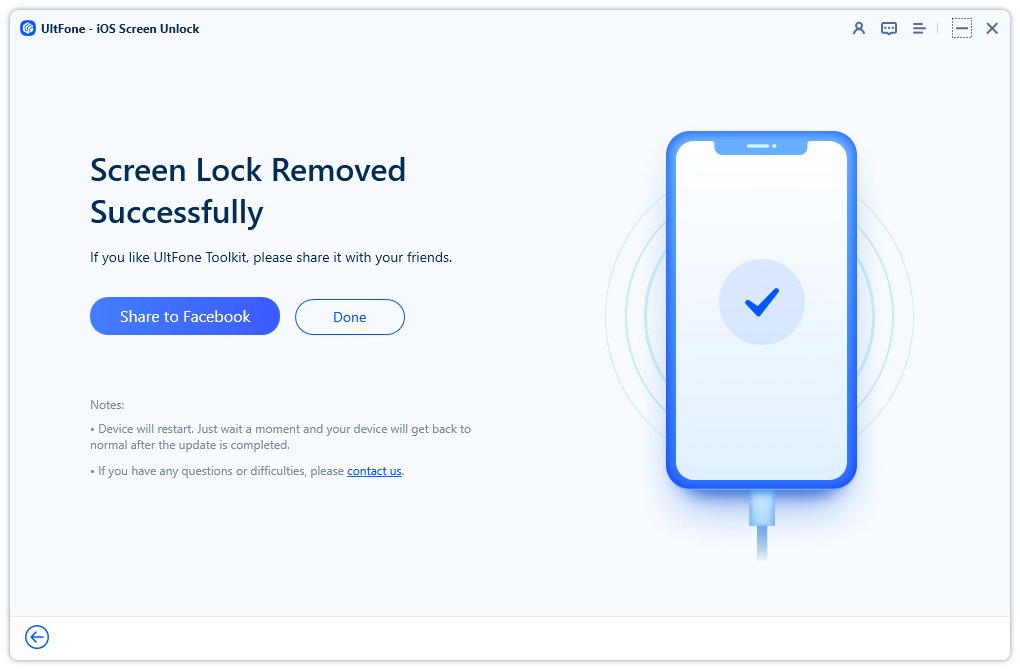
- Step 5 Congratulations! Your disabled iPhone has been factory reset successfully.
2.2 Using iCloud
Are you looking for how to factory reset disabled iPhone without iTunes? Then, it would be best if you employed iCloud’s Find My feature. iCloud offers a unique service known as Find My for unlocking iPhones. This service is primarily for discovering missing iPhones via maps.
Steps to Use iCloud
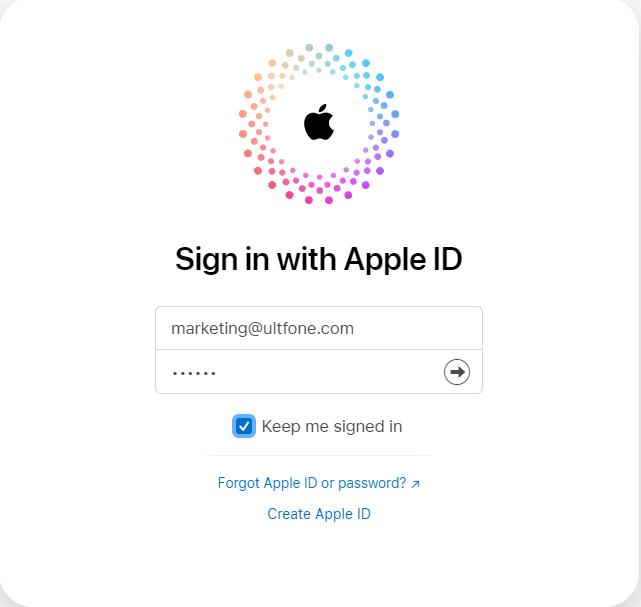
- Step 1. Access iCloud.com via any browser.
- Step 2. Log in with your password and Apple ID.
- Step 3. Click Find My and enter your Apple login credentials and log in. Look for your device under the All Device section.
- Step 4. Click Erase iPhone. Click Erase one more time.
- Step 5. Input Apple ID to proceed.
- Step 6. A code will be sent to enable you unlock the device.
- Step 7. At this stage, enter your number. Click on Next and Done.
- Step 8. The erasing process will commence. When the process completes, the iPhone restarts on its own.
- Step 9. iPhone will indicate that the device is now secure. Enter Apple ID to gain access and click Next to create new passcode.

Part 3. People Also Ask about How to Reset iPhone with iTunes When Disabled
3.1 What happen when I reset my iPhone?
After resetting an iPhone, it returns to its original state, with all the factory settings in place. The phone looks as if you are using it for the first time.
3.2 My iPhone is disabled and won't connect to iTunes
The most plausible reason for this could be too many wrong password entries. Erasing the device will help you get the problem fixed in no time.
Final Word
This post has helped you how to reset iphone with itunes when disabled and provided another 2 ways to reset locked iPhone without itunes. It is discovered that using UltFone iPhone Unlock is the easiest and safest method to reset any iPhone. It only requires few clicks, and your data will be fully secured.


