How to Activate and Set Up iPhone 13, iPhone 13 Mini, iPhone 13 Pro(Max)
 Jerry Cook
- Updated on 2023-05-18 to iPhone
For new iPhone users, you may not know how to activate and set up iPhone 13 properly and probably get stuck while activating your new iPhone. In this article, we will show you how to activate and set up your new iPhone 13. Read on to find out more details.
- Part 1. How to Activate and Set Up New iPhone 13
- Part 2. Unable to Activate Your New iPhone? Follow These Steps!
- Part 3. How to Set Up iPhone 13 using Quick Start
- Part 4.How to Transfer Everything from Old iPhone to New iPhone
- Part 5. How to Transfer Data from Android to New iPhone 13
Part 1. How to Activate and Set Up New iPhone 13
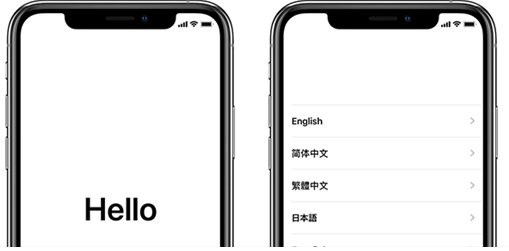
- Step 1: Press and hold the Power button to turn on your iPhone 13. You will see "Hello" in different languages. Swipe up to continue.
Step 2: Now, select the language and country.

- Step 3: If you have an old device running iOS 11 or later, you can use the Quick Start feature. The Quick Start feature helps you quickly set up your new iPhone using your old iOS device. Otherwise, simply tap "Set Up Manually" option from the Quick Start screen.
- Step 4: After that, select a "Wi-Fi network" and enter its password. If the Wi-Fi network is not available, you can also use a cellular network by tapping “Cellular Connection”.
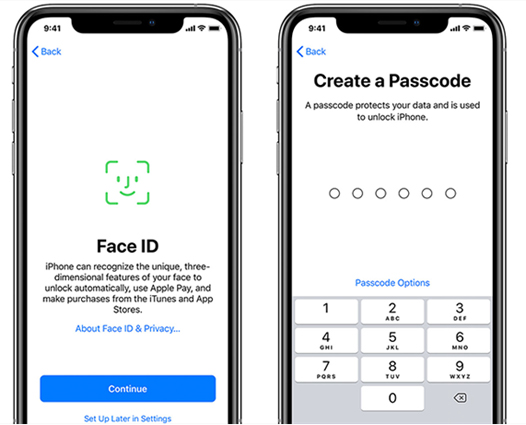
Step 5: Now, choose "Data & Privacy" and set up Face ID & Passcode on your iPhone.

Step 6: Now, you will see Apps & Data screen with options: Restore from iCloud Backup, Restore from Mac or PC, Transfer Directly from iPhone, Move Data from Android, and Don't Transfer App & Data. Choose the option that suits your requirements.

- Step 7: Sign in with your Apple ID & Password. If you don't have Apple ID, you can create a new one.
- Step 8: After you're done setting up Apple ID, set up iCloud Drive, iCloud Keychain, & Apple ID, and then accept the Terms & Conditions to continue.
- Step 9: Now, you will be required to set up other options like Automatic Updates, Siri, Screen Time, App Analytics, iPhone Analytics, & Location Services.
- Step 10: The next step is to select the “View”. There are two options: Standard and Zoomed. Choose the one that fits your requirements, and then tap Continue.
- Step 11: That's it! You have successfully set up your iPhone 13. Enjoy using it.
Part 2. Unable to Activate Your New iPhone? Follow These Steps!
Setting up an iPhone is pretty straightforward, but sometimes it can be a bit tricky. You may face errors that shall prevent you from activating your iPhone. If you're also unable to activate your iPhone, then follow the tricks below:
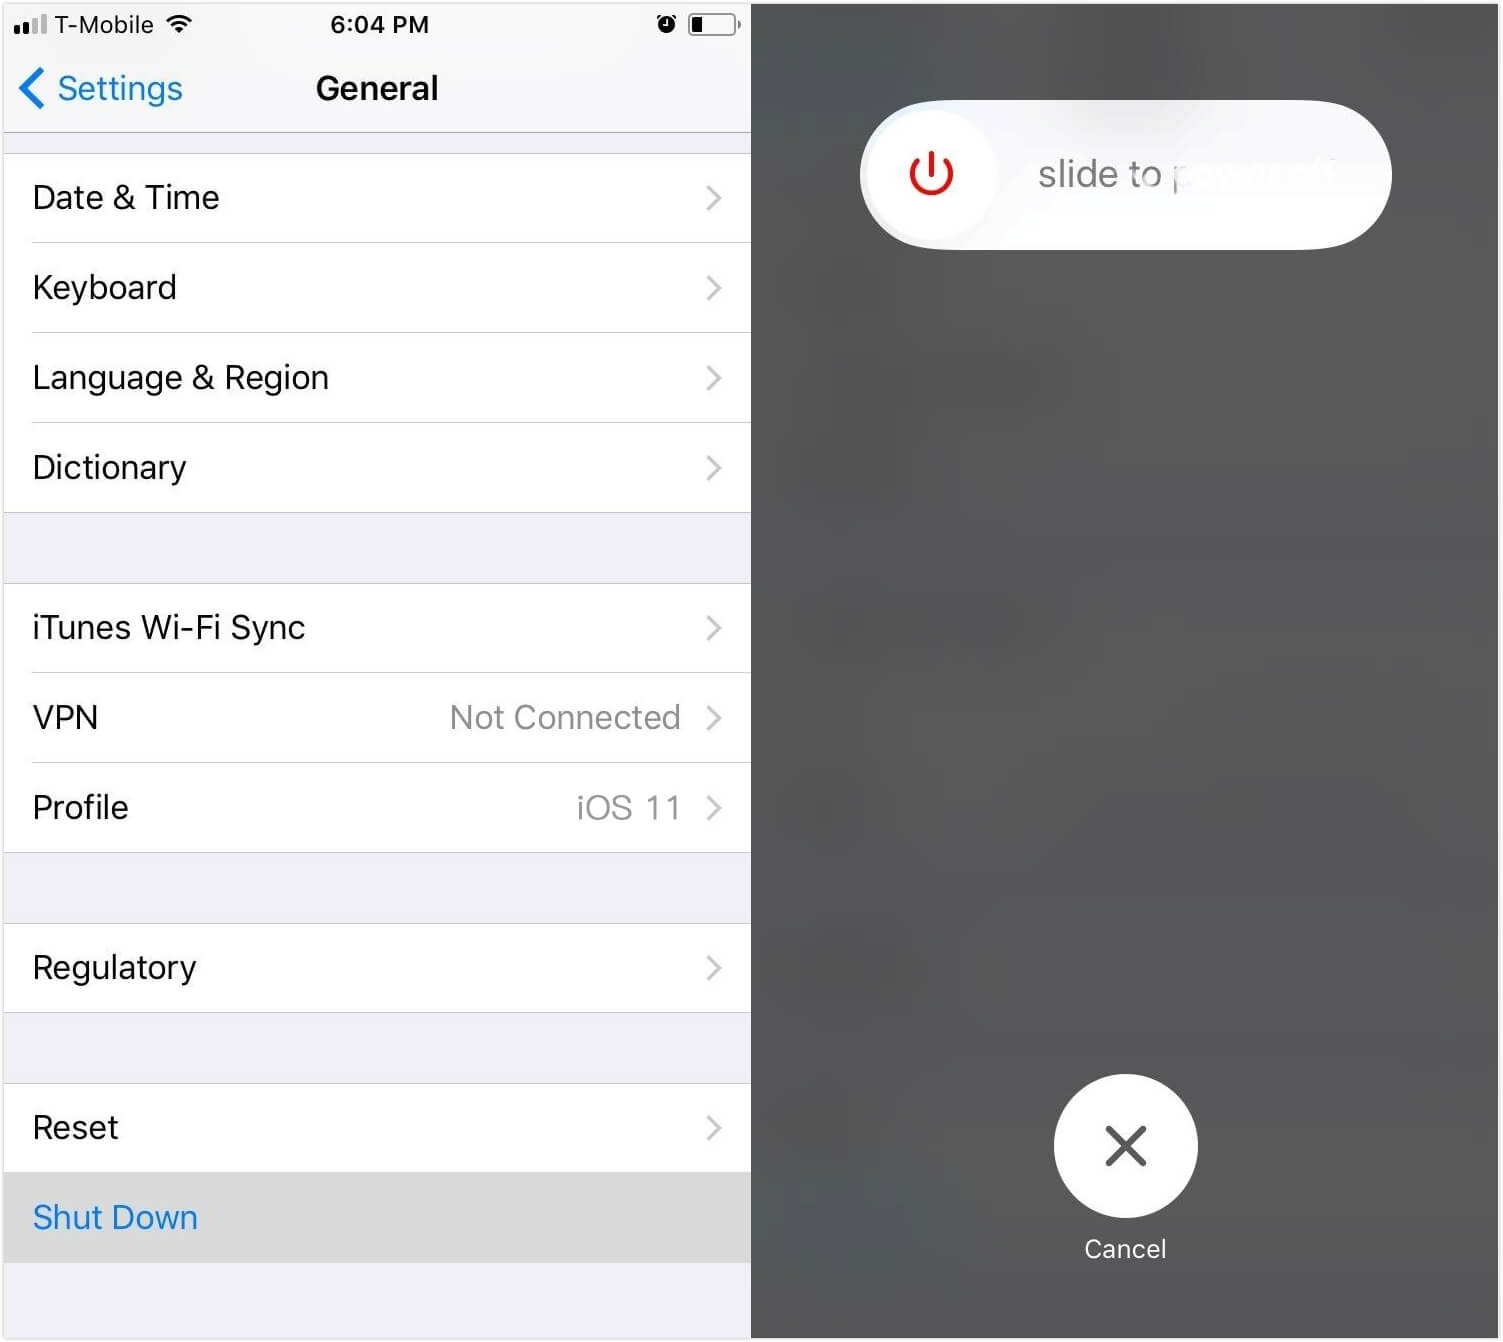
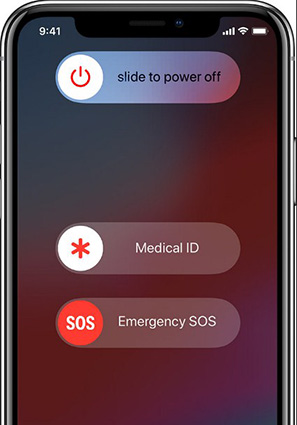
- Reboot your iPhone.
- The problem may be happening due to an unstable internet connection. Try connecting to another Wi-Fi network.
- Make sure to check whether the iOS Device Activation Server is active or not. If it's offline, then you wouldn't be able to activate your iPhone 13 until the server get backs to normal. Wait for some time until Apple resolves the issues, and then try again.
- If you are activating your iPhone via iTunes, ensure that you have installed the latest version of iTunes on your computer.
- Make sure you have a SIM card installed. If it is installed properly, then there might be an issue with Sim Card. Contact your network provider, and request them to replace the SIM Card.
Part 3. How to Set Up iPhone 13 using Quick Start
You might be hopeless after the last trick, but you don't need to be. If you have synced your device with iTunes already, this method can help you out. Apple's iTunes is used on PC or Mac and can help you factory reset your phone. With all your data erased alongside the passcode, you can unlock your iPhone. Let's talk about the process:
- 1. Turn on your new iPhone and bring it closer to your old iPhone. The Quick Start interface will appear on your old iPhone, offering you the option to set up your new iPhone.
- 2. Make sure your old iPhone displays the same Apple ID that you want to use on your new iPhone, then tap continue.
- 3. Now, wait for a couple of seconds until an animation appears on your iPhone 13. Hold your old device over the new one to scan this image.
- 4. Wait for a message that says "Finish on New iPhone".
- 5. After that, you'll be required to type your old device's passcode on your new iPhone.
- 6. Follow the on-screen instructions to set up Face ID on your iPhone 13. When prompted, type your Apple ID and password.
- 7. Your new device offers the choice of restoring apps, data, and settings from your most recent iCloud backup. Furthermore, you can also choose to transfer some settings related to location, privacy, Apple Pay, and Siri.
Part 4. How to Transfer Everything from Old iPhone to New iPhone
You should give UltFone iOS Data Manager a try as it is a one-stop solution to backup, restore, manage and transfer iOS data. UltFone iOS Data Transfer handles all your tasks in real-time and in the most efficient way. So, whether you want to backup videos to your computer, or restore contacts from your computer to your iPhone, UltFone iOS Data Manager is here to help you. Some of the great features of UltFone iOS Manager are:
- Transfer everything from old iPhone to new iPhone.
- One-click to export photos from iOS device to computer.
- Selectively backup and restore data without erasing iPhone.
- Import/export/delete/edit iOS data as you want.
Here's a simple guide on transferring data from the old iPhone to new iPhone using UltFone iOS Data Manager.
-
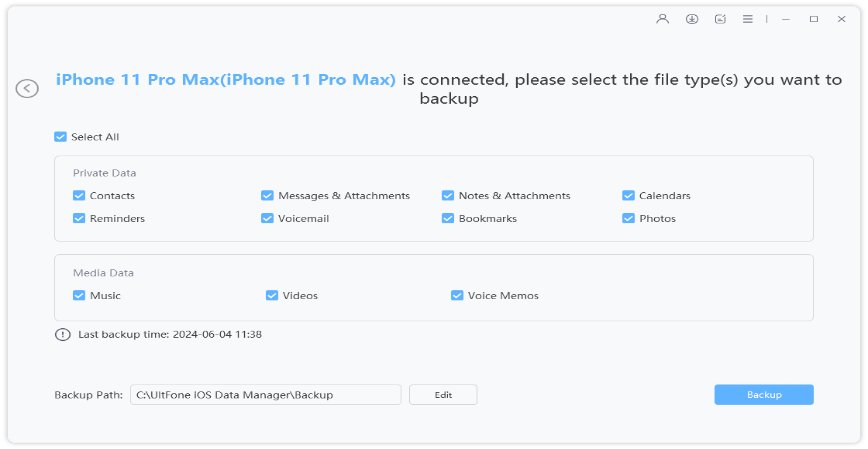
Step 1 Download & install UltFone iOS Data Manager on your PC/Mac. Connect your old iPhone to the Computer/Mac. From the top menu, choose "Backup & Restore" feature.

- Step 2 Now, choose the files that you want to transfer to your iPhone 13.
-
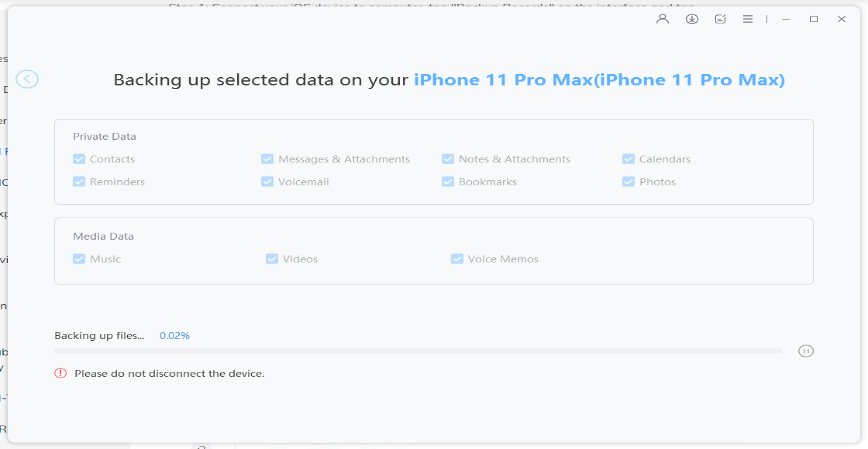
Step 3 After that, click the Backup button. Wait for a few minutes until it creates a backup.

- Step 4 After the backup is created, disconnect your old iPhone and connect the new iPhone to PC/Mac.
- Step 5 Now, go to the "Backup & Restore" section and select "To view or restore previous backup files" option at the bottom left.
-
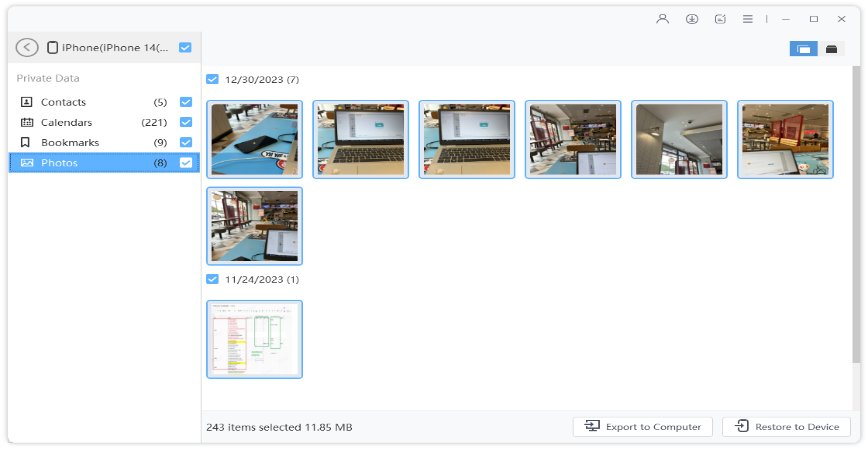
Step 6 The program will display backup files that you have created. Choose the previous backup and click "View".

-
Step 7 Click "Restore to Device", and all of your data will be transferred to the new iPhone.

Part 5. How to Transfer Data from Android to New iPhone 13
You can also transfer data from Android to iPhone 13 with the help of the "Move to iOS" application. The application was developed by Apple to transfer contacts, message history, photos, and videos between Android to iOS. The steps are as follows:
- 1. From your Android, go to Google Play Store and download "Move to iOS".
- 2. Power on your iPhone and follow the prompts until “Apps & Data” screen appears.
- 3. After that, select "Move Data from Android".
4. A ten-digit or six-digit code will appear on your iPhone.

- 5. Launch Move to iOS on your Android. Tap Continue > Agree > Next.
- 6. Now, enter the code on your Android device.
- 7. After that, choose what you want to transfer to your iPhone 13 and hit Next.
Conclusion
Transferring data from the old iPhone to iPhone 13 has become easy with UltFone iOS Data Manager. The program is secure, reliable, and efficient. Moreover, we made you aware of the procedure to set up your iPhone 13. So, don't wait. Set up your iPhone 13, and transfer everything with ease using UltFone iOS Data Manager.

