Full Guide on How to Backup A Disabled iPhone
 Jerry Cook
- Updated on 2021-06-01 to iPhone Backup
So my phone is disabled and I haven't backed it up in 2 months, it just got disabled like 2 days ago and I was wondering if I can backup while it's disabled before I restore it? I don't remember what operating system I had but I do know it was IOS10 something.
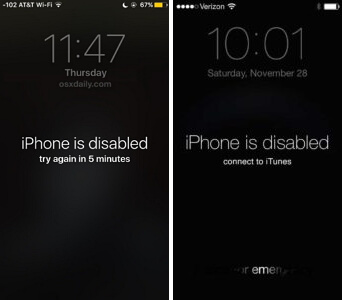
The situation can be quite frustrating when you disabled your iPhone because of entering the wrong passcode too many times in a row or a kid's misoperation. And restoring the iPhone to remove the old passcode will erase all the data forever. However, if you take a little care in advance, your data will be kept safe. For this, we are here to provide you some practical methods that describe how to back up a disabled iPhone. Besides, we'll show you how to unlock a disabled iPhone as well.
- Part 1. Can I Backup A Disabled iPhone
- Part 2. How to Backup Your Disabled iPhone without iTunes/iCloud
- Part 3. How to Unlock Disabled/Locked iPhone with/without Data Loss
Part 1. Can I Backup A Disabled iPhone
Of course you can! In this guide, we'll take you through two disabled iPhone situations:one is iTunes can recognize your locked iPhone and the other is iTunes can’t recognize your locked iPhone. Read on and find out the respective solutions to backup your disabled iPhone in these two scenarios.
How to Backup A Disabled iPhone with iTunes (If iTunes Can Recognize Your Locked iPhone)
You can try this method only on a computer that has been trusted by your iPhone before and after that, you didn't restart your iPhone until now. By using iTunes, you can restore the whole data in just a few minutes. Here's the guide on how to back up a disabled iPhone with iTunes.
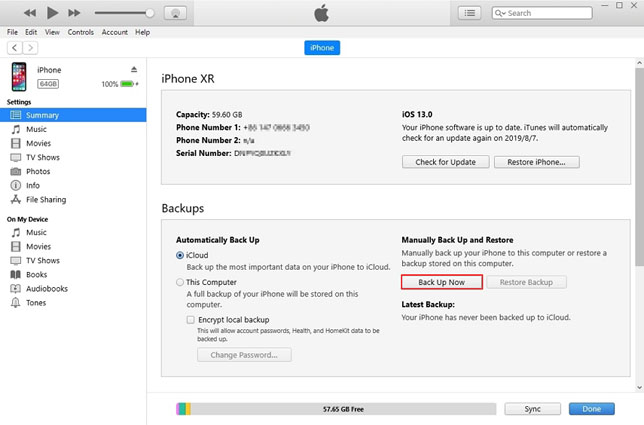
- Step 1: First of all, you have to open iTunes on the computer that has been trusted by your iPhone.
- Step 2: Now, you need to connect the disabled iPhone to the computer via a USB cable.
- Step 3: After that, locate and click the “Back Up Now” button.
How to Backup A Disabled iPhone with iTunes (If iTunes Can NOT Recognize Your Locked iPhone)
The question arises if your iPhone hasn't been synced with iTunes, then how can you make backup of your disabled iPhone? Well, the answer is to remove the passcode without restoring iPhone. Although it might a not a 100% working method, we stll recommend you to give it a free try!
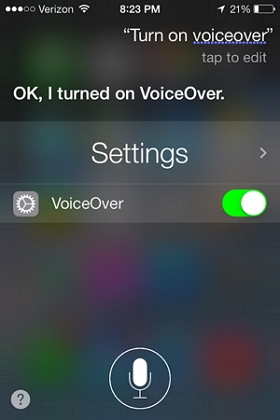
- Step 1: Enable Siri by pressing and holding the home button on your disabled iPhone until Siri appears.
- Step 2: Ask Siri about time.
- Step 3: When the time appears on your screen, click on the clock.
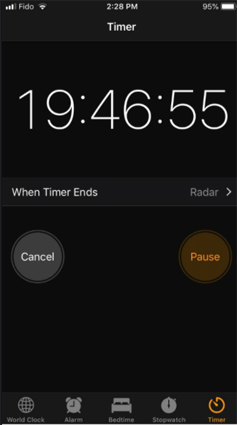
- Step 4: After clicking on the clock, you will see the World Clock/Alarm/Stopwatch/Timer screen. Then all you need to do is click the Timer option.
- Step 5: Select When Timer Ends.
- Step 6: Now, scroll to the top of the ringtone list, then select the Buy More Tones option.
- Step 7: After clicking the button, it will initiate the Apple Store.
- Step 8: Now, you can have full access to your iPhone by clicking the home button.
Will A Disabled iPhone Backup to iCloud
The answer is positive if you have already turned on the auto-sync option on your iPhone. By turning on the auto-sync option, iPhone will automatically sync data to iCloud server as long as it's connected to Wi-Fi and there's enough storage space on iCloud. So, no worries, if you forget your passcode, log in to iCloud on web and check whether data has been successfully backed up there.
Part 2. How to Backup Your Disabled iPhone without iTunes/iCloud
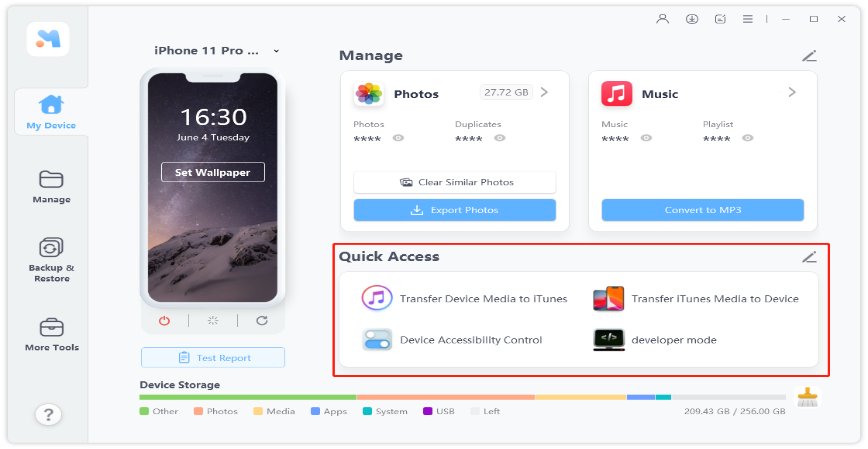
UltFone iOS Data Manager is a fast and secure tool used for backing up/restoring/managing/transferring files between iOS devices and computers. It provides a user-friendly interface that makes it ideal for inexperienced users. And you can get rid of all problems caused by iTunes/iCloud backup limitations with this powerful tool. We would highly recommend you to choose this software for performing particular tasks, including backing up a disabled iPhone.
The key features of the software include:
- Support to selectively backup and restore data.
- Support to free preview backed up files.
- No storage space limitations.
- No network required during the backup process.
- Industry-leading data backup speed.
Here’s how to backup a disabled iPhone using UltFone iOS Data Manager:
-
Step 1First of all, you have to connect your iOS device to a computer and launch UltFone iOS Data Manager software on the computer.

-
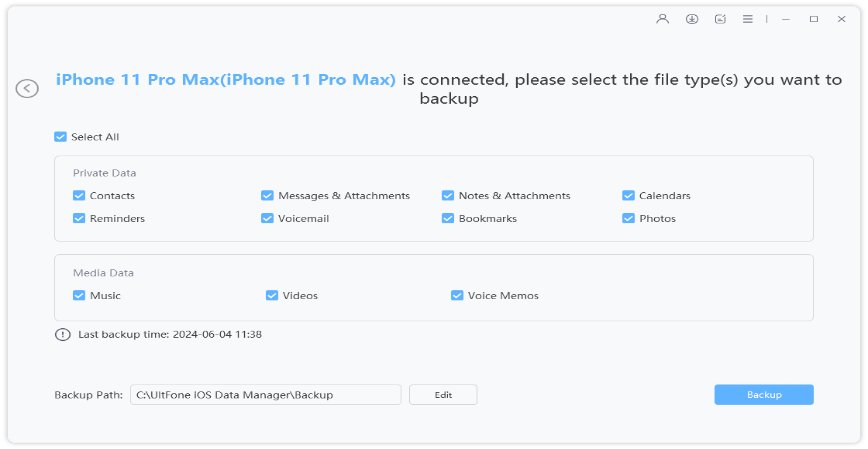
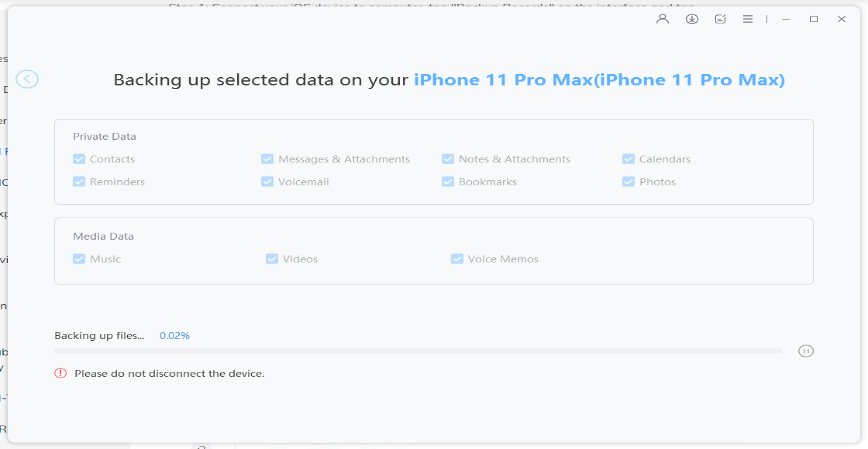
Step 2 Tap on the "Backup & Restore" option, and select the files you want to backup.

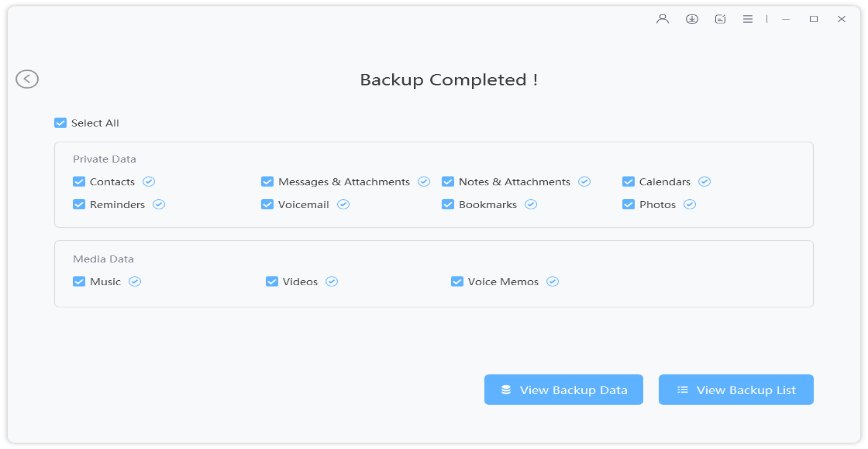
- Step 3 Now, click the Backup button and it'll start to back up data on your disabled iPhone.
- Step 4 That's it, now you can view the backup on your computer.
Part 3. How to Unlock Disabled/Locked iPhone with/without Data Loss
The specific solutions to unlock a disabled iphone /withwithout losing data still depend on whether the iTunes can recognize the iPhone or not. Now Let’s discuss how to unlock a disabled iPhone with/without losing data in detail.
How to Unlock Disabled iPhone without Data Loss (If iTunes Can Recognize the iPhone)
- Step 1. First of all, connect your iPhone to the computer that can recognize your iPhone.
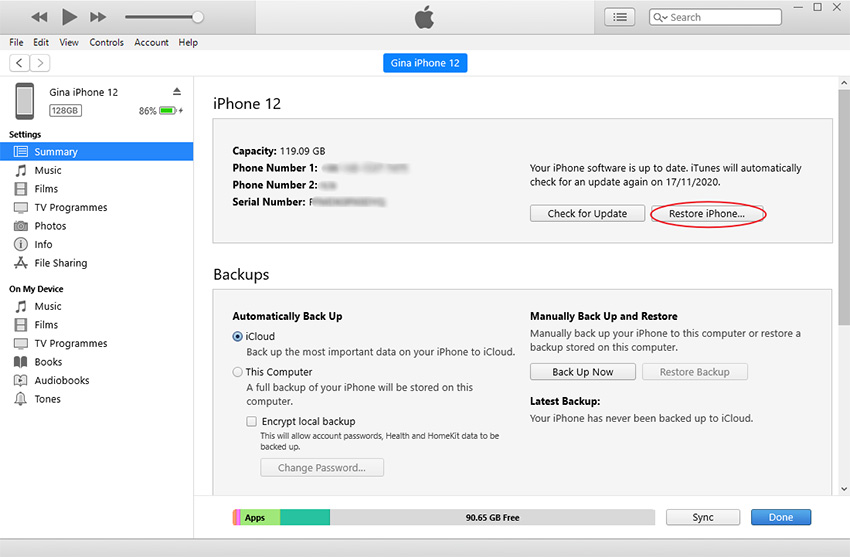
- Step 2. When your iPhone gets recognized, open your iTunes and click "Back Up Now" to back up your data.
- Step 3. Then click the Restore iPhone to factory reset your iPhone.
- Step 4. Click Restore Backup to restore the latest backup that you've just made.
How to Remove Disabled iPhone Passcode without iTunes (If iTunes Can NOT Recognize Your iPhone)
- Step 1. Put your iPhone into recovery mode.
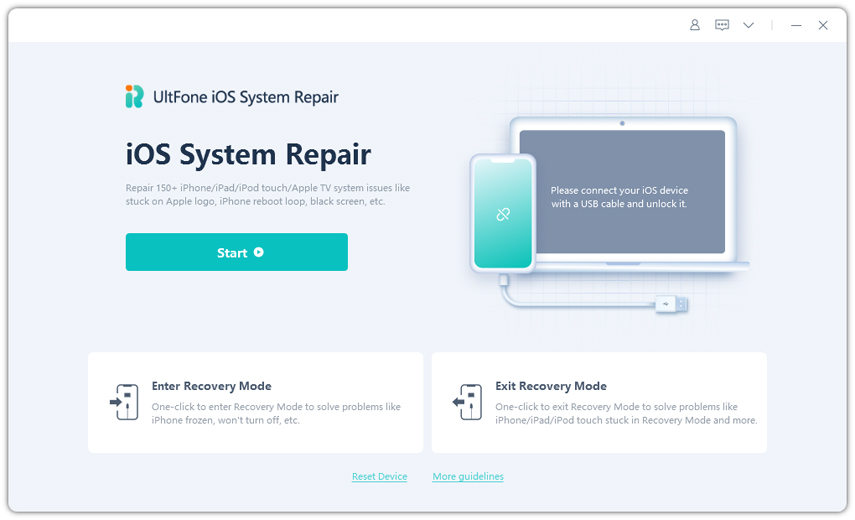
- Step 2. Download and launch UltFone iOS System Repair on your computer.
- Step 3. From the main interface, select Reset Device.
- Step 4. Click Factory Reset to start removing disabled iPhone passcode.

Conclusion
In short, if you disabled your iPhone and are now wondering how to backup data from the disabled iPhone, then you can try out all the methods mentioned above, among which UltFone iOS Data Manager is the most recommended due to its utmost success rate. Also, if you have faced any difficulty while using UltFone iOS Data Manager, feel free to comment. Our team will be thrilled to assist you :)

