How to Clear Google History on iPad
 Jerry Cook
- Updated on 2021-09-13 to iPad
The Google app on iPad continuously stores data locally as you visit certain sites, including browsing history, cookies, cached images and files, saved passwords even after you closed the browser. Cookies can improve your browsing experience by allowing sites remember your preferences or letting you avoid signing in each time you visit certain sites, but it can also present both a privacy and security risk as well as a storage issue to the iPad's owner. Due to these inherent risks, Chrome allows users to have these data removed. Keep reading for more information to learn how to clear cookies from Google app on iPad Pro/Air/Mini in iOS 15 permanently.
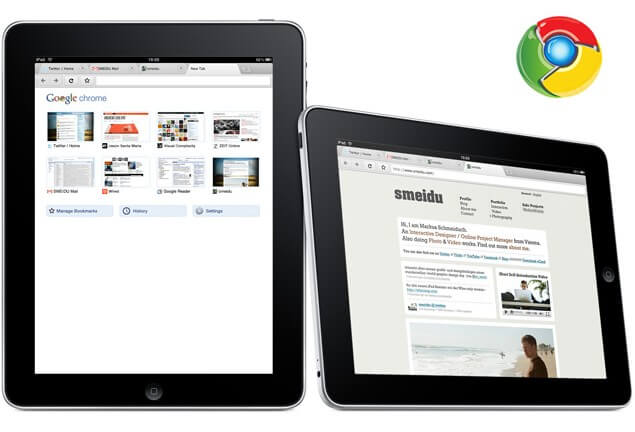
2 Ways to Delete Google Browsing History on iPad Pro/Mini/Air/iPad
Below are 2 ways to help you remove unnecessary Google cookies, cache and browser history on iPad.
Method 1: Delete Google Cookies on iPad Using Settings
This can be used to clear Chrome browser cookies, history, cookies and site data, or all web data in Chrome for iPad so that keep things clean and tidy from a privacy standpoint. Now follow the steps below:
Step 1: Open the Chrome app on your iPad.
Step 2: Tap on the menu button (looks like three dots)which located in the upper right corner of the Chrome browser screen.

Step 3: Next, navigate down and tap on “Settings”, then tap on “Privacy”.

Step 4: Here you will see an option to Clear Cookies, Clear Cache, Clear Browsing History, or Clear All. Select Cookies, Site Data to start cookie cleaning.
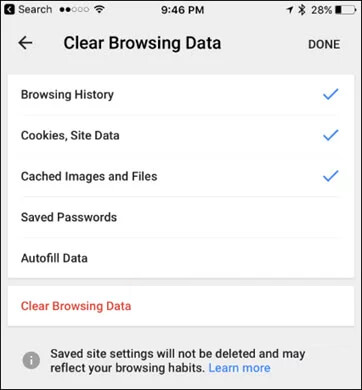
Step 5: Hit “Done” once completed to go back in the standard Chrome browser as usual.
Method 2: 1-Click Remove Cookies/Caches/Browsing History in Chrome for iPad with Tenorshare iCareFone
Compared with the method 1, using Tenorshare iCareFone to delete Google history, caches, and cookies in Chrome for iPad/iPhone is more straightforward. With only 3 steps, Tenorshare iCareFone can help you delete all the unwanted files, including junk files (app cookies, app caches, clutter files, etc.), temporary files and large files quickly and securely. Here’s how it works:
To get started, please make sure you have downloaded and install Tenorshare iCareFone on your computer.
Step 1: Launch Tenorshare iCareFone on your computer. Then connect your iPad to your computer with a USB cable.
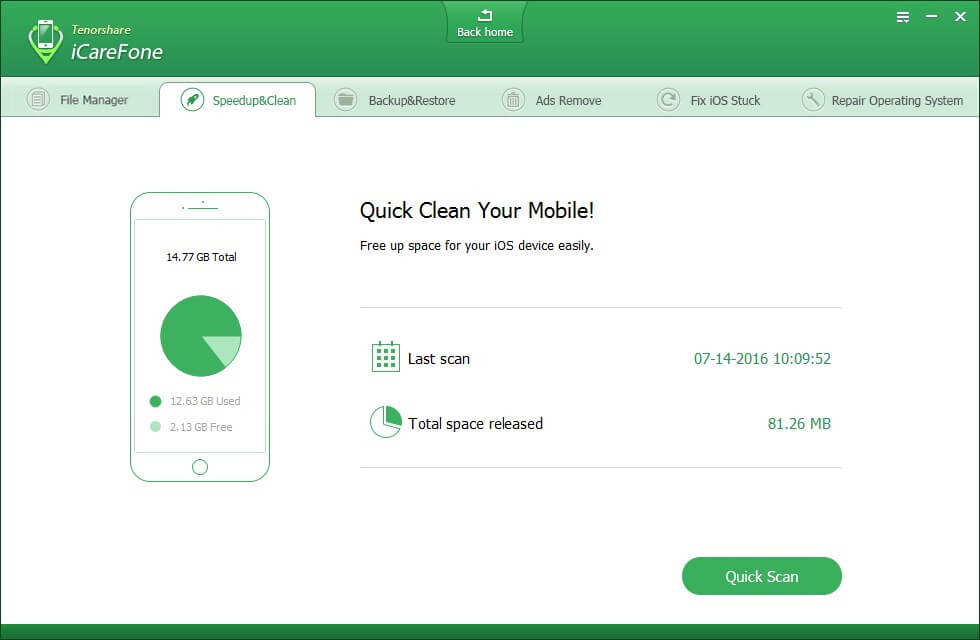
Step 2: Simply select and hit “Speedup & Clean” option. After that, click on the “Quick Scan” button to get this cleaning-up started.
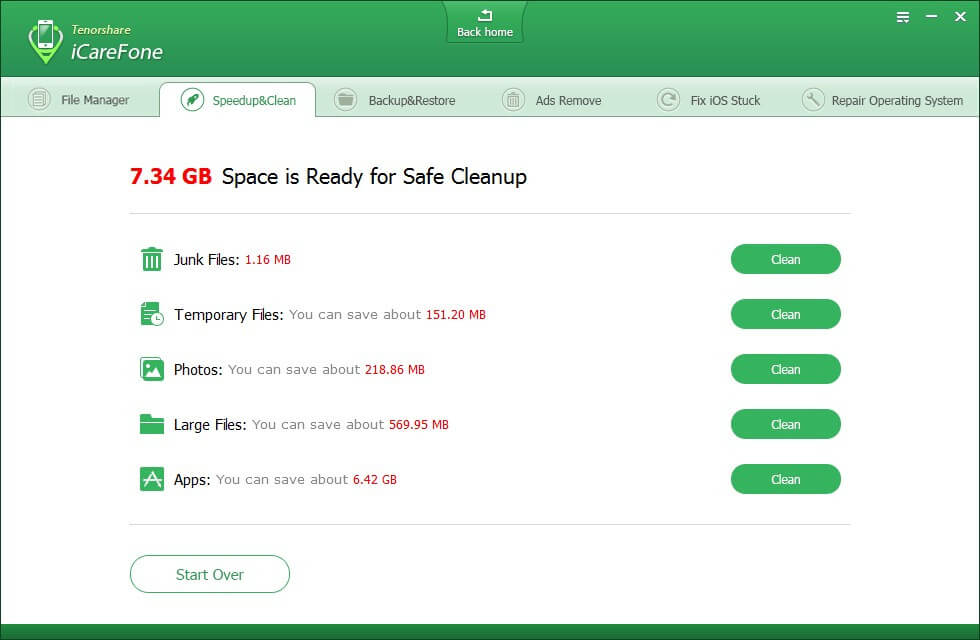
Step 3: When the scanning is over, click Clean button alongside Junk files, Temporary Files separately, then Tenorshare iCareFone will remove the unnecessary app cookies and cache with 1 click only.
Now with these two methods mentioned above, I believe you’ve learnt how to delete hisotry on google on iPad. Please leave out suggestions/comments in the comments section below. Hope you found the article useful.

