How to Fix iOS 17 Not Showing Up in Settings Software Update
 Jerry Cook
- Updated on 2023-09-14 to iOS Update
iOS 17 update is not showing up on iPhone! It’s not popping up in the update tab no red 1 or nothing. What Can I do to update my iOS device to the latest iOS version?
Even though Apple has already announced the iOS 17 update, many users have complained to not receive it on their iPhone. In fact, there are many users who have not even received the iOS 17 update, which was released nearly a year ago. If you are facing the same situation on your iDevice, we are here to help. In this comprehensive guide, we’ll share different solutions that you can implement when an iOS update is not showing up and what you can do to upgrade your iDevice to the latest iOS version.
- Part 1. Why Can't I See the New iOS 17 Update?
- Part 2. How to Fix iOS 17 Not Showing Up
- Part 3. How to Get the iOS 17 Update?
Part 1. Why Can't I See the New iOS 17 Update?
So, what’s the reason why you are unable to see the iOS 17 updates on your iPhone/iPad? The truth is that there are several factors that might restrict you from downloading the latest iOS updates on your iDevice. These factors usually include:
- Your device is connected to an unstable Internet connection.
- You are running the iOS beta version on your device.
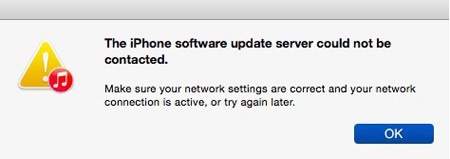
- There is some connection error with the Apple server.
- Your current OS has an unknown error.
Part 2. How to Fix iOS 17 Not Showing Up
Here’s a list of all the working solutions that’ll help you upgrade your iDevice to the latest version when the iOS 17 update is not showing up.
1. Check the compatibility
Before diving into advanced solutions, make sure to check if your device is compatible with the latest iOS update or not. Both iOS 17 and iOS 15 are compatible with only selected iPhone models. So, if your iDevice doesn’t come under this list, you won’t be able to install the latest iOS version. As of now, iOS 17 is available for iPhone SE and later models.
2. Check Apple Server Status
In case your device is compatible with the latest iOS 17 updates, but you’re still unable to download them, the next step would be to check the Apple server status. As soon as Apple releases a new iOS update, millions of users start downloading it simultaneously. As a result, the Apple servers often experienced unnecessary load and shut down unexpectedly. If that’s the case, you won’t be able to install the latest iOS updates until Apple resumes the servers.
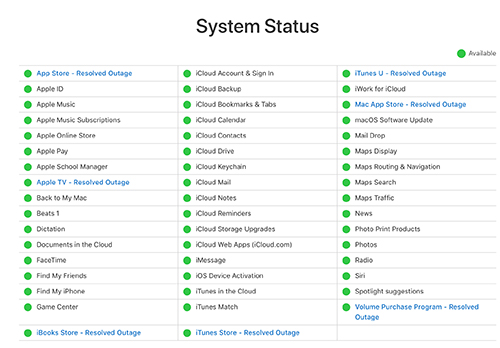
You can check the Apple server status by visiting here and see if all the servers are working or not.
3. Restart Your Device
In many cases, a minor software glitch may also result in iOS 17 not showing up in software update on your iDevice. In this situation, instead of diving into advanced solutions, simply reboot your device and see if this fixes the problem.
4. Check Your Network Connection and Reset Network Setting if Necessary
Since an unstable Internet connection can also be the reason behind the iOS 17 update not showing up, make sure to check if your Internet connection is working or not. To do this, try opening any other Internet-based application like Instagram or Uber and check if it works properly or not.
In case the Internet connection is lagging, you can either connect to a different Internet connection or reset the network settings to fix the problem. In some situations, the Internet works fine, but the network settings are not configured properly. If that’s the case, resetting the network connection will fix the problem and you’ll be able to install the latest iOS 17 updates without any hassle.
Here’s how to reset network settings on an iPhone/iPad:
- Step 1: Go to Settings on your device and click General.
Step 2: In the General window, click on Reset and then tap Reset Network Settings on the next screen.

If asked, confirm your actions and the system will automatically reset the network settings on your device.
5. Remove iOS beta profile
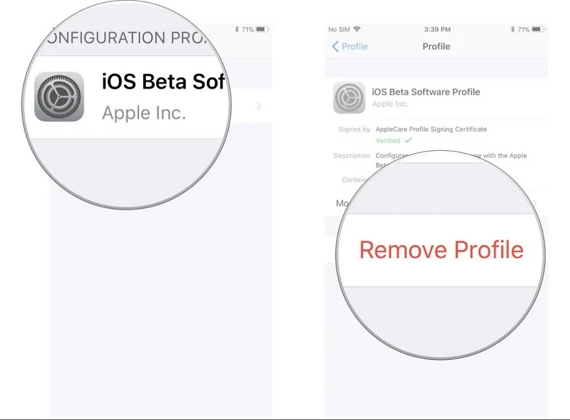
If you are still unable to see the iOS 17 updates, you may want to remove the iOS beta profile. Many users sign up for the beta profiles to get the latest updates more quickly. However, in some cases, the beta profile may trigger unexpected system glitches and restrict you from installing the latest updates. So, if none of the previous solutions work, make sure to remove the iOS beta profile to get the latest iOS updates on your device.
- Step 1: Again, open the Settings window and click General.
Step 2: Scroll down and click on Profile. Select the iOS beta profile from the list and follow the on-screen instructions to delete it.

After you have successfully removed the iOS beta profile, simply restart the device and try installing the latest iOS updates.
Part 3. How to get the iOS 17 Update?
Now, let’s take a look at how to install the latest iOS 17 updates on your iDevice.
1. Update to iOS 17 without iTunes
As we mentioned in the beginning, unknown software glitches are also common for iOS update not showing up in iPhone. If that’s the case, you can use UltFone iOS System Repair to troubleshoot the problem.
It’s a fully functional system repair tool for iOS that’s designed to fix a wide variety of iOS errors. In fact, you can fix 150+ iOS system issues using UltFone System Repair. Unlike many other system repair tools, UltFone System Repair doesn’t require any iTunes credentials to repair an iPhone/iPad. This means you’ll be able to install the latest firmware package on your iDevice without having to enter your iCloud or iTunes credentials.
UltFone System Repair is compatible with all iPhone models and iOS versions (including the latest iOS 17 version). So, it doesn’t matter which iPhone model you’re using, UltFone System Repair will help you troubleshoot the problem and repair the OS easily.
Some of the key features of UltFone iOS System Repair include:
- Enter/Exit Recovery Mode on an iPhone with one click.
- Fix 150+ system issues on your iPhone, like Apple logo, reboot loop, and black screen without data loss.
- Factory Reset iPhone/iPad, even if you don’t remember the iCloud credentials.
- Downgrade from iOS 17 without iTunes.
So, here’s the step-by-step process to repair the current iOS version on your iDevice so that you can easily upgrade to the latest iOS 17.
-
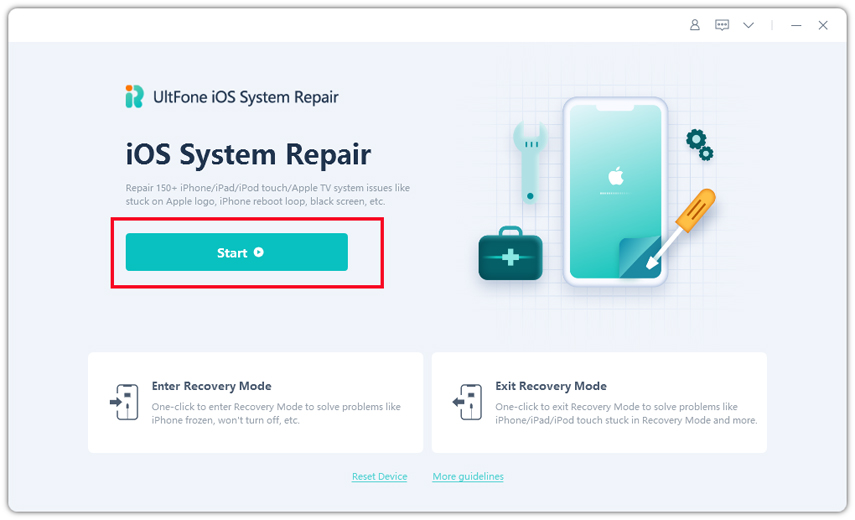
Step 1 Download and install UltFone System Repair on your Windows PC or Mac. Launch the application and click Start on its home screen.

-
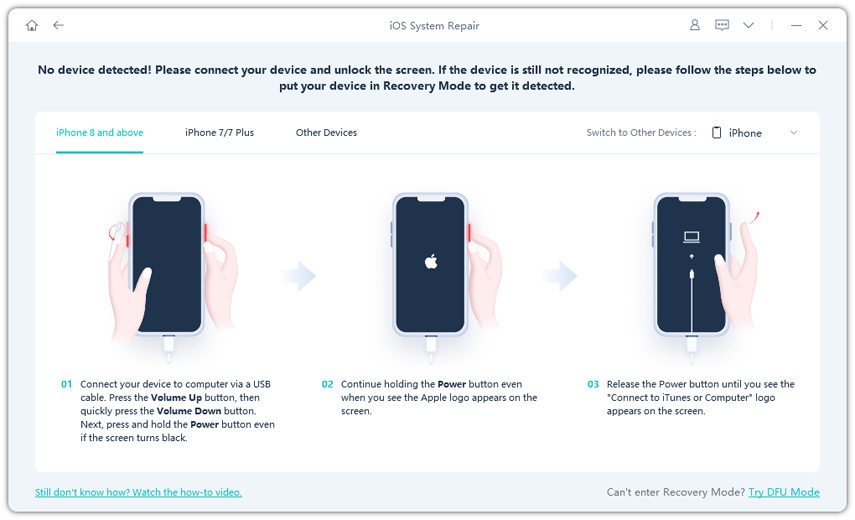
Step 2 Now, connect your iDevice to the system. Once the device gets recognized, click Standard Repair to proceed further.

-
Step 3 On the next screen, click Download to download the appropriate firmware package for your device. In case you already have the firmware package, you can also import it directly.

-
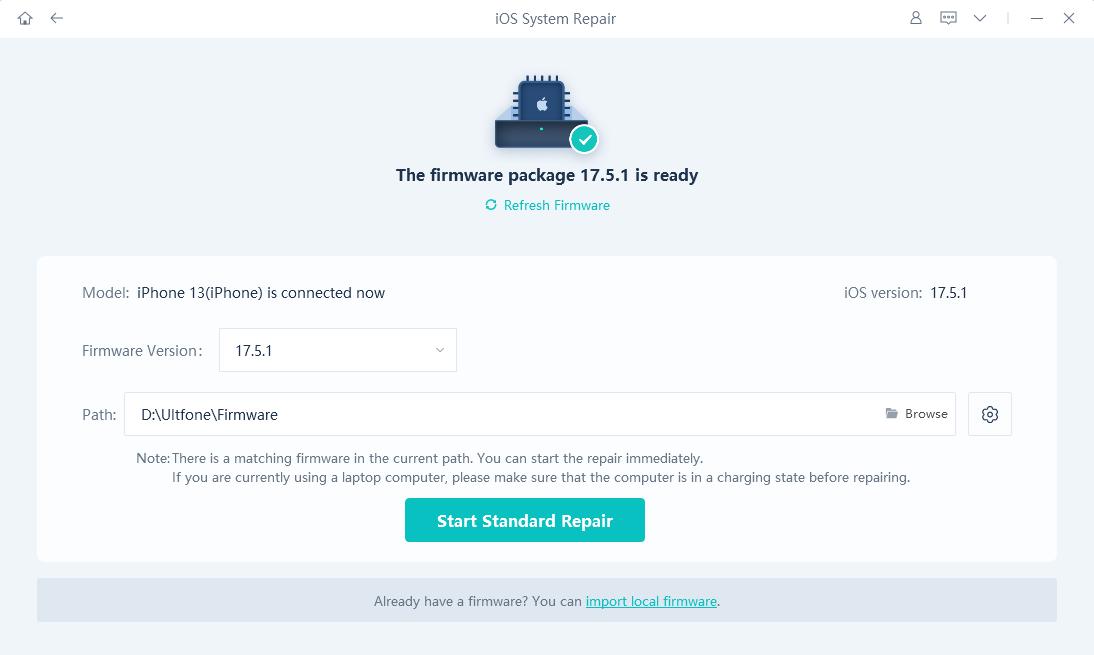
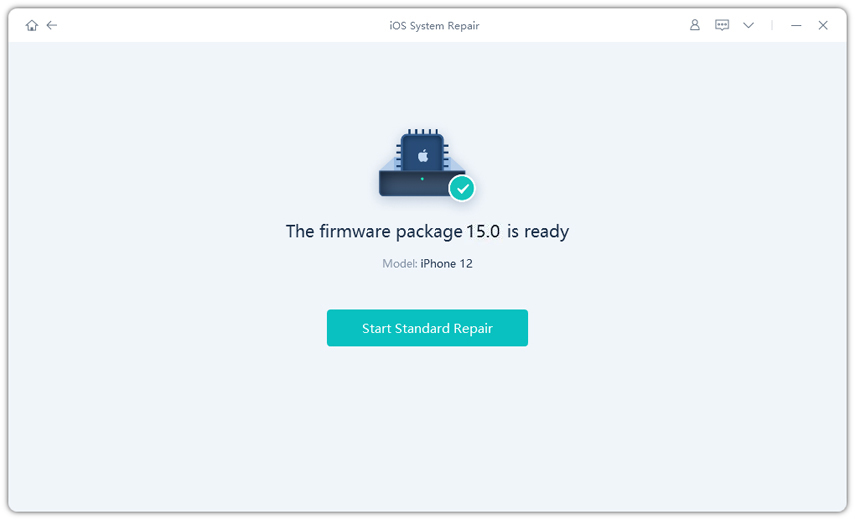
Step 4 As soon as the firmware package gets downloaded, click Start Standard Repair to initiate the process. The tool will automatically initiate the repair and start installing the latest firmware package.

-
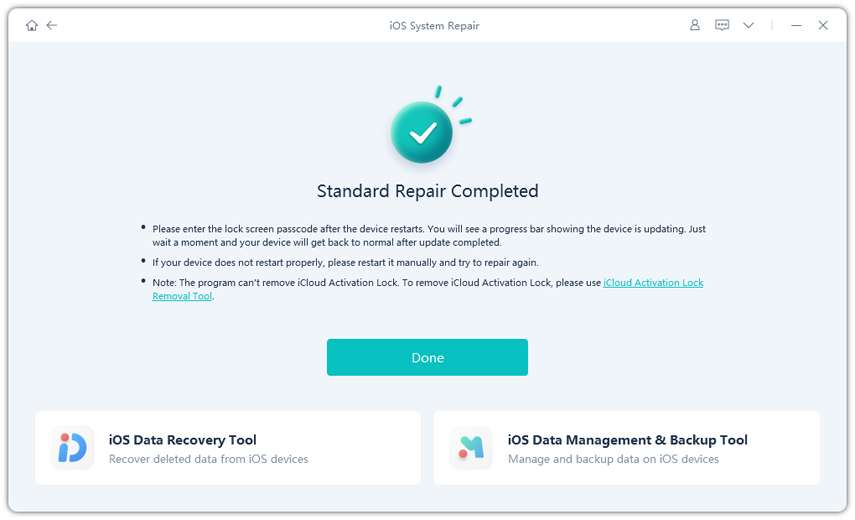
Step 5 After the process completes, you’ll see a confirmation message on your screen.

At this point, simply restart your device and enjoy the latest software updates without any hassle.
2. Update to iOS 17 with iTunes
Alternatively, you can also use iTunes to upgrade your device to the latest iOS 17 version. However, this method will only work when you remember the iTunes credentials.
- Step 1: Install the latest version of iTunes on your system and connect your device to get started.
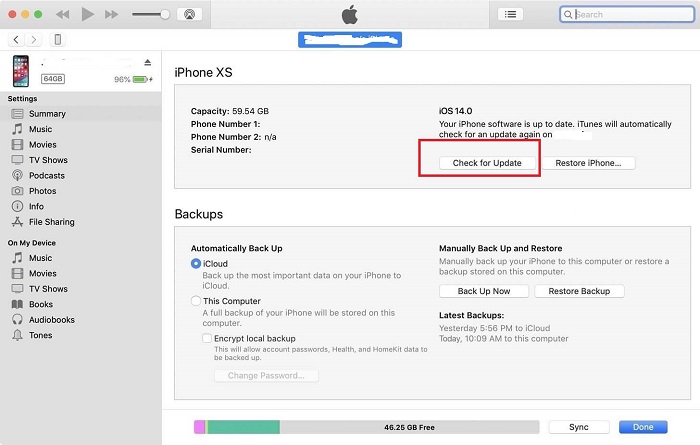
Step 2: Launch iTunes and click the Device icon. Then, select Summary and tap the “Check for Updates” button.

- Step 3: iTunes will start looking for the latest update and display a pop-up to ask you to download the update. Simply click “Download and Update” to confirm your actions.
iTunes will automatically update your device to the latest version.
Conclusion
So, that’s how you can upgrade your iDevice to the latest iOS version when iOS 17 is not showing up on your device. We hope the above guide helps you upgrade your device to the latest version and enjoy all the exclusive features of iOS 17.


