3 Ways to Backup iPad to External Drive[Pros & Cons]
 Jerry Cook
- Updated on 2022-03-16 to iOS Manager
If you possess an iPad and want your data to backup iPad to external drive, you've come to the perfect spot. We all know how easy it is to back up an iPad to a Windows PC or Mac, but transporting it to another location might be difficult. Don't worry, if you take the right steps, you can simply backup your iPad to an external hard drive without using a computer. In this tutorial, I'll show you how to back up your iPad to an external drive step by step.
- Part 1: Why You Need to Backup iPad to External Drive?
- Part 2: 3 Ways to Backup iPad to External Drive
Part 1: Why You Need to Backup iPad to External Drive?
The photo will upload to the iCloud storage when you add new images or movies to your iPad. Nonetheless, there are several reasons why users would desire to backup iPad to external drive, such as:
iCloud space is being conserved:
Each Apple ID is only given 5GB of free storage via iCloud. If your iCloud storage is full, the service will stop working, or you'll have to purchase more storage. Moving files that you only open once in a while to another location is a good method to preserve iCloud capacity.
Ensuring you don't remove anything by accident:
iCloud not only backs up iPad data, but also syncs data across all Apple devices that use the service. The prior edition of a file will be removed from your iPhone, iPad, or iPod if you make a change to it.
Manage data in a flexible manner:
Many storage vendors are now producing huge storage devices in smaller sizes than in the past. By backing up or transferring data to an external drive, you may take it with you wherever you go.
Part 2: 3 Ways to Backup iPad to External Drive
Way 1: Backup iPad to External Drive Using iTunes
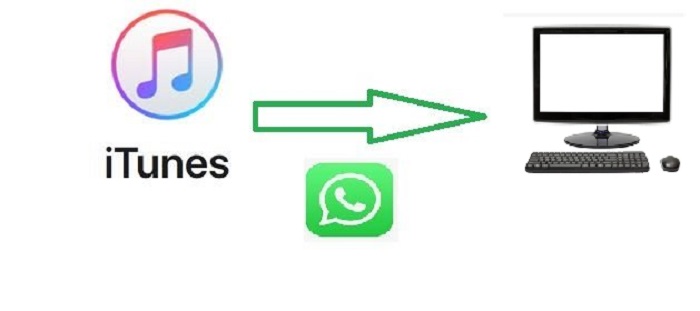
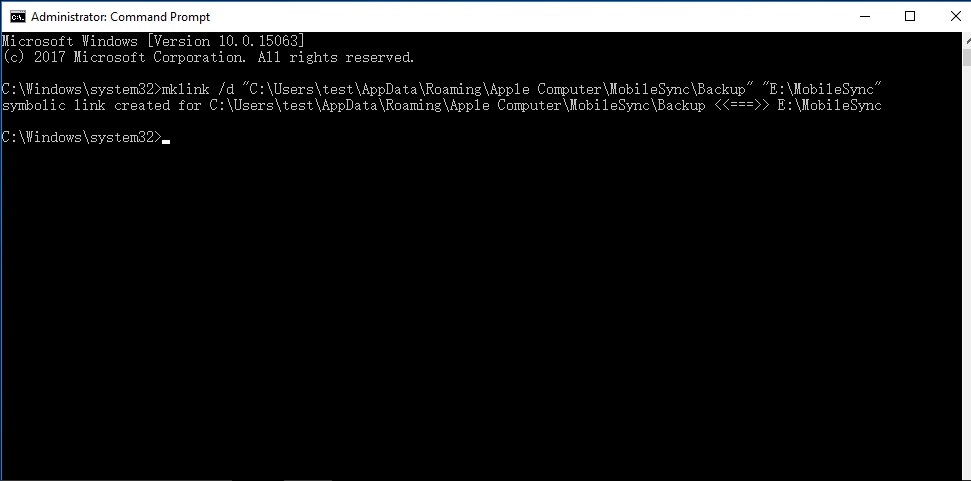
iTunes for Windows will assist you in backup iPad to external drive pc. However, iTunes' UI does not enable you to modify the backup storage path. To do so, first build a virtual link between the system storage and the external storage. To begin, go through the steps below:
1. Connect the iPad to a Windows PC through the external disc. If this is the first time your iPad has been linked to a computer, you may need to trust it.
2. To launch Command Prompt, press "Win" + "R" to bring up the Run box, and type "cmd" into it. And then run the following command:
mklink /J “C:\Users\\AppData\Roaming\Apple Computer\MobileSync\Backup” “E:\”
3. You may now download and install iTunes for Windows. In the upper right corner, click the iPhone symbol.
4. Select the "Summary" option. Also, make sure your backup data is saved on "This machine." Under "Manually Back Up and Restore," click "Backup Now."
Way 2: Backup All/Specific iPad to External Drive [Just Click]
Can I backup iPad to external drive? Most individuals, it appears, find iTunes difficult, particularly those who are unfamiliar with Command Prompt and are unable to backup iPad to external drive mac. You may also use UltFone iOS Data Manager, a professional all-in-one iOS file manager that can backup, restore, transfer, and manage all of your data on iOS devices. You will never have to worry about tedious activities when dealing with iOS data. Unlike iTunes and iCloud, this iPhone data manager allows you to inspect prior backups before restoring them, allowing you to pick or completely restore the information you desire without overwriting your existing data.
Features
- Export images from your iOS smartphone to your PC with a single click.
- Without using iTunes, you may backup, restore, manage, and transfer your iOS data.
- You may freely transfer media files between your iDevice and iTunes.
- Convert HEIC to JPG in bulk. On Windows, there is a limit of 1,000 photographs.
- On your own, enable/disable Device Accessibility.
- To manage iOS data, create a virtual USB drive.
- Compatible with iOS/iPadOS 15 and the latest iPhone 13 series.
Steps:
-
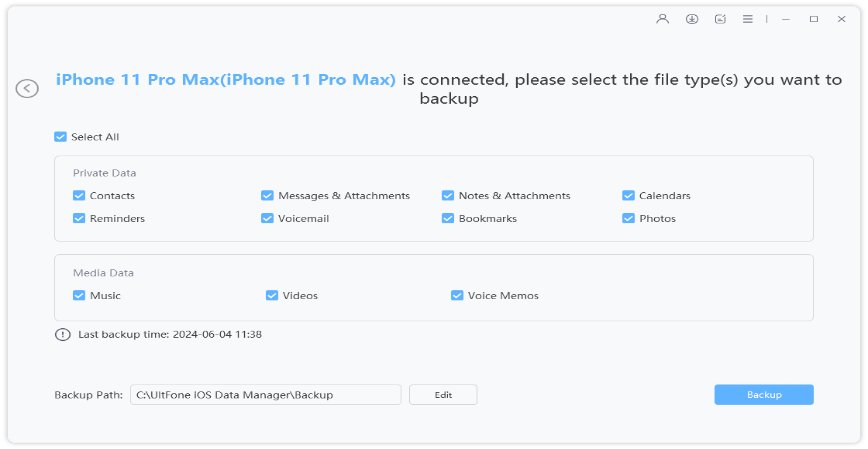
Step 1: Connect your iOS device to your computer and select "Backup & Restore." The interface will then appear, with all files chosen by default, but you may choose select files for backup individually.

-
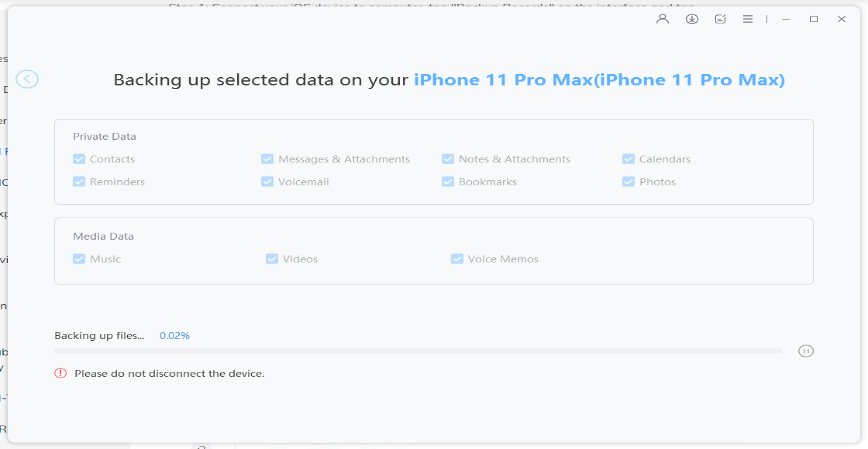
Step 2: Press the "Backup" button to begin backing up the data on your iPhone/iPad/iPod.

-
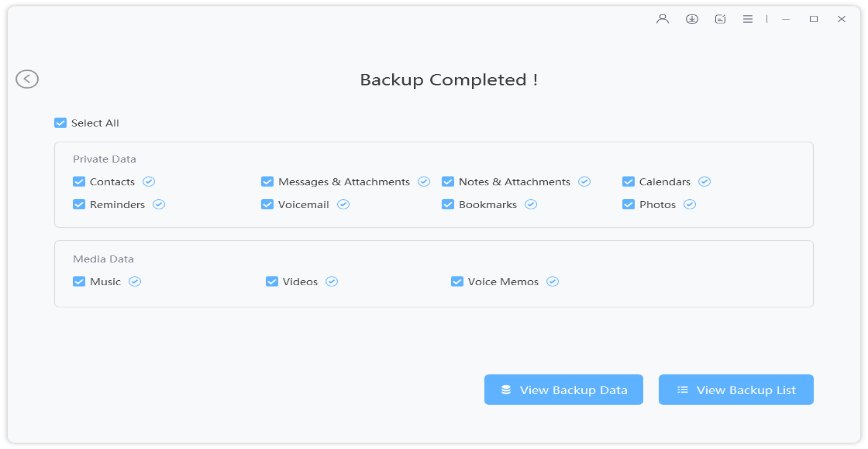
Step 3: You may examine backup data or a backup list when the backup procedure is completed.

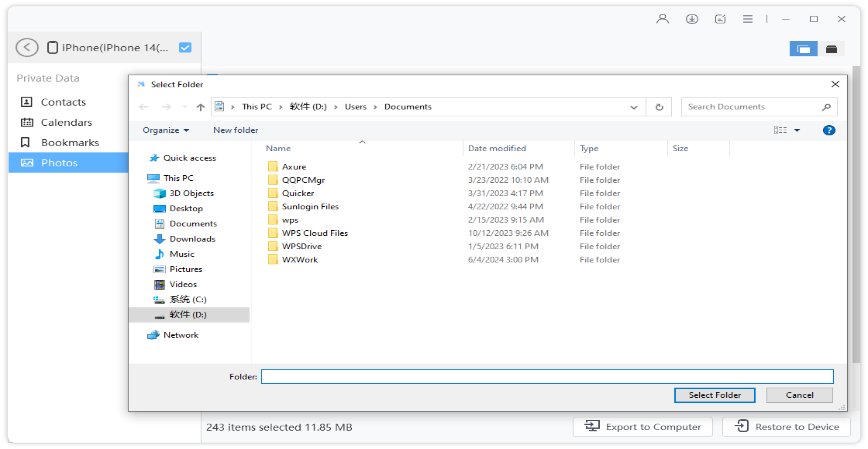
Tips: When you choose "View Backup Data," all backed-up files are retrieved and shown for evaluation. If you wish to save backup files to your computer, go to "Export to Computer," select a destination, and then press "OK."
Way 3: Backup iPad to External Drive without Computer
How to backup files from iPad to external hard drive? Yes, you can back up your iPad to an external disc even if you don't have access to a computer. You'll need a USB-to-lightning adaptor for this, which will allow you to connect your external hard drive to your iPad immediately. You may afterwards transfer your data (such as images) from your iPad to an external hard disc. Without using a computer, here's how to back up iPad images to an external hard drive.
1. To begin, just connect your iPad to your computer with the use of a USB-to-lightning connection adaptor.
2. When your iPad detects your external drive, you will be alerted. You may also access the linked external storage by going to the Files app (or any other File Explorer) on your iPad.
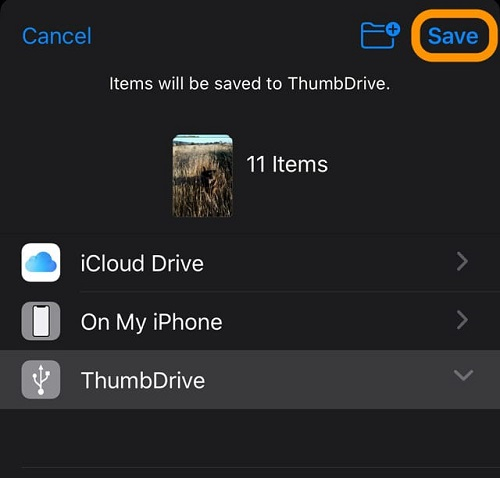
3. After that, go to your iPad's Photos app and choose the photos you want to save. You may now select the option to save your photos to the Files app by tapping on the Share button.
4. You may pick the location of the connected external drive and store your images here after the Files app has been loaded.
Conclusion
So, there you have it! You will be able to backup iPad to external drive after following this tutorial. To make things easier for you, I've listed several techniques for backing up your iPad to an external hard drive without or with a computer. You can choose from one of these options, or you can use UltFone iOS Data Manager to keep an iPad backup on your computer's hard drive.

