Fixed! iOS 17 Message Failed to Send [Detailed Guide]
 Jerry Cook
- Updated on 2023-09-24 to iOS 17
Seeing the iOS 17 messages failed to send notifications repeatedly can be infuriating, especially if you urgently need to communicate with someone. While iOS users have rallied on Reddit regarding this, unfortunately, the debacle continues.
However, to ensure you never have to see this message again, we’ve organized the following guide, comprising unique fixes to this annoying occurrence.
- Part 1: Why is Text Message Failing to Send on iPhone after Update to iOS 17?
- Part 2: How to Fix iOS 17 Message Failed to Send?[Full Guide]
- Part 3: FAQs about iOS 17 Message Failed to Send
Part 1: Why is Text Message Failing to Send on iPhone after Update to iOS 17?
Before we discuss how to get out of an iOS 17 message failed to send situation, let’s understand why you may find yourself in that position in the first place.
Here are a few reasons for this:
- Using the iOS 17 beta version accompanied by glitches.
- The iMessage server is down.
- Poor WiFi connection.
- Maximized iPhone storage.
- Bug in the messaging app.
Part 2: How to Fix iOS 17 Message Failed to Send?[Full Guide]
Considering that, here are 8 ways to fix iOS messages failed to send issues, as suggested by fellow iOS 17 users facing the same difficulties.
1. Inspect the Crucial Settings on your iPhone
It’s a little-known fact among iOS users that when your iPhone displays inaccurate date and time data, it can create problems in your messaging exchange. Here is an easy fix to this:
- Go to Settings > General > Date & Time.
- Spot the Set Automatically option and tap on its toggle to activate it.
2. Restart iPhone
Software or server issues creating sending messages on your iOS 17, a challenge, can sometimes be resolved by restarting your iPhone.
Here’s how this works:
- Hold the Power and Volume Down button until the screen displays the Power Off slider.
- Drag the slider right to shut down your device.
- After a few seconds, keep holding the Power button until the screen displays the Apple logo.
3.Use UltFone iOS System Repair
If you’ve tried the above mentioned steps, but the concern still lingers, you don’t need to worry since our list has just started.
You can save a trip to the Apple store by downloading the UltFone System Repair software to answer your why is text message failing to send on iPhone query like a pro!
Moreover, the UltFone iOS System Repair software works like magic for over 150 iOS issues without sending your iPhone into jailbreak mode or losing any of its data.
Here’s how the software works:
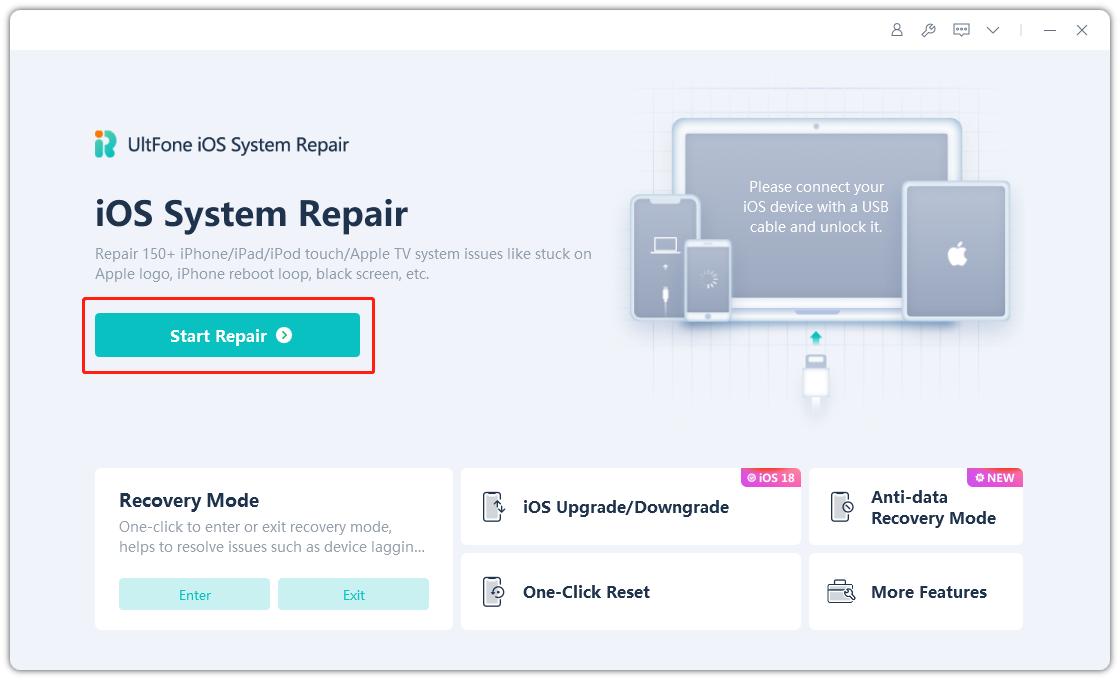
- Step 1 Connect your iPhone to your computer and launch UltFone iOS System Repair. Click "Start" on the interface.
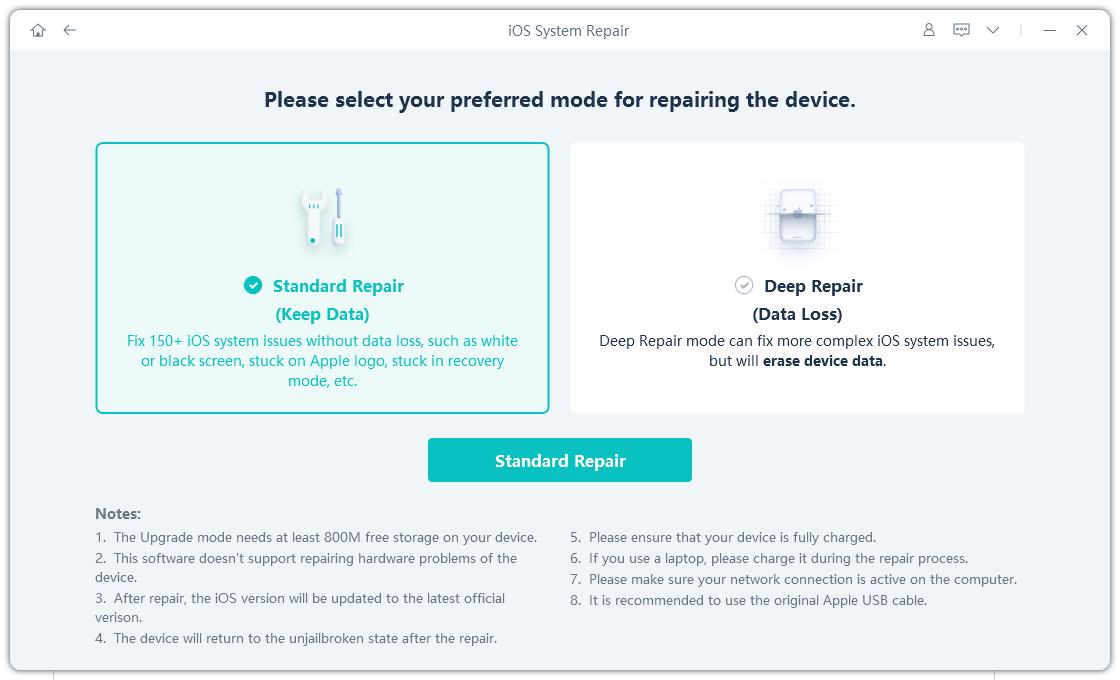
- Step 2Click "Standard Repair" to begin fixing iPhone update stuck on preparing update.
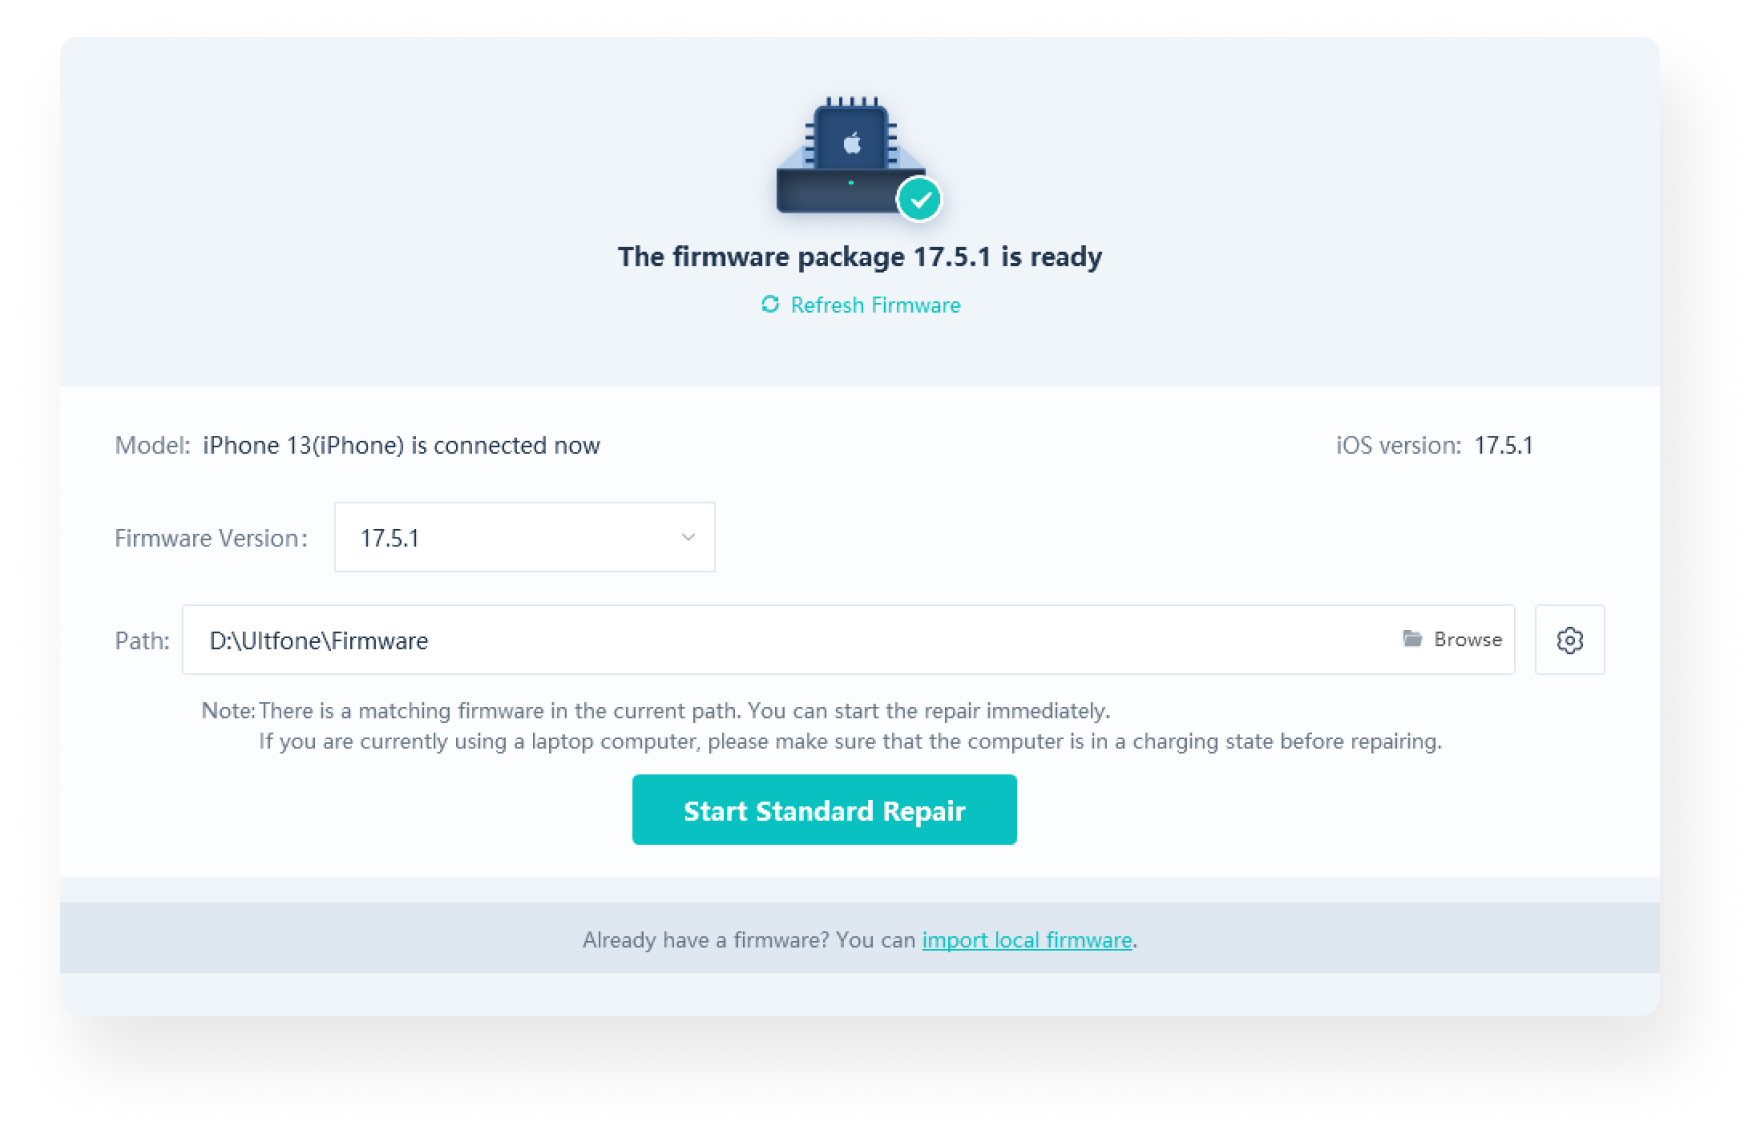
- Step 3Then, click the "Download" button to download the automatically matched firmware package for your iPhone.
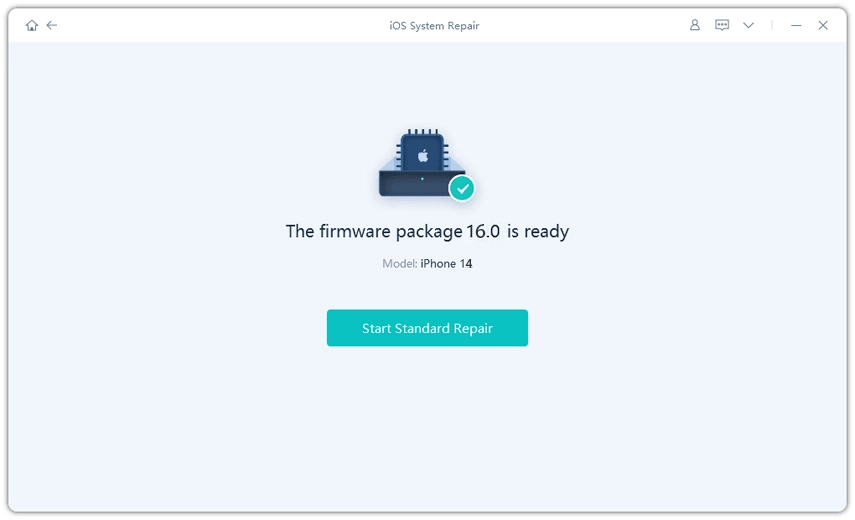
- Step 4Click "Start Standard Repair" to fix the iOS issues on your iPhone.
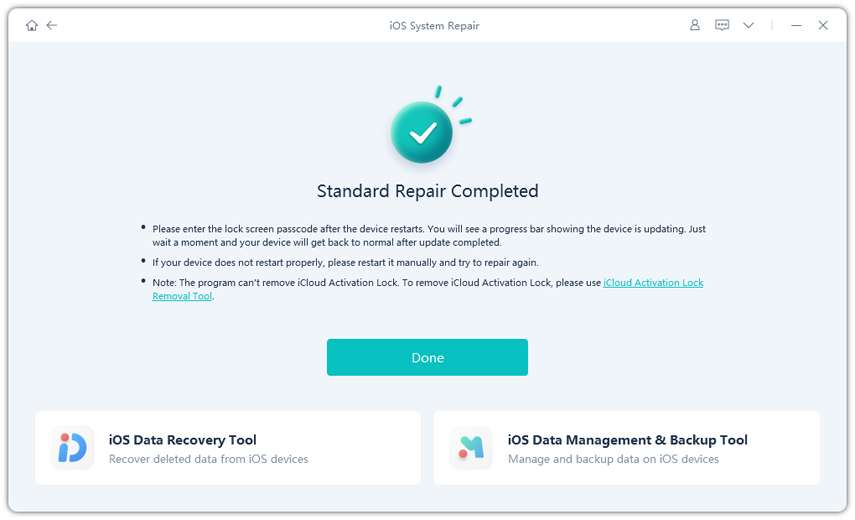
- Step 5Wait for the tool to repair your iOS system, then your iPhone will restart automatically. Any then your problem that iOS 17 message failed to send will be solved .
4. Check the Network Signal
Stable network signals are essential for sending messages on your device without hindrance. Therefore, a weak network connection is a prime reason for the “message failed to send” alert.
Hence, if you’re in an area with poor network signals, you can change your location to achieve stronger signals to ensure your message reaches its recipient.
5. Check the iMessage System Status
As indicated above, when Apple’s server is down, it may result in iOS messages failing to send. You can confirm this by going to the Apple System Status site and seeing if the server has an issue.
Of course, when this happens, you can’t do anything about it and have to wait for Apple to take some action against it.
6. Clean iPhone Storage or Cache
iPhone storage that is nearing maximum capacity can obstruct other apps' functionality, and the Messages app is one of them. To sort this out, go to Settings > General > Storage and remove some files you no longer need.
7. Verify the Correct Phone Number
One common mistake most users make is entering an incorrect phone number in the recipient space. Since the system can’t send a message to a number that doesn’t exist, it will display the “message failed to send” signal to your phone.
Double-check the contact details you’ve inputted before hitting Send to ensure you don't make the same blunder.
8.Reopen your SMS and MMS app
Re-opening the messaging app refreshes it, allowing users to share messages with their contacts. You can do this by:
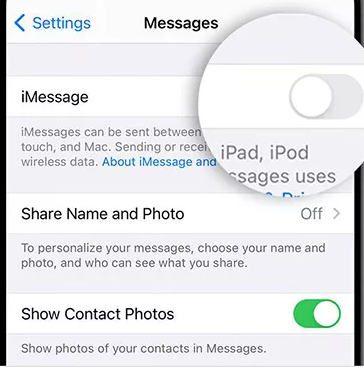
- Going to Settings > Messages > iMessages.
- Tap on the iMessage toggle once to turn it off, wait for a few seconds, then tap it again to restart the app.
Part 3: FAQs about iOS 17 Message Failed to Send
1. What's New with Messages in iOS 17
iOS 17 features a brand-new look for the Messages app, updated sticker functionality, and a new safety element to help solo travelers feel safe.
2. Why does my iPhone keep saying message failed to send?
There are multiple factors responsible for your Messages app being unable to send messages. These include:
- Using the iOS 17 beta version accompanied by glitches.
- The iMessage server is down.
- Poor WiFi connection.
- Maximized iPhone storage.
- Bug in the messaging app.
Final Words
iOS 17 can be a tough update to tame, but thanks to the fixes mentioned above, you can easily tackle the iOS 17 message failed to send condition.
However, suppose you’re facing multiple problems with iOS 17 at once or wish to be prepared for any future hassles it may create for you. In that case, the UltFone System Repair software is the ideal tool for any occurrences like these, so you can relish a steady user experience.

