[Fixed] iPhone Touch ID is Not Working after Update - iOS 17 Beta Supported
 Jerry Cook
- Updated on 2023-06-05 to Fix iPhone
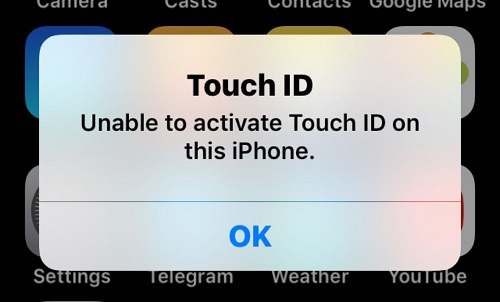
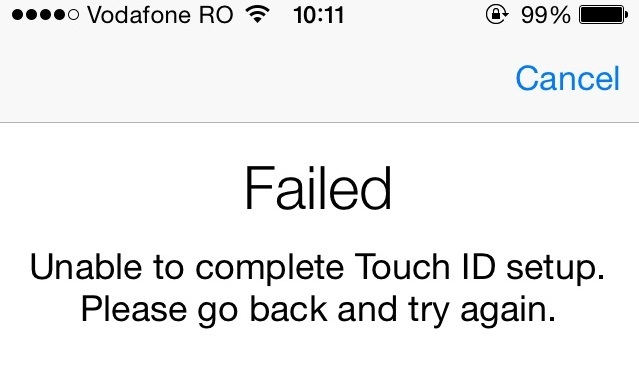
Touch ID was an integral part of every iPhone/iPad up until it got replaced by a more secure Face ID back in 2017. But, if you still own an older generation of iPhone, it’s quite obvious that you use the touch ID hundreds of times in a day for different purposes. From unlocking the iPhone/iPad to making purchases on the App Store, “Touch ID” is the go-to method for people to authenticate themselves. But, what if your iPhone/iPad’s Touch ID stops working all of a sudden? Since you massively rely on it for daily authentication, it’s safe to say that “iPhone touch ID not working” can be a frustrating issue. Fortunately, there are a few solutions that can help you fix the problem.
How to Fix iPhone Touch ID Not Working After Screen Replacement/Batter Repalcement/Charging
If your iPhone’s Touch ID has also stopped working, continue reading; this guide will help you troubleshoot the problem by yourself. If one method is not working, try others instead.
Fix 1: Check Touch ID/Fingerprint Reader
First thing to do when you met with touch ID not working is make sure fingerprint dry and clean so that it can be recognized. Let's check all the possible factors that lead to this problem and ane get them fixed.
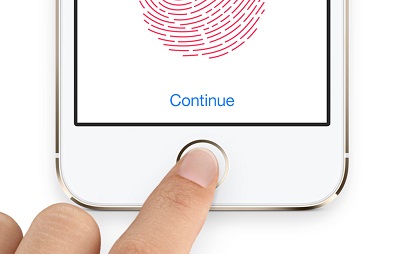
1.1 Clean Touch ID or Check If It’s Not Wet
First and foremost, check your iDevice’s Touch ID. With daily use, it’s quite normal for the fingerprint scanner to accumulate dust, which can restrict it from properly reading the fingerprint. So, before everything else, take a lint-free cloth and make sure to precisely wipe-off any dust particles from the scanner.
Secondly, make sure that your fingers are clean as well. Usually, when your hands are wet or sweaty, the fingerprint scanner on an iPhone/iPad won’t read the fingerprint at all. So, if you’ve come out of the shower or trying to unlock the device after a workout, first clean your hand properly and then use the Touch ID.
1.2 Scan Fingerprint Accurately
Another reason that might cause the “Touch ID not working iPhone 8” problem is the wrong placement of your finger on the scanner. Ideally, the scanner is capable of reading the fingerprint with a light touch. However, there are many users who either try to press too hard on the home button or don’t place their thumb/finger properly. To make sure that your finger placement is accurate, simply ensure that your whole finger covers the scanner.
1.3 Remove iPhone Case/Cover
No doubt cases and covers are perfect to protect your iPhone from accidental damage, but they can also interfere with several functions of the device itself. If your case/cover is partially covering the Touch ID scanner, it would be better to remove it and install a new cover with a better fit.
Fix 2: Disable and Enable Touch ID
After cleaning the Touch ID, if it still fails to read your fingerprint, it’s quite possible that the problem is being triggered by an internal software-bug. In this situation, simply disable the Touch ID for a while and re-enable it again.

To do this, go to “Settings” > “Touch ID & Passcode” and enter your screen passcode to authenticate yourself. Then, toggle every switch off to disable Touch ID completely. Finally, wait for a few minutes and repeat the same process to turn on the Touch ID again.
Fix 3: Restart iPhone
Like many other iOS errors, you can also fix the iPhone Touch ID not working by simply rebooting your device. However, if a regular restart doesn’t work, you can also perform a hard reset to fix the Touch ID.
To perform a hard reset, press and hold both the Volume Down and Side buttons simultaneously for at least 10 seconds. Release the buttons as soon as the Apple logo appears on your screen. Your iPhone will restart automatically and you’ll notice that the Touch ID won’t face the same problem anymore.

Fix 4: Delete and Re-Add Fingerprint
While it’s not an official method, many online forums claim that one can fix the Touch ID problems by deleting all the fingerprints from their device and re-adding them later on. So, if none of the above solutions work, you can also try this method to fix the problem. Follow these steps to delete and re-add fingerprints on an iDevice.
Step 1 - Go to “Settings” and click “Touch ID and Passcode”. Then, enter your passcode to proceed further.

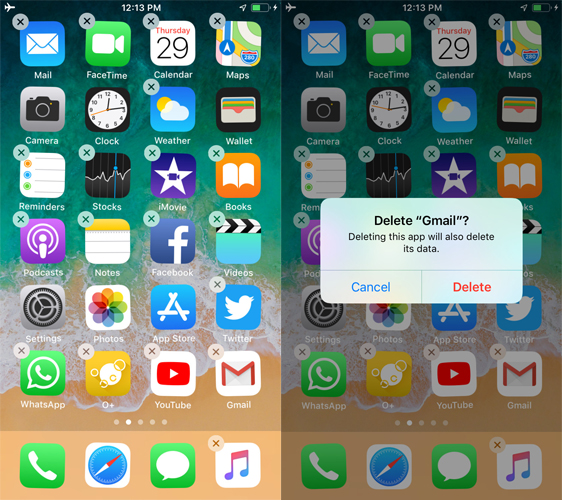
Step 2 - Select a “Fingerprint” under the Fingerprint tab and click “Delete” to delete it. Repeat the same process for each registered fingerprint.

Now, lock your device and check if you’re unable to lock it using the Touch Id.
Fix 5: Update iOS
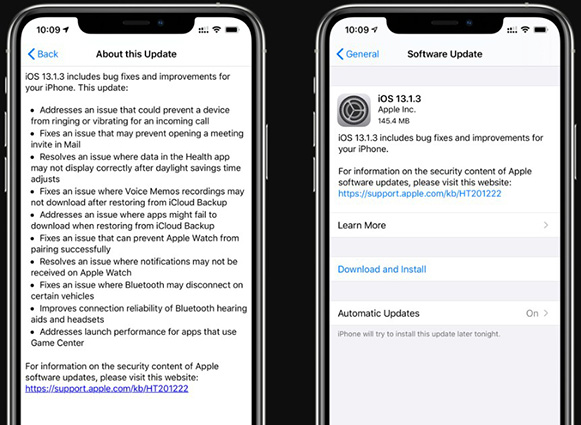
If you are running an outdated iOS version on your device, it would be better to install the latest updates. There’s a huge probability that your current iOS version might have some bugs that Apple has fixed in the latest update. So, if there are any pending updates for your iPhone, make sure to install them to fix the “iPhone Touch ID not working” issue.
Fix 6: Fix iPhone Touch ID Not Working with a Repair Tool
If you’re still stuck with a Touch ID that’s not working properly, we recommend using a professional iOS Repair Tool to fix the problem. There are many situations when an iDevice runs into a severe technical issue that can also hamper its basic functionality. In such cases, an iOS repair tool will diagnose the issue and automatically fix it instantly.
You can use UltFone iOS System Repair, a feature-rich repair software for iOS users. It’s a fully functional tool that’s designed to help people fix more than 150 iOS errors on their own. Whether your iPhone’s fingerprint scanner is not working or you’re stuck at the Apple logo screen, UltFone iOS System Repair will help you troubleshoot the problem.
Key Features of UltFone iOS System Repair:
- Troubleshoot 150+ iOS problems, including stucking on recovery mode, Apple logo, iTunes logo, black screen.
- Enter/Exit Recovery mode with a single click. This feature is free.
- Compatible with all iPhone models and iOS versions, including the latest iOS 15 and iPhone 12.
- Two dedicated Repair Modes, i.e., Standard and Advanced Repair, to fix different types of technical issues.
So, let’s quickly walk you through the step-by-step process of using UltFone iOS System Repair to fix the Touch ID not working on your iPhone.
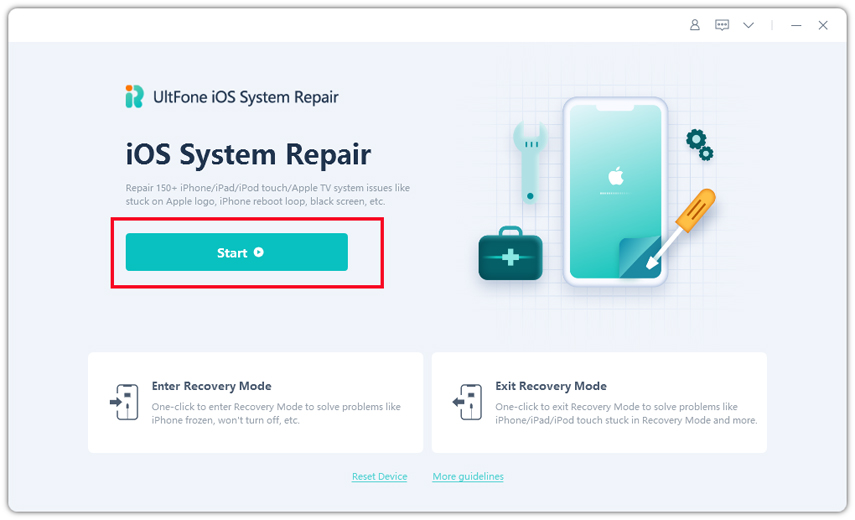
Step 1 - Download and install UltFone iOS System Repair on your PC. Launch the software and connect your iPhone via lightning cable. Then, select the “Repair Operating System (Fix All iOS Problems)” to get started.
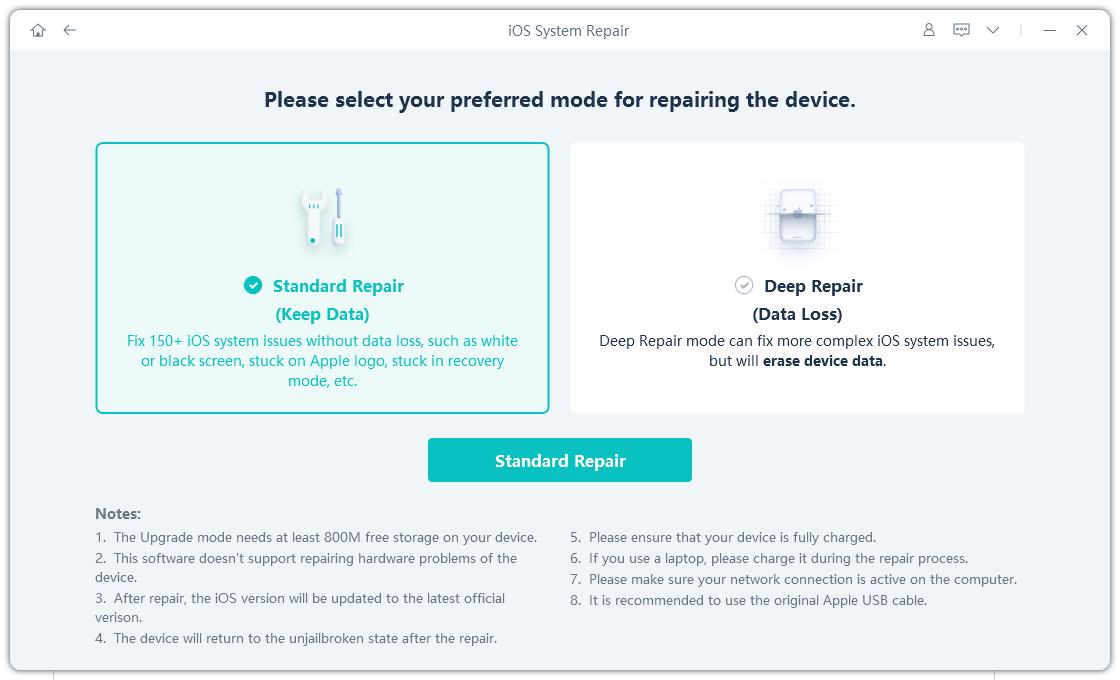
Step 2 - Once the tool recognizes your device, click "Standard Repair" or "Deep Repair" to fix this problem. Here we can choose Standard Repair to try.
Step 3 - The software will start detecting and solving the problem. Be patient as this process may take a while to complete. In case it fails to fix the problem, you’ll have to trigger the “Advanced Repair”, which will factory reset your device.
Step 4 - You’ll be asked to download the firmware package. Click “Download” to download the right firmware package for your device.
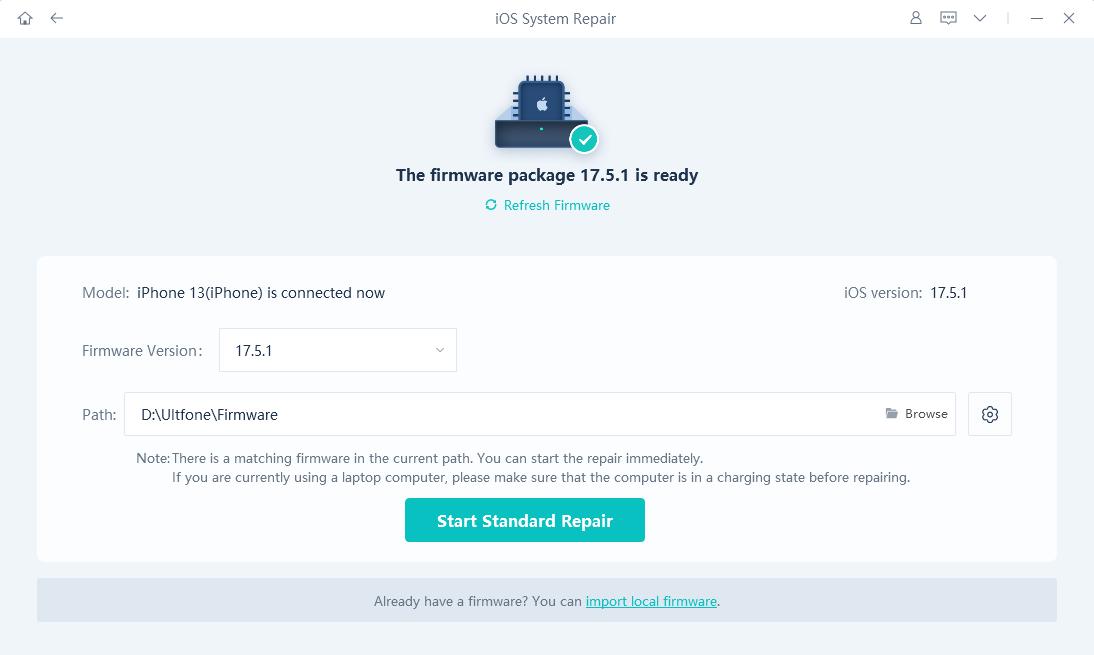
Step 5 - Once the firmware package is successfully downloaded, click the “Start Standard Repair” button to initiate the repairing process.
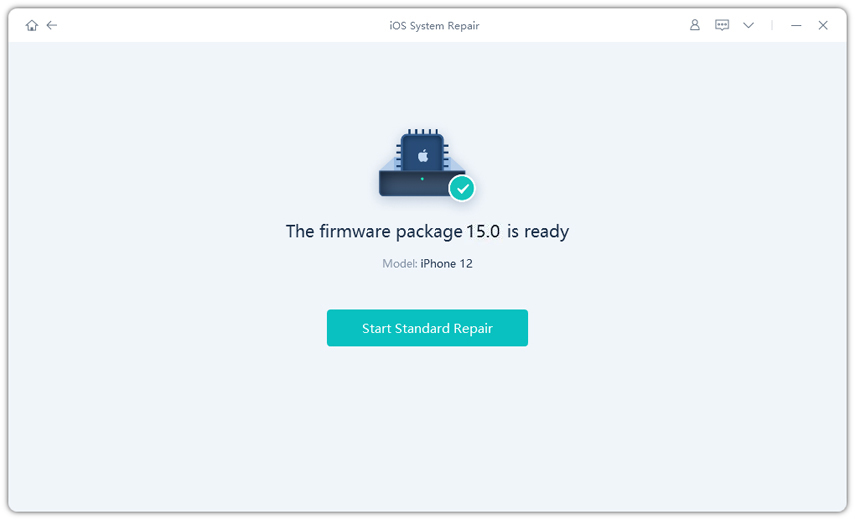
Step 6 - Wait for a few minutes and let the tool factory reset your device. After the process completes, you’ll see a confirmation message on your screen.
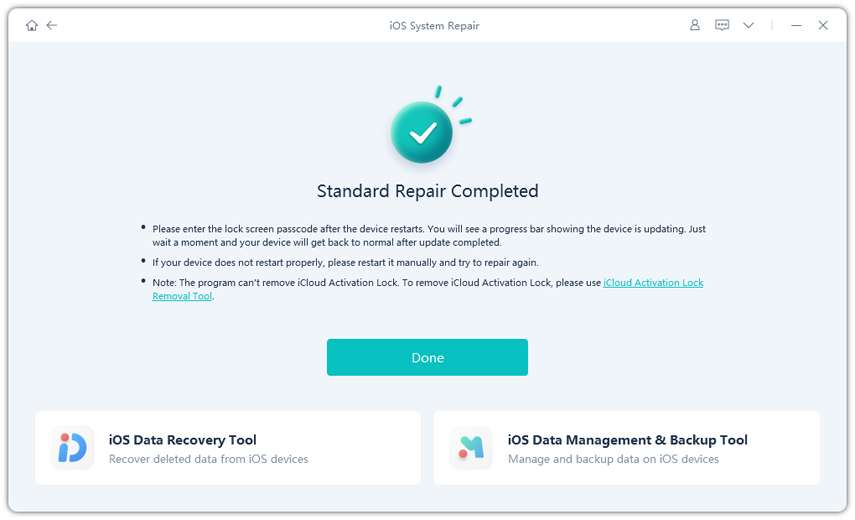
Now, turn on your iPhone and you’ll be able to use its Touch ID encountering any problems.
Summary
Almost half of the functionality of an iPhone relies on its Touch ID. This means when it stops working, things can get pretty annoying. However, instead of visiting a repair center and spending hundreds of dollars, utilize the above-mentioned ticks to fix the “iPhone Touch ID not working” error and get back your device to its normal state.

